
Ultimate Shower Remodel Guide: Design, Cost and Expert Tips
Ready to create a shower space that is as practical as it is indulgent and you need a shower remodel guide to walk you through the process? Say no more!
Sleek tiles, elegaant fixtures, and a showerhead that mimics a gentle rain—whether you’re going for something simple and modern or a luxurious, spa-like retreat, we’ve got you covered.
The right design, budget, and upgrades can make all the difference between a dream shower and a pricey headache. But before you start tearing things apart, you’ll need a solid plan.
Interested in learning how to create your dream shower oasis? Okay, then. Grab a cup of coffee (or a sweet tea, if that’s your thing), and let’s go over everything you need to know to make your shower remodel a smooth, stylish success!
Cost Estimation: How Much Does a Shower Remodel Cost in Texas?
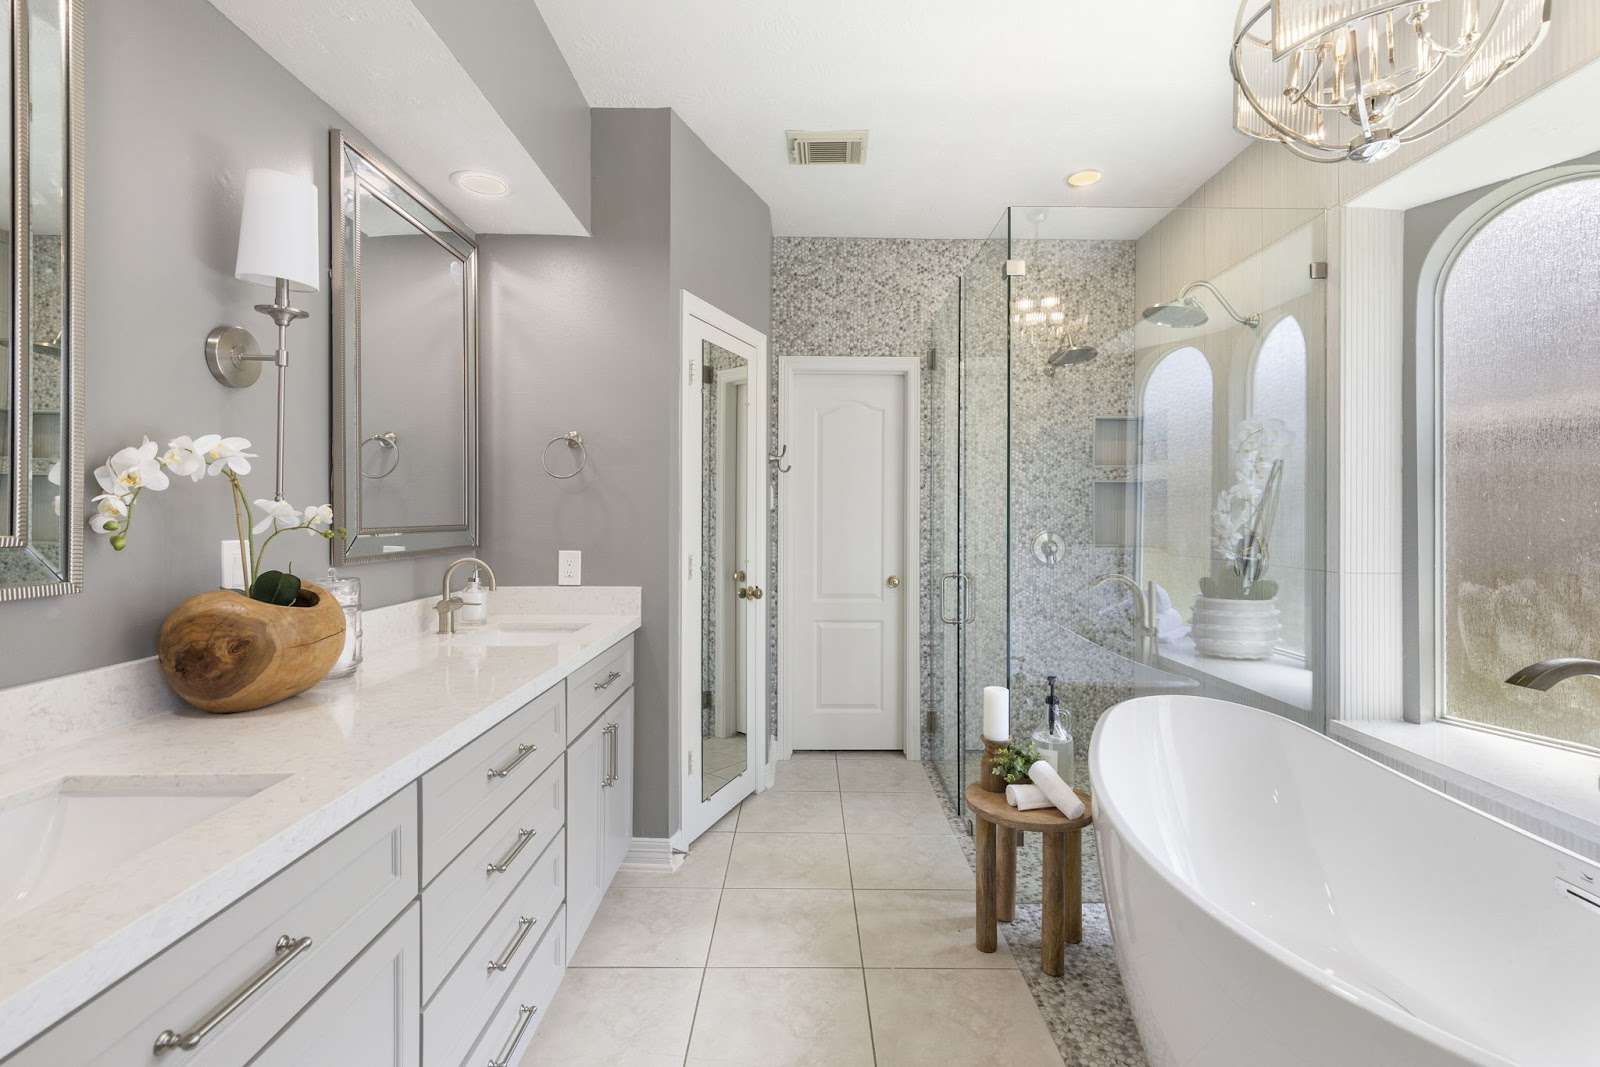
Alright, let’s talk about the big elephant in the room: the cost of remodeling your shower. It’s not exactly pocket change!
On average, a full remodel sets you back $7,000 to $8,000. Sure, if you’re just jazzing up the fixtures, you might spend $1,000 to $2,000. But if you’re dreaming of a high-end, custom look, you could be splurging over $15,000.
If you’re considering a full-blown tub-to-shower conversion, expect to pay anywhere from $1,500 to $8,000. In this case, size matters, too—those 30×60″ units can range from $750 to $5,300.
Expect to spend $7,000–$8,000 for a full remodel, or over $15,000 for a custom look.
A big factor? Labor and materials—both of which can vary depending on where you are. If you’re in a big city like Dallas or Houston, expect prices to be a bit higher.
Fancy tiles and high-end fixtures might tempt you, but they can also make your budget do a disappearing act. Acrylic is cheaper ($500–$2,500) than custom stone ($40–$65 per sq. ft.) and ceramic tiles. You can go with paint instead of tiles to cut down on material costs. A gallon of high-quality paint costs around $30 to $70, making it a truly budget-friendly option.
And let’s not forget about labor costs; they can eat up 40–60% of your budget, with plumbers in Texas typically charging $45 to $200 an hour.
Keep an eye on unexpected expenses, too—because, let’s face it, surprises are fun at parties, not in your budget! And don’t forget permits—they can range from $175 to $2,000, depending on where you live.
Hiring professionals that specialize in bathroom remodeling can save you time and stress, even if it means spending a bit more.
Key Layout and Design Decisions
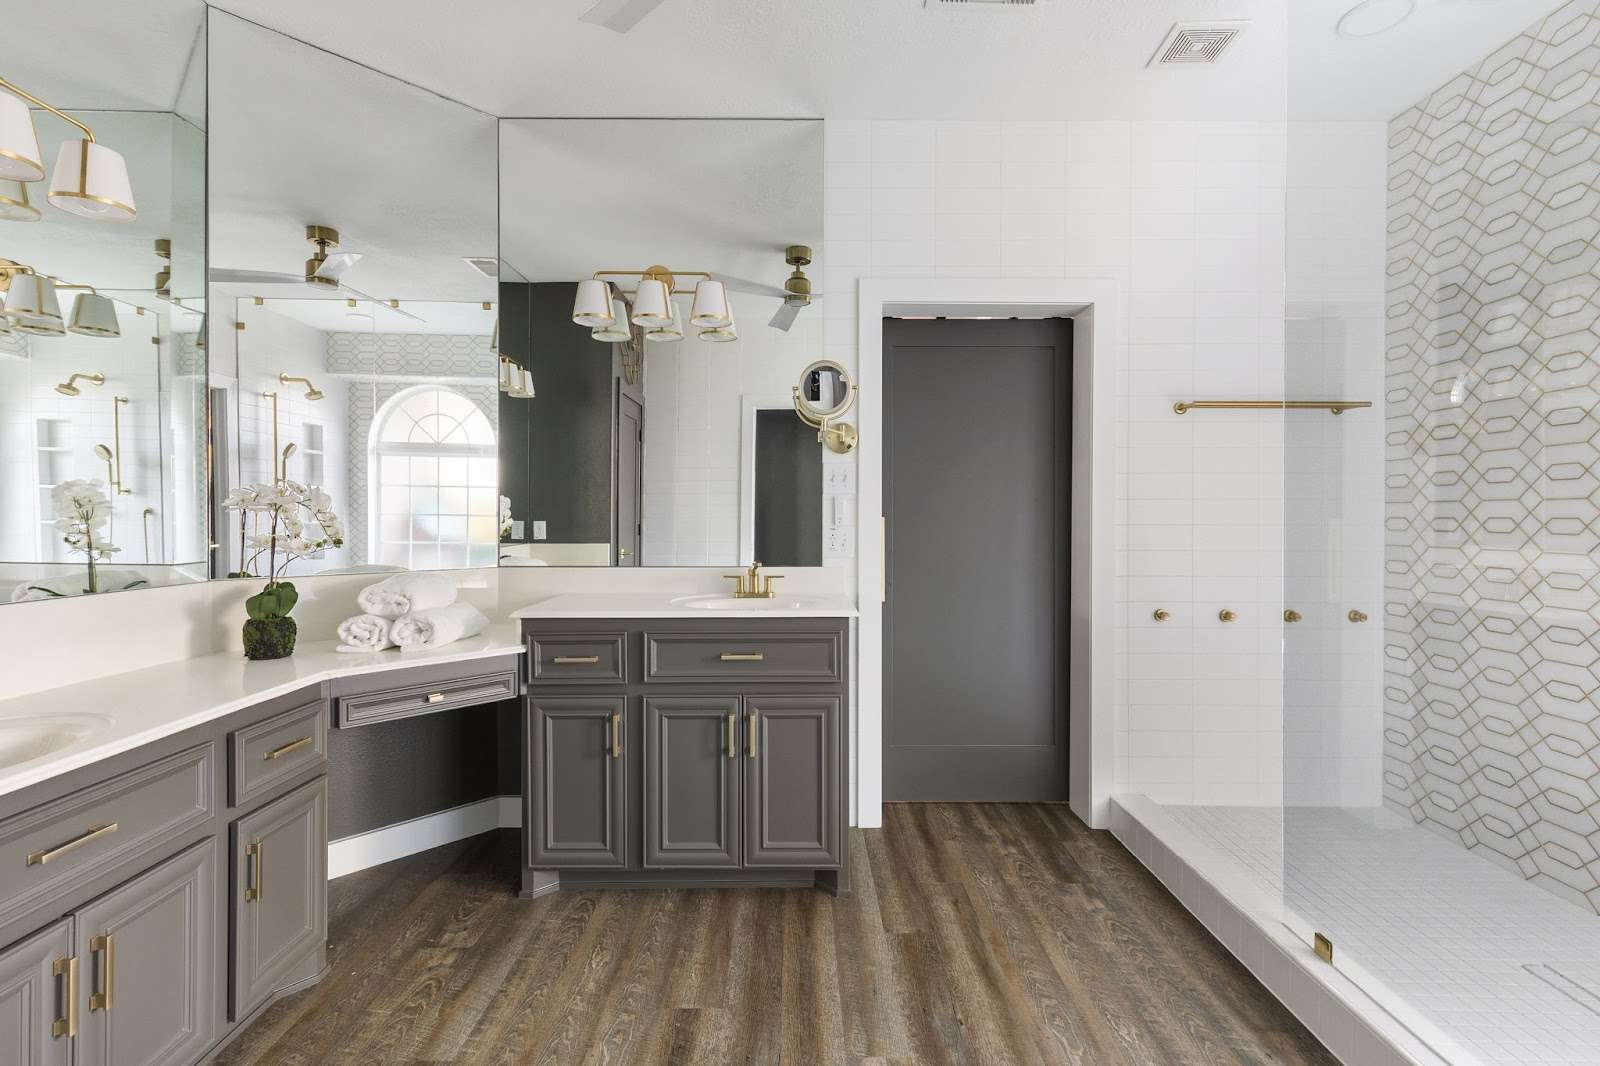
Alright, let’s get this shower party started with some layout magic!
There’s a lot that goes into a shower remodel—from optimizing the bathroom’s flow and picking materials that laugh in the face of moisture to maintaining proper ventilation. And it all starts with the layout.
It’s crucial to consider the location and size of the shower to ensure it fits within your bathroom’s existing layout. With a bit of strategic thinking (and some luck), you’ll have a shower space that’s not just functional but also a total showstopper.
You’ll find a ton of inspiration for your bathroom remodel here!
Optimize the Bathroom Layout
The goal here is to create a bathroom that feels like a soothing sanctuary rather than a cramped puzzle. That means you’ll have to make some savvy design decisions to optimize the layout and transform the space into a blend of style and function.
Here’s what you can do:
- Swap the tub for a shower to save precious space and enhance flow.
- Go vertical and make use of available wall space with tall cabinets or linen columns.
- Consider corner installations; they’re perfect for sinks and showers and allow you to use every inch.
- Choose sliding doors; they’re sleek and minimize obstructions.
- Separate wet and dry zones to keep things organized and functional.
When mapping out your bathroom layout, make sure there’s plenty of room to move around and use the available fixtures. Nobody wants to shimmy past the sink just to hop in the shower! With these tips, you’ll have a bathroom that’s not just stylish but also spacious enough for you to bust a little two-step whenever the mood hits.
Select Durable Materials
Now that you’ve got your bathroom layout sorted, let’s make sure it stands the test of time with some smart material choices.
And honey, you’ll have quite a few options here:
- High-performance materials like laminate panels are waterproof, scratch-resistant, and mimic stone so well you’ll do a double-take.
- Solid surfaces or cultured stone are non-porous champs, easy to clean, and keep cracks at bay.
- Fiberglass panels are your new best friend if you’re on a budget—they’re affordable and waterproof, perfect for a DIY project.
- Natural stone offers unique patterns from irregular tile formation, adding a one-of-a-kind touch to your design.
- Granite tiles bring heat resistance and style in spades, adding a touch of luxury.
- Porcelain tiles are your go-to for wet areas—they’re less porous and more durable than ceramic, and hold up well in Texas humidity.
- PVC composite shower surrounds are a mid-priced option with faux marble or granite patterns, ideal for a balance between cost and style.
With these materials, your shower will be both fab and functional!
Plan for Effective Ventilation
While you’re busy dreaming up the perfect shower space, let’s not forget about the key element of ventilation—because nobody wants to turn their bathroom into a hot, steamy swamp!
Here’s how to tackle this:
- Position the fan as close to the shower or tub as possible to capture moisture efficiently, ideally keeping it within 6 feet of the exterior vent.
- Vent directly outside—no attics or crawl spaces (unless you’re into surprise mold… which you’re not!).
- Choose a fan with the right CFM rating for your bathroom size, and go for an ENERGY STAR-rated model to keep things efficient and save energy.
- Timer switches and humidity sensors are your best friends for turning the fan on when needed.
- Keep the duct runs straight, short, and insulated if you live somewhere chilly.
A well-ventilated bathroom isn’t just a matter of comfort—it’s crucial to prevent moisture buildup and protect indoor air quality, ensuring a healthier home environment and keeping your shower looking brand-new for years to come.
Choosing the Right Shower Type
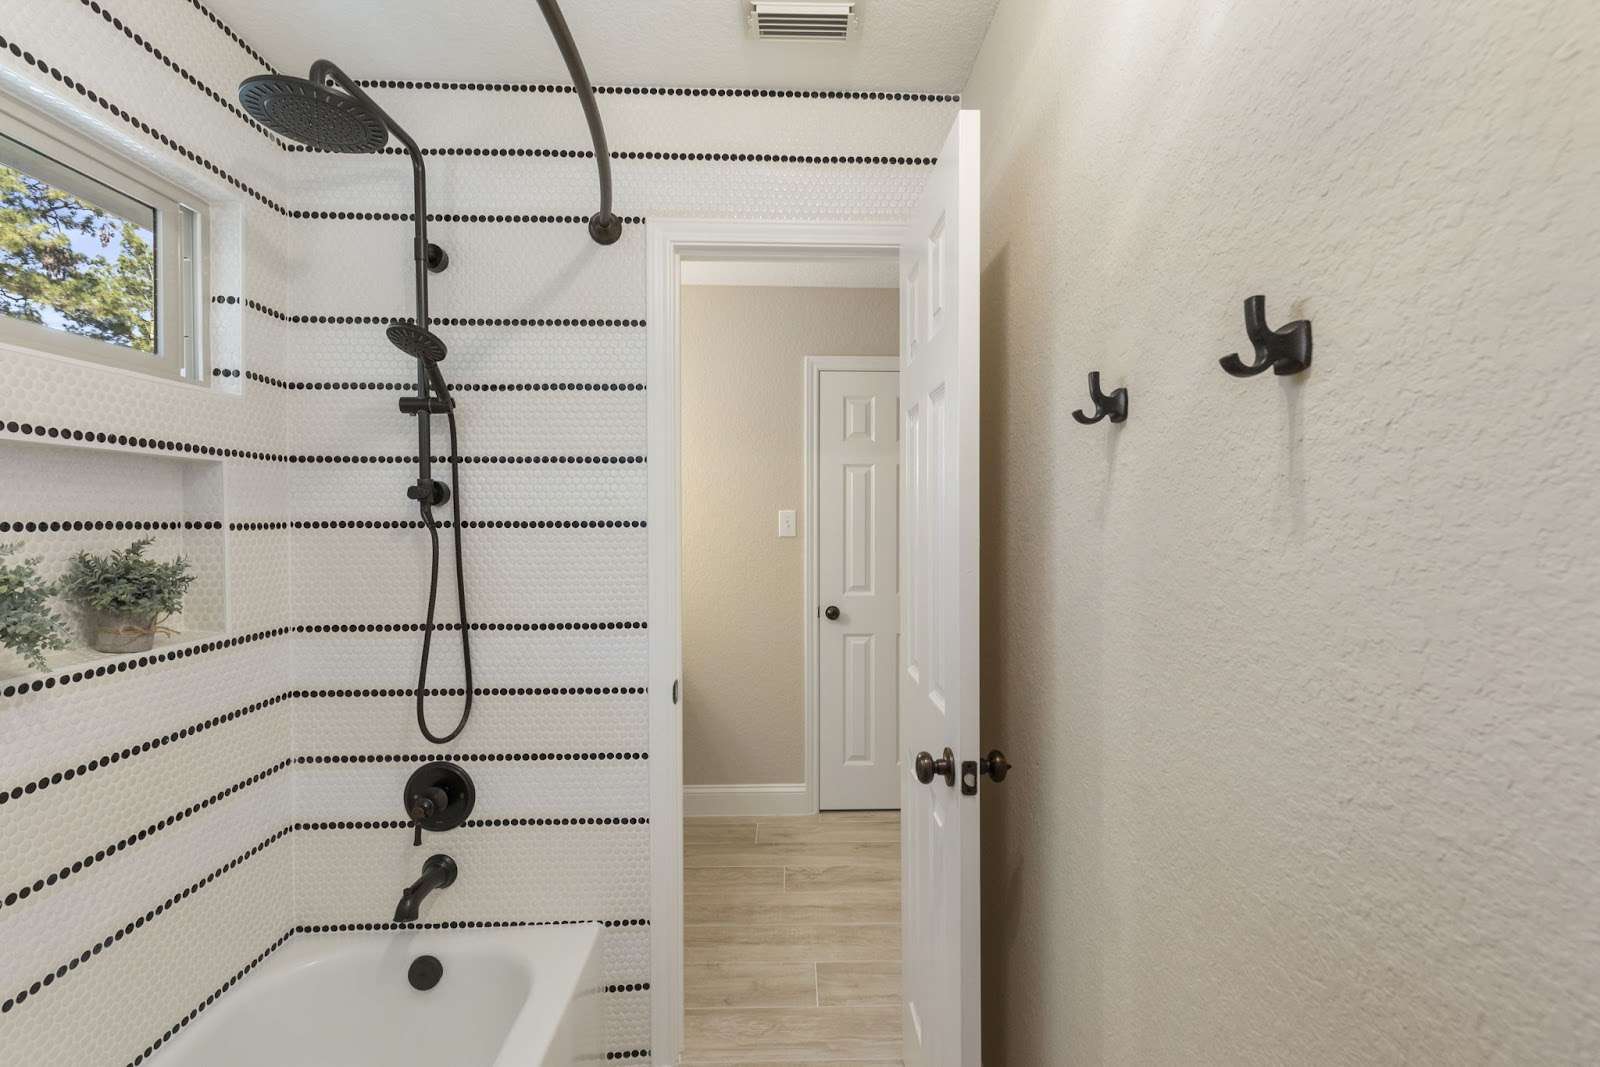
Now that we’ve tackled the not-so-tiny matters of cost and layout, let’s talk about choosing the right type of shower.
Each option has its own charm—all you’ve got to do is find what tickles your fancy:
- Electric showers: Ideal for homes with gravity-fed or combination boiler systems. These use cold water only, heating it only when required, which makes them both efficient and straightforward.
- Mixer showers: Love a good mix? These require separate hot and cold water supplies and work best with traditional or unvented systems. Just be sure your water pressure is around 1-3 bar, or you might need a pump.
- Power showers: Your water pressure is on the lower side? No problem—these include built-in pumps to give your water flow a boost.
- Digital showers: For those who love a touch of modern tech, these showers offer precise temperature control and sleek features for that futuristic vibe.
- Eco showers: Water-saving wonders that don’t skimp on performance—great for the eco-conscious.
- Rain showers: Going for a spa retreat type of vibe? These showers are designed to mimic a gentle downpour for a truly luxurious experience.
And while we’re at it:
Choosing the right type of shower doors—be it sleek glass or a classic frame—that fits your dimensions and complements the design aesthetic, is key to tying your whole look together.
Feeling overwhelmed with options? That’s where we come in. Our team takes your ideas and turns them into reality without the guesswork—or the expensive mistakes.
Demolition and Preparation Steps
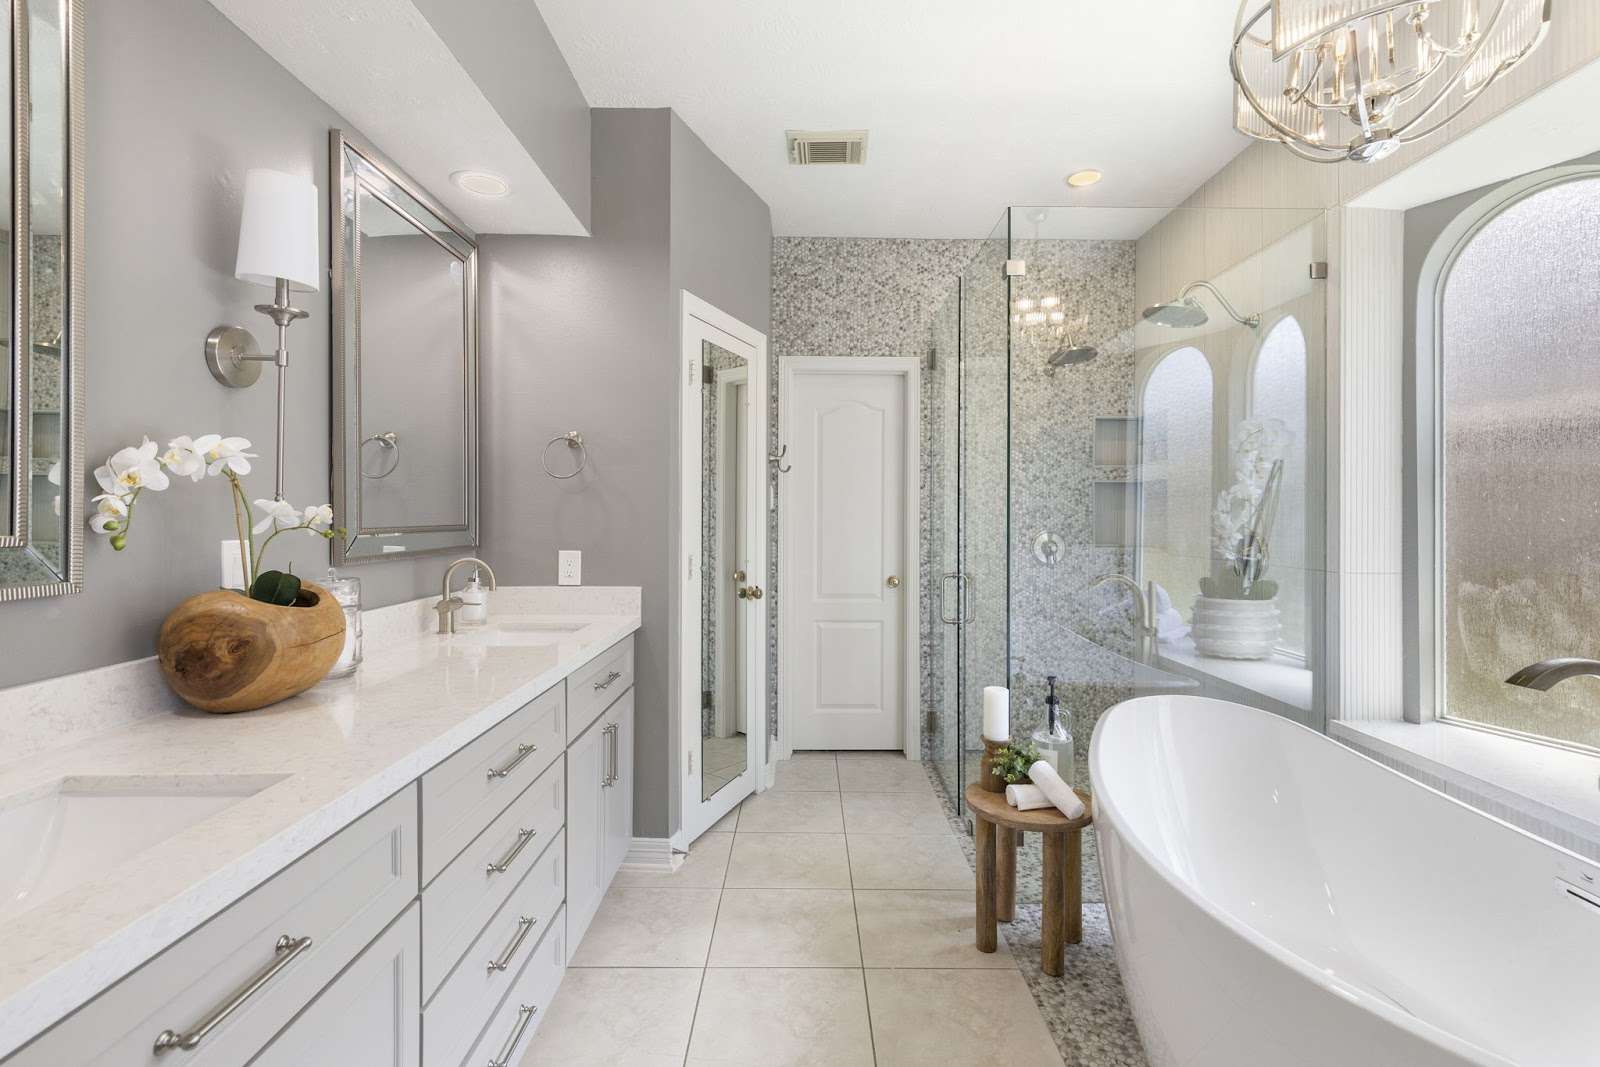
Alright, folks, let’s roll up those sleeves and dive into the chaos that is the demolition phase!
If you’re going down the DIY route, you’ll need to gather a few tools—including hammers, pry bars, and possibly even a reciprocating saw. Most importantly, think about safety. Suit up with goggles and gloves and keep additional safety gear on hand to minimize the risk of injuries.
Before you get down to work, be sure to clear out the bathroom clutter—you don’t want soap dispensers flying around, do you?
Oh, and don’t forget to shut off utilities; we’re avoiding geysers and electrical zaps here.
Cover the floor, protect your surroundings, put that DIY armor on—and get to work. Tackle the vanity, toilet, and shower fixtures, leaving no mirror or trim in your path unturned.
Shut off utilities to dodge unexpected waterworks and shocks; safety gear on, it’s go time!
Keeping things tidy during demolition can be tricky. The key is to plan for disposal of demolished items like toilets and sinks to avoid accumulation of debris—both in your home and on the curb.
A Quick Word on Waterproofing Techniques
When we say “prepare for a shower remodel,” we mean “waterproofing.” Why? Because nobody wants a soggy bathroom.
So, once you’re done with the demolition, you’ll need to plan for proper waterproofing to prevent leaks and moisture damage.
Clean the area thoroughly, checking for any sneaky mold, and get ready to apply a waterproof membrane.
Here are the most commonly used options:
- Liquid Membranes: Roll on layers with a paintbrush; they’re like a raincoat for your shower.
- Sheet Membranes: Stick them on, ensuring there’s at least 2 inches of overlap.
- Foam Kits: These kits typically include foam wallboards and shower bases, combining structural stability and waterproofing.
- Advanced Tricks: Use Kerdi bands around pipes and screw holes, and flood-test your shower pan for leaks.
Plumbing and Electrical Updates

You’re already giving your bathroom a facelift, so why not throw in some plumbing and electrical updates while you’re at it?
For one, it keeps your shower space safe and ensures that it can handle any changes in layout and fixtures. And two, it’ll significantly increase the resale value of your home; modern systems are appealing to potential buyers. It’s win-win all around.
Here are some upgrades you might want to add to your to-do list:
- Low-flow fixtures will save both water and your wallet, lowering your bills. Texas summers get hot, and water conservation matters.
- Tankless heaters mean endless hot showers—minus the bulky tanks.
- Wider pipes improve water pressure, making you feel like you’re under a waterfall.
- Secondary drainage will prevent water buildup and accommodate new fixtures.
- Single lever handles allow for easier water control and add a sleek and modern look.
Look, we love a good DIY project, but some remodel tasks are better left to the experts—and any sort of plumbing or electrical updates are one of them. Just reach out to us and we’ll let you know if it’s time to call in the pros.
Fixture Installation Process
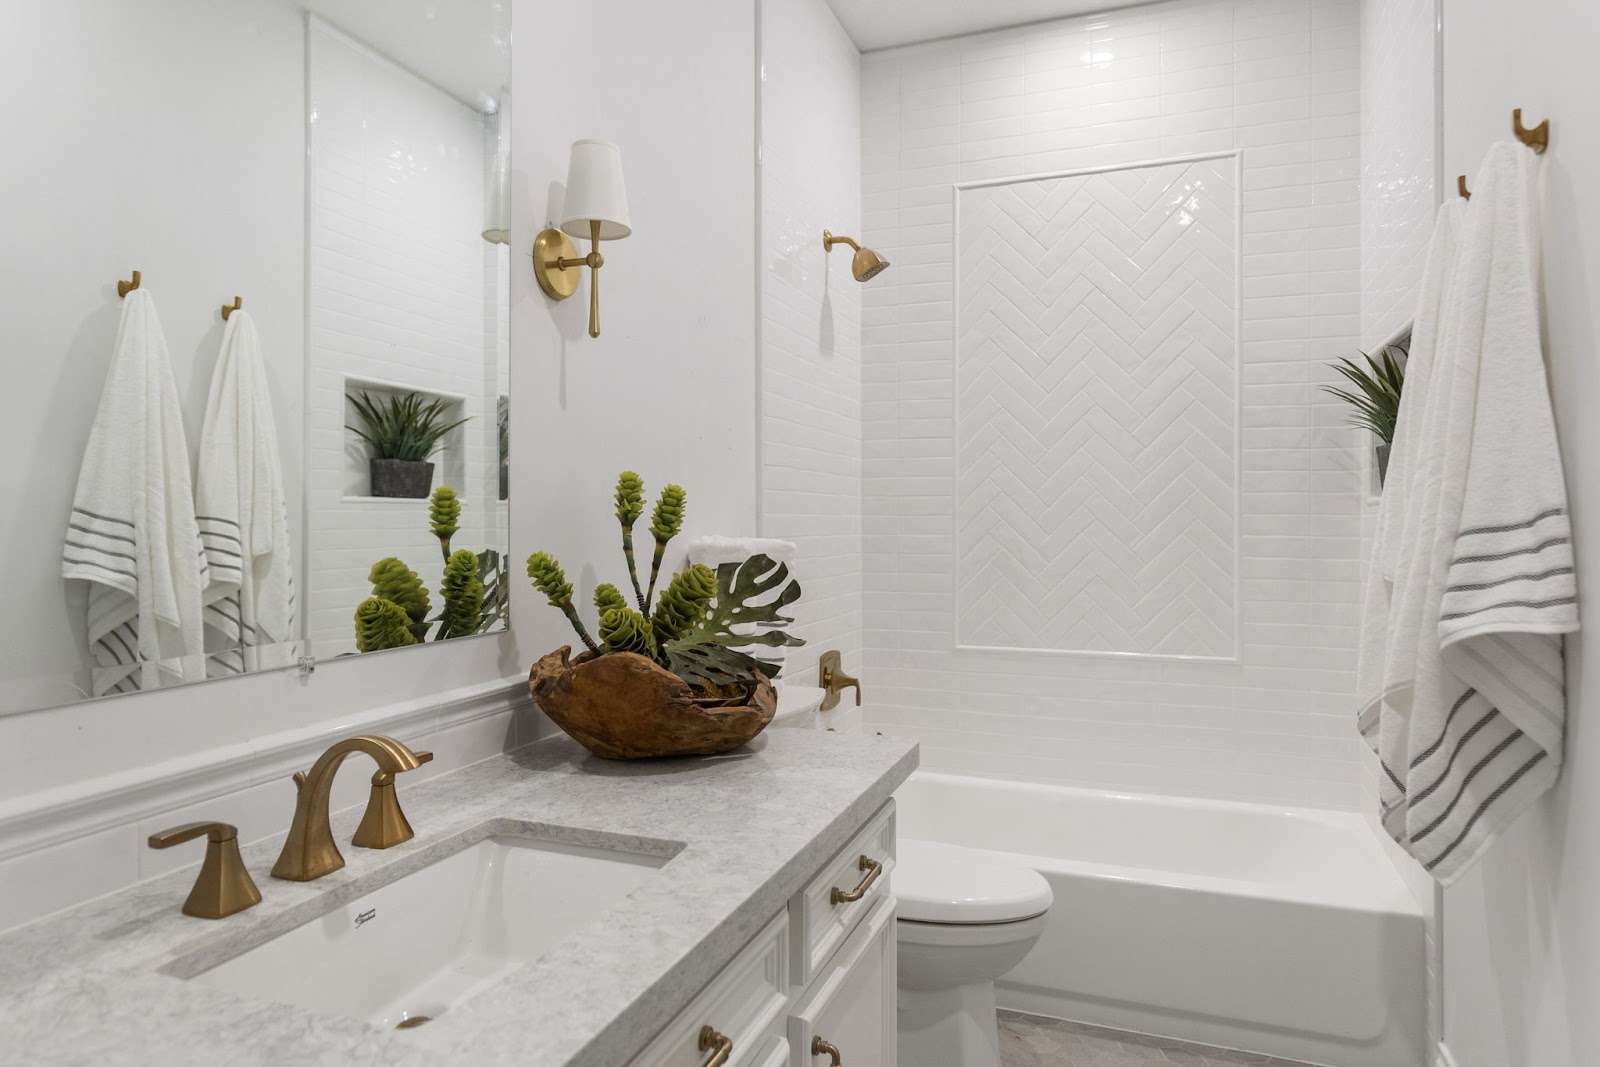
Once your plumbing and electrical updates are in place, it’s time to install your shower fixtures.
Here are the key steps that will ensure everything functions smoothly while preventing leaks and water damage:
- Prep first by shutting off the water supply and blocking the shower drain with a cloth to prevent small parts from falling in.
- Secure the shower column by attaching it to the valve’s upper outlet; you want a sturdy foundation.
- Install the shower arm at the preferred height, wrap it with Teflon tape, and seal those holes with silicone to keep water from sneaking in.
- Decide between a screw-on or slide-on tub spout and install it accordingly to ensure a secure fit.
- Seal everything by applying silicone sealant around all fixture access holes to stop any pesky leaks.
Voilà, your shower’s looking sharp—and, most importantly, leak-free!
If you’d rather skip the measuring, cutting, and drilling, our team can handle all the details and give you a finished look that’s both stylish and sturdy.
Tiling and Finishing Details
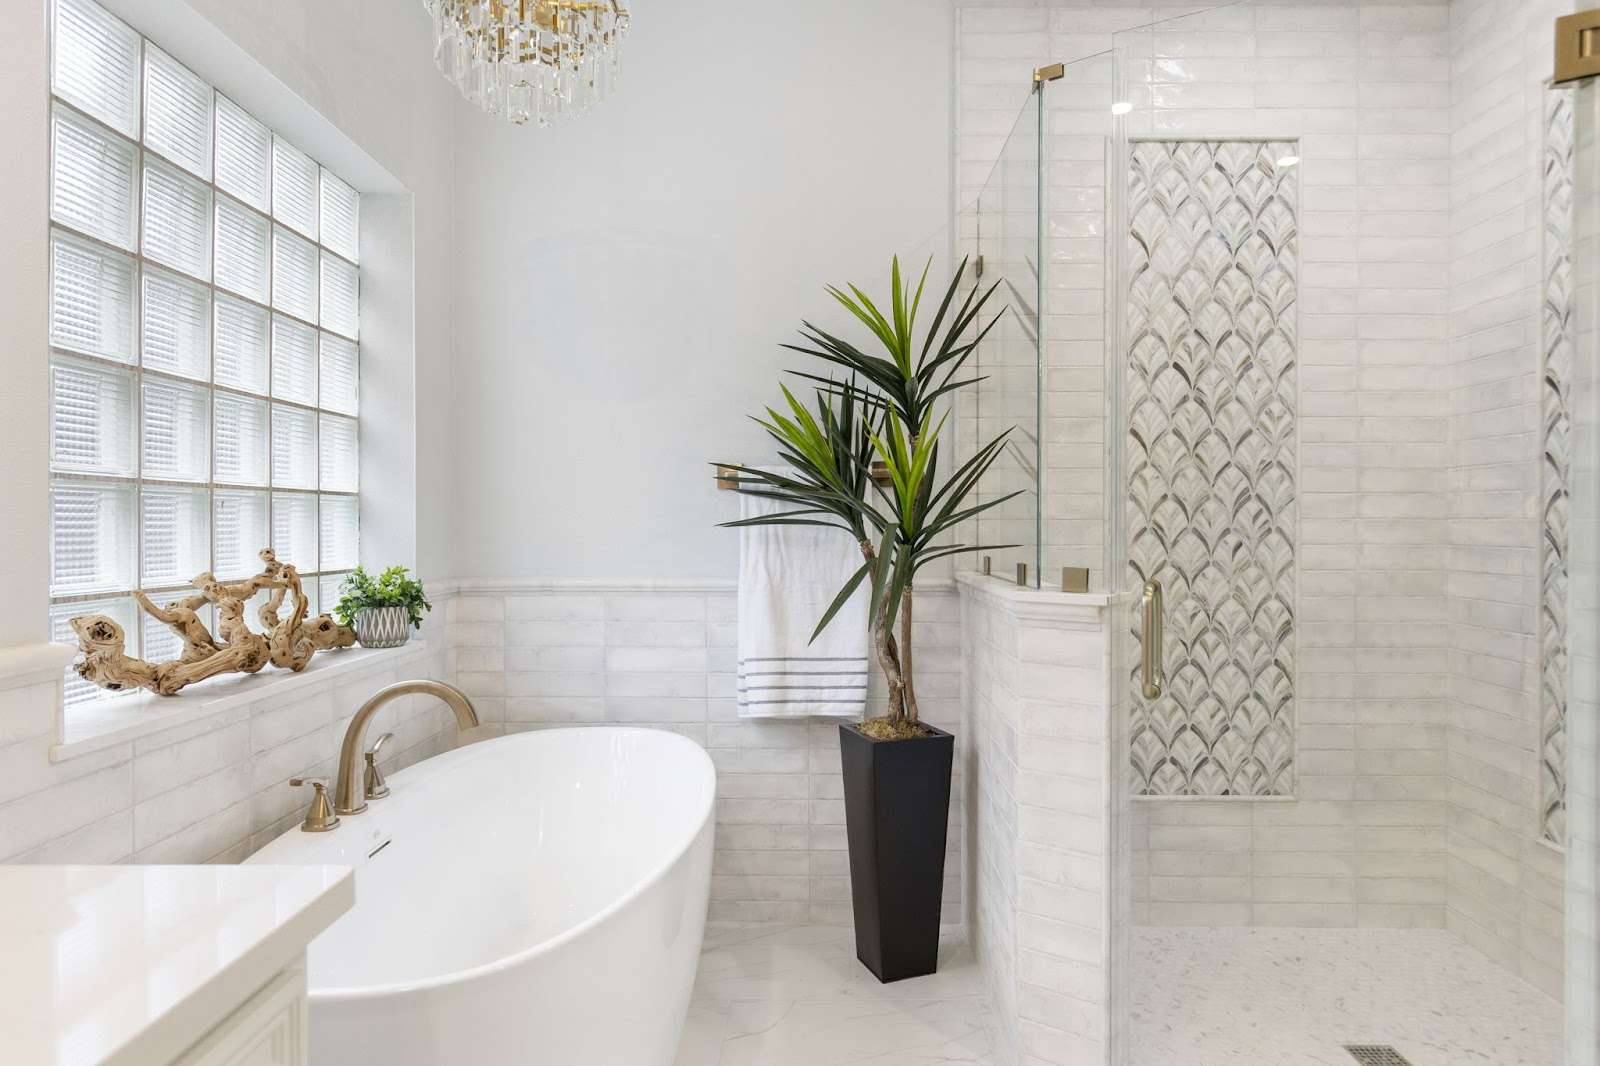
Ready to transform your shower from drab to fab?
Let’s chat about picking the perfect tiles—whether you’re going for the chic gloss of marble or the sturdy charm of porcelain, your choices are endless.
When selecting tiles, consider the slip resistance and durability of the material to ensure safety and longevity in your shower space. We’ll also cover the nitty-gritty of grout and caulk, and why waterproofing isn’t just a good idea—it’s your shower’s best friend.
Here’s a pro tip:
Consider installing a single piece shower pan; it simplifies maintenance and minimizes the risk of leaks compared to a traditional tile floor.
Tile Selection Considerations
You’re about to step into your shower, but instead of feeling like a spa retreat, it’s more like a slip ‘n slide waiting to happen. Doesn’t sound fun, now, does it?
Safety is key here—and slip-resistant tiles are a must. Each year, around 234,000 people over 15 suffer bathroom injuries—mostly from falls. That’s all you need to know about the importance of slip-resistant flooring.
So, let’s make smart choices:
- Large format tiles reduce grout lines, creating a smooth, elegant look in small spaces.
- Mosaic tiles will feature many grout lines—and lots of grout lines means better grip for your toes.
- Textured surfaces, like honed stone or ceramics, result in better footing.
- Proper tile sizing keeps things balanced; opt for small tiles for floors, and big ones for walls.
- Ceramic and porcelain handle moisture like champs; they are the leading waterproof options.
Of course, you shouldn’t forget about design harmony—be sure to match the tile styles with your bathroom’s vibe. The Design on a Dime team can help you with that, so don’t hesitate to schedule a consultation.
Grout and Caulk Applications
Alright, time to talk about grout and caulk—your bathroom’s unsung heroes.
Grout fills those pesky gaps between tiles, keeping them snug and in place. It’s a mix of cement, sand, and water, or sometimes epoxy for extra strength. Dark grout can add drama, while lighter shades make spaces feel airy.
Caulk is like grout’s flexible cousin. When properly applied, it seals moving parts—think shower corners and tub edges—preventing moisture infiltration and maintaining water-tight seals, which ensures the longevity of your bathroom surfaces. Silicone caulk is a bathroom favorite, thanks to its mold-resistant and waterproof nature.
Here’s a quick table to break it down:
| Feature | Grout | Caulk |
| Use | Tile joints | Dynamic joints |
| Best for | Static areas | Areas with movement |
| Material | Cement-sand-water or epoxy | Silicone or acrylic |
| Application tool | Rubber float | Caulking gun |
Adding the Final Touches
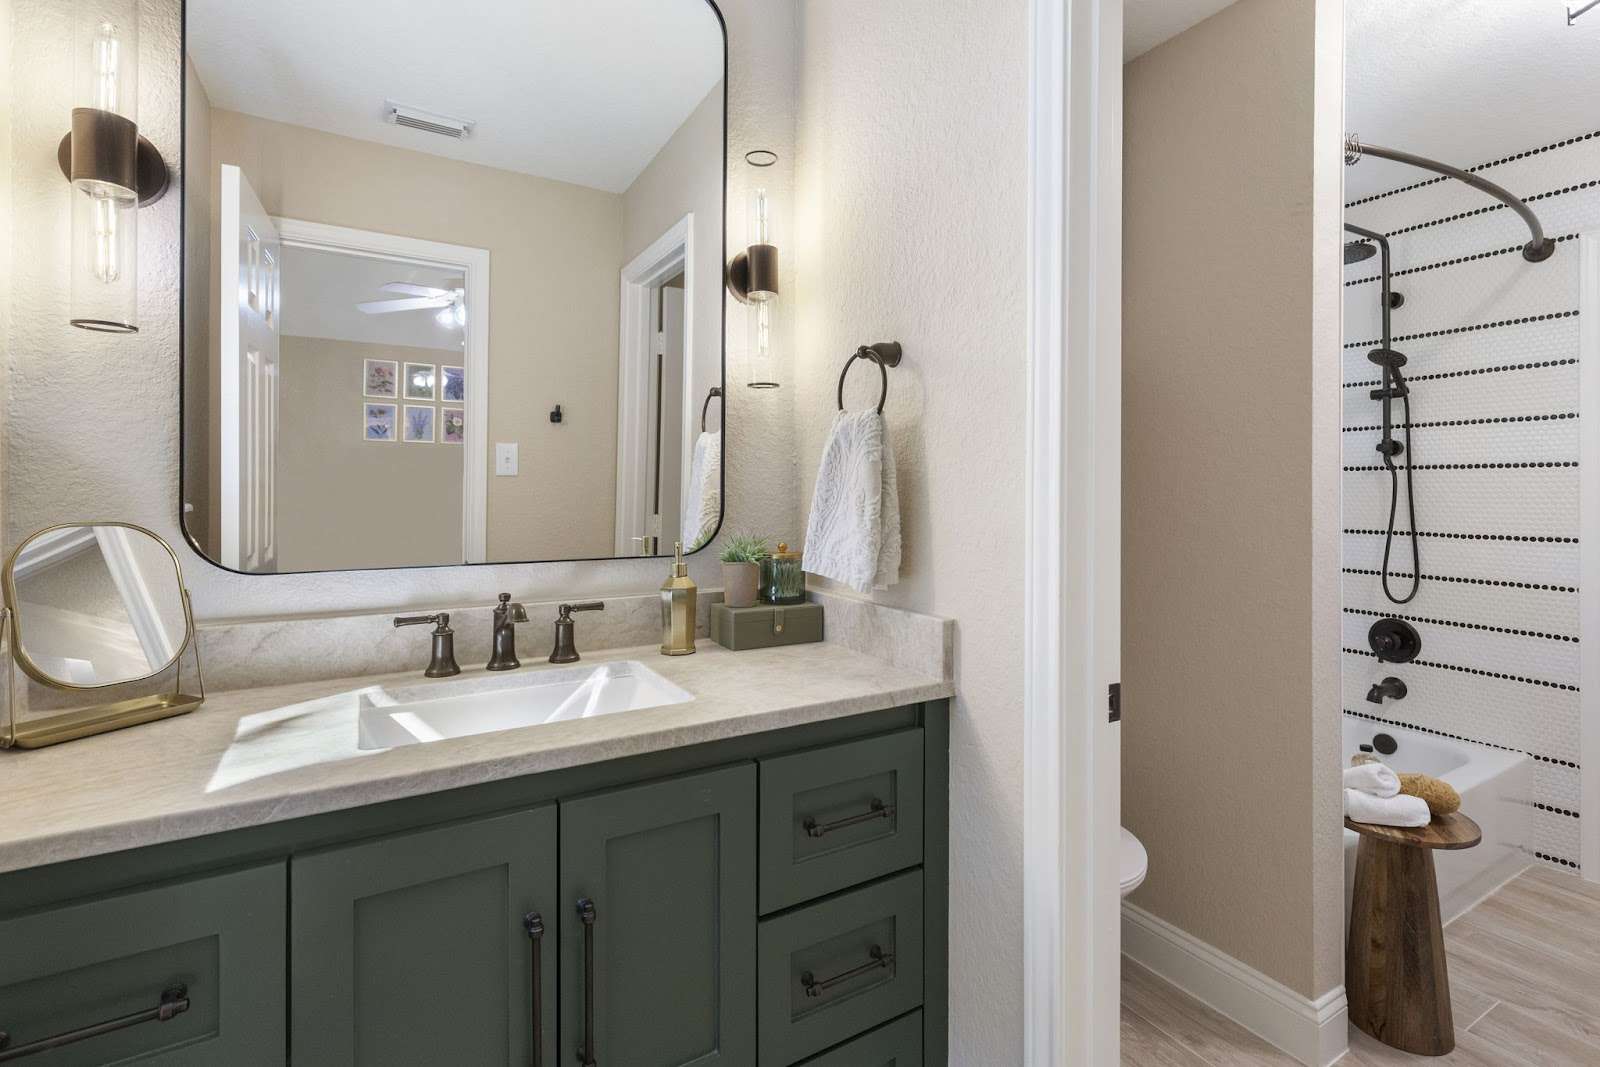
Now that the heavy lifting is done, it’s time for the fun part—those little details and finishing touches that take your shower from basic to breathtaking.
For instance, upgrading to a rainfall shower head could make you feel like you’re in a tropical paradise, while sleek towel warmers add a spa-like, luxury touch. And how about embedding LED lights into your shower niche for a dash of style?
It’s all about mixing practicality with flair.
Want to make your bathroom feel bigger and brighter? Smart fixtures like backlit LED mirrors offer the perfect glow for getting ready.
Even the smallest details can make a big impact. Statement hardware—think unique knobs or handles—can add a touch of class without breaking the bank.
And don’t forget a little greenery! Add a succulent or two, and suddenly your shower isn’t just a place to rinse off—it’s a personal retreat.
Ready to Transform Your Shower?
There’s nothing quite like stepping into a freshly remodeled shower—a private retreat where every detail reflects your unique style. But while it’s tempting to focus solely on beautiful tiles and sleek, new fixtures, you should be mindful of the potential challenges that come with any remodelling process—and your budget, too.
Don’t worry, though—your dream shower space is within reach!
Whether you’re looking for guidance or a little extra inspiration, you can schedule a consultation with the Design on a Dime team.
Let’s chat about your ideas and make them a reality. Contact us today!