
Why Your Texas Kitchen Feels Dark (And the Lighting Fix That Changes Everything)
Kitchen lighting ideas are everywhere, but most of them skip the part where your kitchen actually starts to feel like it works. You’ve probably updated your counters, swapped the cabinet hardware, maybe even repainted. And the kitchen looks better.
But something still feels off, especially at night. The overhead light does its job in a flat, clinical kind of way, and those shadows across the counter while you’re chopping? Still there. Still driving you a little baffling every single time you cook.
The truth is, most kitchens in our area are built with one overhead fixture and a handful of recessed cans, and that’s it. It’s not your fault the kitchen feels dim, honey. It’s a builder-grade lighting plan that was never designed to make your kitchen feel like home.
It was designed to pass inspection and move on. The good news is that fixing it doesn’t require tearing anything out. It requires a strategy. And I’m about to walk you through exactly how it works.
Why Builder Lighting Leaves Texas Kitchens Feeling Flat
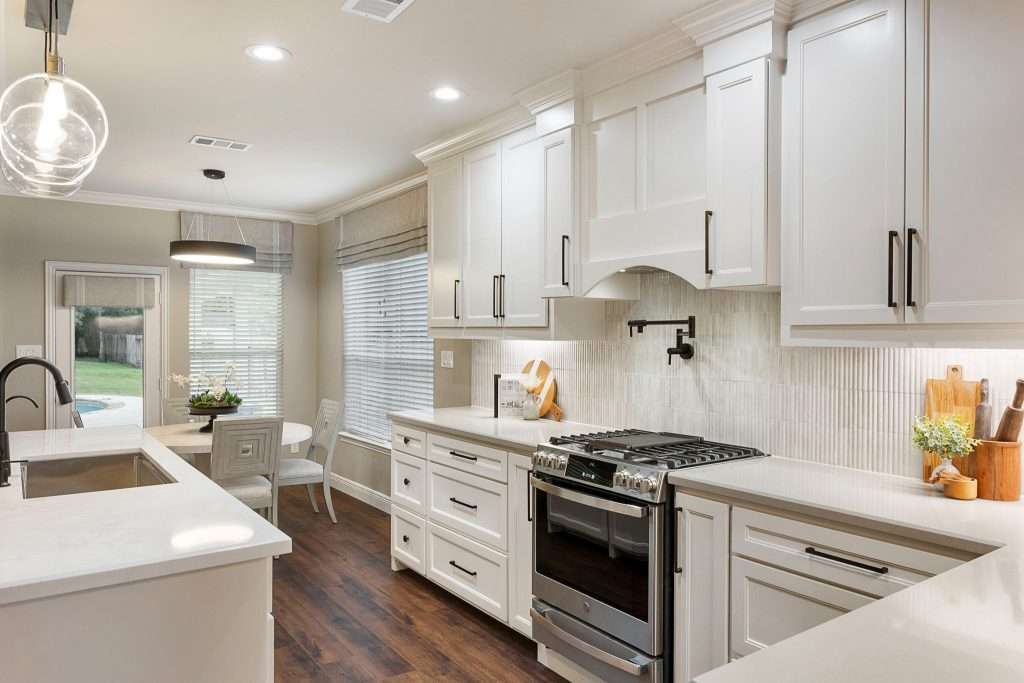
Most Texas homes built in the last twenty years came out of the ground with the same lighting setup: a ceiling fixture in the center of the kitchen, a few recessed cans positioned more or less symmetrically across the ceiling, and maybe a light over the sink. The result looks fine on a listing photo taken with a wide-angle lens. In real life, it creates two problems.
First, overhead-only lighting casts shadows directly onto your work surface. Think about where the light is coming from when you’re standing at the counter chopping vegetables. It’s behind you, or directly above you.
Either way, your own body is blocking the light from reaching the place where you’re actually working. This isn’t a design flaw you notice when you’re glancing around the kitchen. You feel it every single time you reach for a knife.
Second, flat, uniform light makes a room feel smaller and less interesting. When every surface in the kitchen is lit to roughly the same intensity, there’s no depth, no warmth, no reason your eye knows where to land.
The spaces that feel expensive and inviting, the ones that stop you in your tracks when you walk in, almost always use light at multiple heights and with multiple purposes. That’s not a coincidence.
The National Kitchen and Bath Association has been studying lighting in residential kitchens for decades, and their research consistently points to the same conclusion: kitchens need layered light to function well and feel good. One source at the ceiling, however bright, doesn’t cut it.
The Three-Layer System That Makes Kitchen Lighting Actually Work
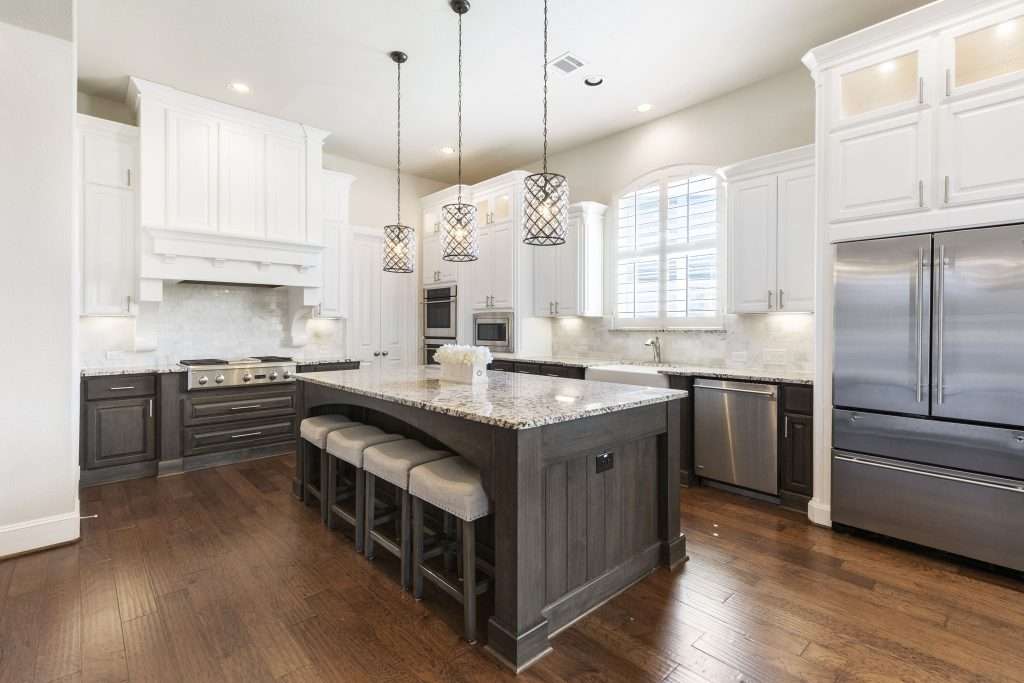
Here’s the framework every well-lit kitchen is built on, and it’s simpler than it sounds once you see the names for what they describe.
Ambient light is your base layer. It’s the general illumination that lets you navigate the space, see into the refrigerator, and move around safely. Recessed cans, ceiling-mounted fixtures, and track lighting all serve this function. In most Texas kitchens, this layer already exists. The problem is it’s been expected to do everything on its own.
Task light is the focused, close-range illumination directly over your work surfaces. Under-cabinet lighting is the gold standard here because it puts the light source between your eyes and the counter, eliminating the body-shadow problem entirely. According to the Illuminating Engineering Society, kitchen work surfaces perform best with 200 to 500 lumens per linear foot from under-cabinet fixtures, depending on whether you’re prepping food or just want a warm ambient glow in the evening.
Accent light is the layer most homeowners skip entirely, and it’s the one that makes a kitchen feel designed rather than just functional. Cabinet lighting inside glass-front uppers, toe-kick strips along the base of your cabinetry, and pendants over an island all fall into this category. This layer adds depth, draws the eye, and gives your kitchen a completely different personality at 7pm than it has at noon.
Most builders only deliver the first layer. A well-designed kitchen uses all three, and the layers work together in a way that no single one of them can replicate on its own.
What Kitchen Lighting Actually Costs in a Texas Remodel
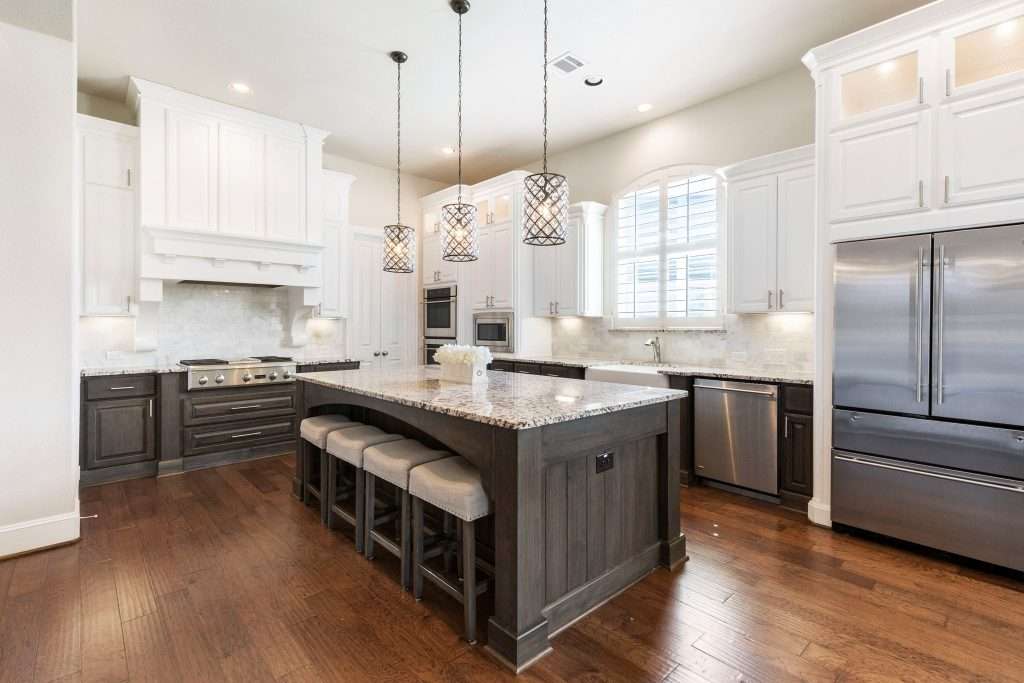
When you’re planning a kitchen remodel or a targeted lighting upgrade, it helps to know what you’re actually buying. Here’s how the layers break down in real terms.
Recessed lighting upgrades: If your existing cans are old halogen fixtures, swapping them for LED trim kits is one of the highest-return moves you can make. Expect to spend $75 to $150 per fixture installed, depending on whether new wiring is needed. A typical kitchen in a 2,500-square-foot home in Conroe or Spring might have six to eight cans. Replacing all of them with properly positioned, dimmable LED fixtures runs $500 to $1,200 total, depending on the electrician’s day rate in Montgomery County.
Under-cabinet task lighting: LED strip lights have become the go-to for under-cabinet applications because they provide even, continuous illumination without the hot spots that puck lights create. A professionally installed under-cabinet system for a medium-sized kitchen typically runs $800 to $2,000, including wiring to a dedicated switch. If you’re doing a full kitchen remodel, this is the time to wire it properly so the switch lives where you’d actually want it, not wherever was convenient during rough-in.
Pendant lighting over an island or peninsula: This is where the accent layer gets to do its best work. Pendants are also where homeowners most often over- or under-spend. A single statement pendant that anchors a kitchen island runs anywhere from $200 to $1,500 for the fixture, plus installation.
Two or three smaller pendants spread across a longer island is a completely different budget and a completely different look. For sizing: pendants should hang approximately 30 to 36 inches above the countertop surface, or 66 to 72 inches from the floor in kitchens with standard 9-foot ceilings.
Dimmer switches: Often overlooked, almost never optional. A kitchen where every light layer can be controlled independently on a dimmer is a fundamentally different kitchen than one where everything is on a single switch. Budget $25 to $75 per switch for quality dimmers compatible with LED fixtures. This is one of the best dollars-per-impact investments in the entire kitchen.
If you want a clear picture of what your full kitchen remodel budget should include across all these line items, the Texas Kitchen Remodel Cost Calculator breaks it down by scope, size, and location across Greater Houston.
Color Temperature: The Decision Most Homeowners Get Wrong
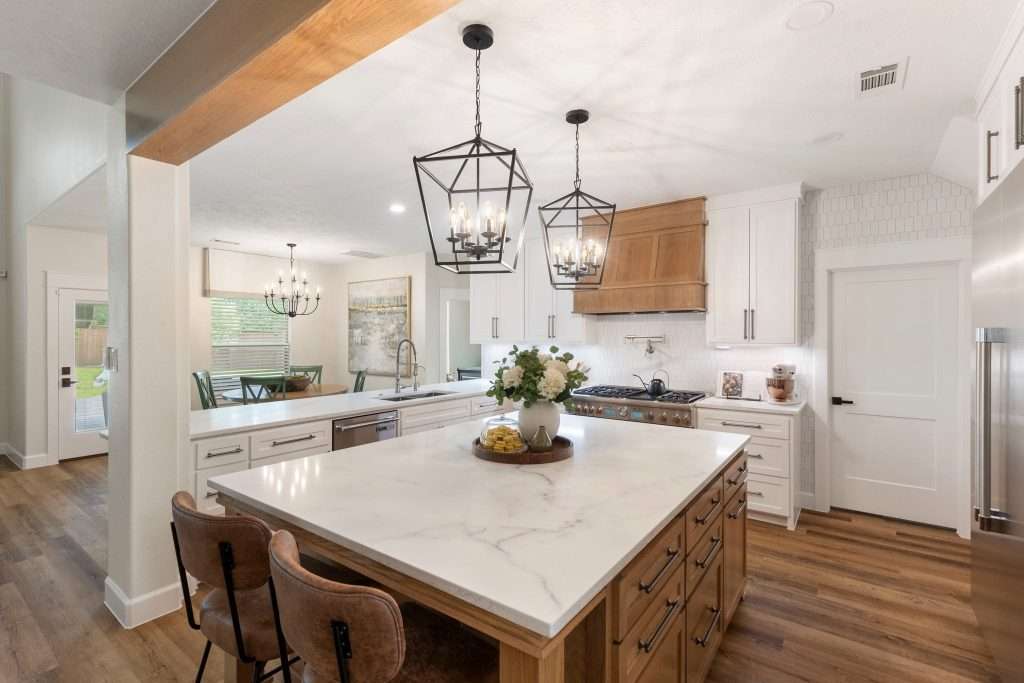
Color temperature is the thing I see homeowners get wrong more consistently than almost anything else in a kitchen refresh. You pick a fixture you love, you install it, and the light looks wrong somehow. Off. Too cold, too yellow, or strangely mismatched with the fixture on the other side of the room. Here’s why that happens.
Color temperature is measured in Kelvin (K), and the number tells you whether the light leans warm or cool. 2700K to 3000K is warm white, similar to an incandescent bulb, and it makes wood tones, cream cabinets, and natural stone look beautiful. 3500K to 4000K is a cleaner, cooler white that suits modern kitchens with white or gray cabinetry, stainless appliances, and polished quartz.
The most common mistake is mixing color temperatures across different fixtures in the same kitchen. Your under-cabinet strips at 2700K paired with recessed cans at 4000K will make the kitchen feel slightly incoherent, even if you can’t immediately name why.
The light just looks “off.” The rule is simple: keep all task lighting at the same Kelvin value, and stay consistent across ambient fixtures too. If your pendants are 3000K, your cans should be 3000K.
For most Texas kitchens, 2700K to 3000K is the right call. Our homes tend to have warm-toned finishes, wood elements, and natural stone or quartz that reads beautifully under warm light. The big, open builder layouts common in neighborhoods like The Woodlands, Katy, and Cypress get a lot of natural light during the day, and a warm artificial light in the evening balances that shift naturally without feeling jarring.
One more spec worth knowing: CRI, or Color Rendering Index, measures how accurately a light source shows the true colors of objects under it. A CRI of 90 or above is the target for kitchens. Below 80 and your food, your finishes, and your paint colors will all look subtly wrong under artificial light, in a way that’s hard to diagnose if you don’t know to look for it.
Where Recessed Cans Go Wrong (And How to Fix Placement Without Starting Over)
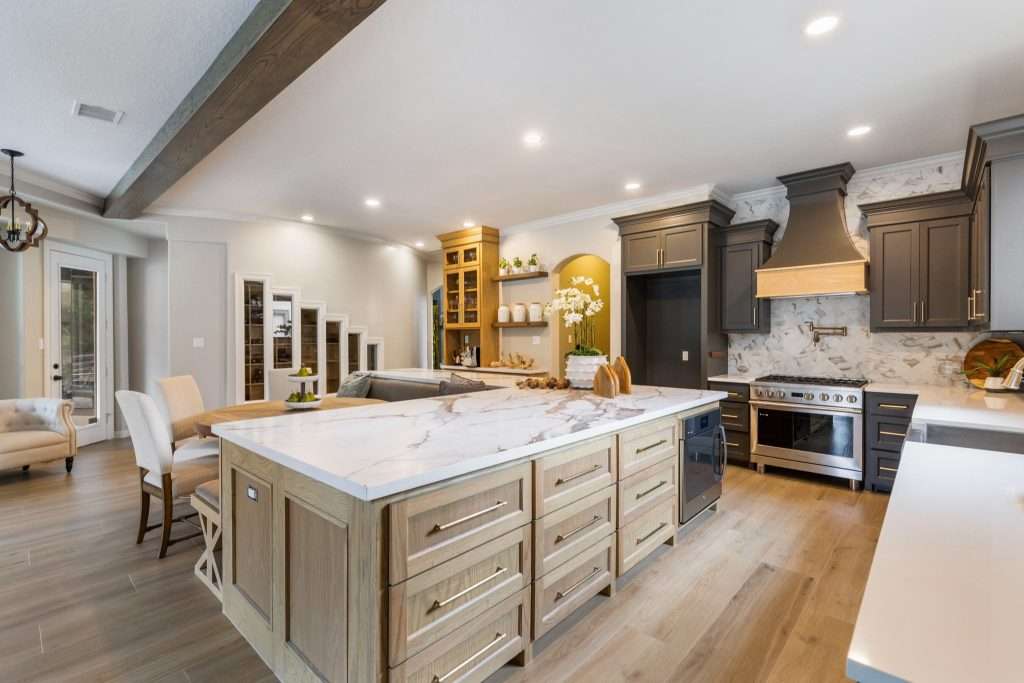
If your recessed cans were installed during construction, they were almost certainly positioned by a framing crew following a basic lighting plan, not a designer. That means they landed in whatever open ceiling space was available between structural members, not necessarily over the surfaces where light was actually needed.
The single most common recessed lighting mistake in Texas builder homes is cans positioned too far back from the counter edge, up in the center of the ceiling. When you stand at your counter, the light is hitting the tops of your shoulders instead of the work surface in front of you. The NKBA recommends that recessed lighting used for task purposes be positioned 24 inches out from the wall, placing the beam directly at the counter edge rather than casting it across your back.
If your existing cans are in the wrong place, the fix isn’t always a full electrical project. Sometimes repointing the trim direction on an adjustable can moves the beam enough to matter. Under-cabinet lighting, as described above, solves the problem entirely because it creates a task light source that doesn’t rely on ceiling position at all.
For new construction or full remodels, here’s the spacing rule that holds up across most kitchen configurations: position recessed cans approximately 2 feet from the wall running parallel to the counter, and space them 4 feet apart along that line.
This creates consistent coverage without pools of light and shadow between fixtures. In the open-plan layouts that are standard across most master-planned communities in Greater Houston, where the kitchen flows directly into the dining and living areas, this spacing logic also helps define the kitchen zone visually without a wall or partition doing the work.
If you’re tackling a kitchen remodel and want the lighting done right from the start, working with a designer who maps the lighting plan before the electrician touches a wire makes a significant difference. The Design on a Dime Interiors kitchen remodeling team plans the full light layering strategy as part of the design package, so you’re not retrofitting fixes after everything is already installed.
The Fixtures That Read as Finished vs. the Ones That Date Your Kitchen
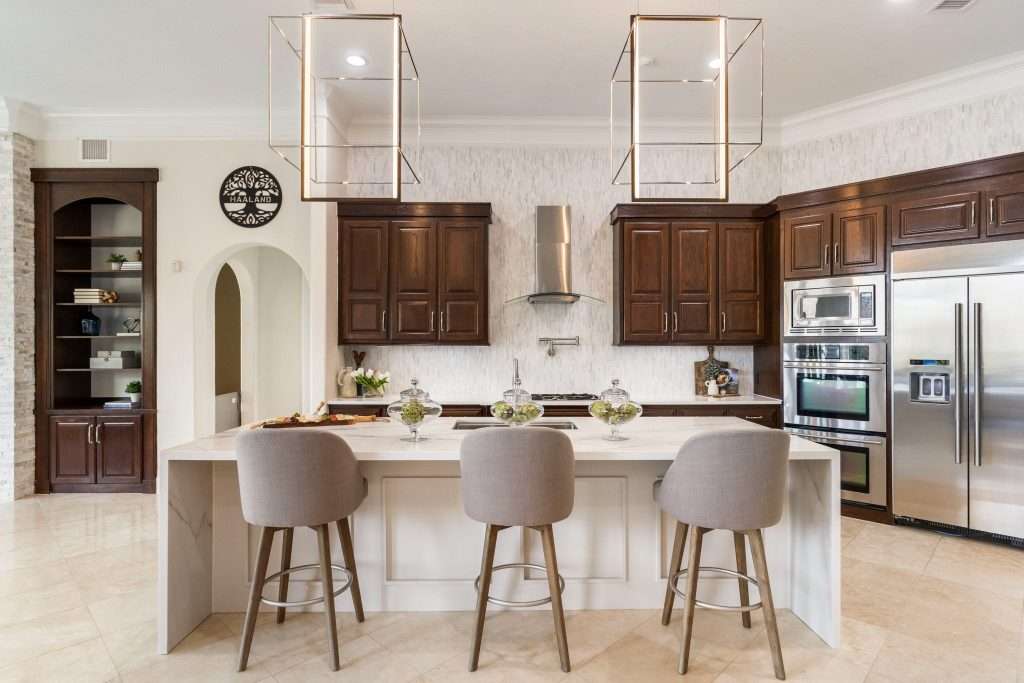
Fixture selection is where lighting crosses from function into style, and it’s also where I see homeowners second-guess themselves the most. Here’s the honest version: the fixture matters less than the placement strategy. A well-positioned basic pendant will always outperform a beautiful fixture installed in the wrong location. But since you’re choosing both, here’s what to actually think about.
Finish consistency is more important than fixture matching. You don’t need all your lighting fixtures to be from the same collection or the same style family. You do need them to share a metal finish, or at least finishes that are warm-toned together or cool-toned together.
Brushed brass, matte black, and aged bronze are all warm finishes. Polished chrome and brushed nickel lean cool. Mixing a warm and a cool finish in the same kitchen, without intention, is one of those “almost right” decisions that reads as unfinished without the homeowner being able to pinpoint why.
Pendants over an island should relate to the island’s scale. A single small pendant centered over a 7-foot island looks abandoned. Two or three pendants spaced evenly along the run, sized proportionally to the fixture’s head diameter relative to the island’s width, look designed.
The rule of thumb: pendant diameter in inches should be roughly one-third of the island’s width in feet, converted. A 6-foot island works with pendants around 24 inches in diameter, or smaller pendants hung in a trio.
Recessed can trim matters more than people think. Standard builder-grade trim is a flat white baffle ring. Swapping to a black baffle, a brushed brass ring, or an adjustable gimbal trim in a finish that ties to your other hardware is a detail that photographs well, reads well in person, and costs almost nothing relative to the impact. It’s the kind of move a designer notices immediately, and it costs $15 to $40 per fixture.
For homeowners in Spring,Cypress, and The Woodlands who are updating kitchens before listing or simply making the space work better for how they actually live, these fixture decisions are the kind of thing a consultation catches before money gets spent on the wrong thing.
Frequently Asked Questions About Kitchen Lighting
Both work, but hardwired is almost always the right answer for a kitchen remodel. Plug-in strips require a visible cord running to an outlet, which compromises the look and creates a hazard near a prep surface. Hardwired under-cabinet systems connect to a dedicated switch, sit flush and cord-free against the cabinet bottom, and behave like permanent fixtures rather than an afterthought. If you’re already opening walls for a remodel, hardwiring adds minimal cost and delivers a result that looks intentional. Retrofit plug-in strips make sense for renters or situations where no remodel is planned.
The IES standard for kitchen task areas is approximately 30 to 50 footcandles at the counter surface, which translates to roughly 300 to 500 lumens per square foot across your primary prep zones. A practical test: stand at your counter during your normal cooking hour and try to read a recipe card lying flat on the surface. If you’re straining or squinting, the task lighting is insufficient. Overhead cans alone rarely meet this threshold without under-cabinet reinforcement, particularly in kitchens with darker countertops that absorb rather than reflect light.
Not strictly required by code, but yes, from a design standpoint. Putting pendants and recessed cans on separate dimmer switches gives you genuine lighting flexibility: bright and even for cooking, dimmed cans with warmer pendants for dinner, or full ambient for entertaining. Buyers in the Greater Houston market increasingly expect this level of lighting control in updated kitchens, and a two-switch or three-switch lighting setup costs very little to rough in during a remodel compared to adding it after the drywall is closed.
Under-cabinet task lighting delivers the highest impact-per-dollar of any kitchen lighting update because it directly fixes the most common complaint (shadows on the work surface) without touching anything structural. If you’re not opening walls or replacing cabinetry, a hardwired under-cabinet LED system added by an electrician runs $800 to $1,500 for a typical kitchen and transforms how the space feels and functions at night. Adding dimmer switches to existing overhead fixtures is the next most impactful update and costs under $200 in most cases.
Absolutely, and this is one of the most overlooked parts of selecting finishes. Warm-toned light (2700K to 3000K) will make warm whites, creams, wood tones, and natural stone look their best. Cool-toned light (3500K to 4000K and above) suits white, gray, and contemporary finishes, but will make warm-toned cabinets look muddy and yellow. Color Rendering Index (CRI) compounds this effect: a CRI below 80 distorts all finishes under it, which is why showroom lighting rarely tells you what your selections will look like in your actual home. Always evaluate countertop and cabinet samples under lighting that matches what you’re installing.
When the Light Finally Matches the Kitchen You’ve Been Picturing
Fixing your kitchen lighting isn’t about buying more fixtures. It’s about understanding that one overhead source was never enough, and knowing which three layers you need to replace it with. Ambient light sets the foundation. Task light eliminates the shadows that make cooking harder than it needs to be. Accent light gives the kitchen depth, warmth, and a personality that flat builder lighting never could.
Most of the time, the kitchens we walk into that feel off, not bad, just not quite right, are missing one or two of these layers. The fix isn’t dramatic. It’s deliberate.
If you’re in Montgomery County or anywhere across Greater Houston and you’re trying to figure out whether your kitchen needs a lighting fix, a cabinet update, or a full remodel to get the result you’ve been picturing, the Design on a Dime Interiors team is happy to take a look and tell you honestly what will move the needle. That’s what we’re here for.