
Painting Granite Countertops: A Step-by-Step Guide to Transforming Your Space
Painting granite countertops is a simple yet powerful way to give your kitchen (or bathroom) a fresh new look without spending a fortune.
If your countertops have seen better days, don’t worry—this simple DIY project can breathe new life into them with just a little time and effort. All it really takes is a fresh coat of paint.
But before you grab that paintbrush, it’s important to know the right steps to get a flawless finish that looks like you spent big bucks.
Ready to roll up your sleeves and dive in? Trust me, sugar, you’ve got this! Let’s explore how to take your countertops from drab to fab, and have fun while doing it!
1. Clean and Prepare the Surface
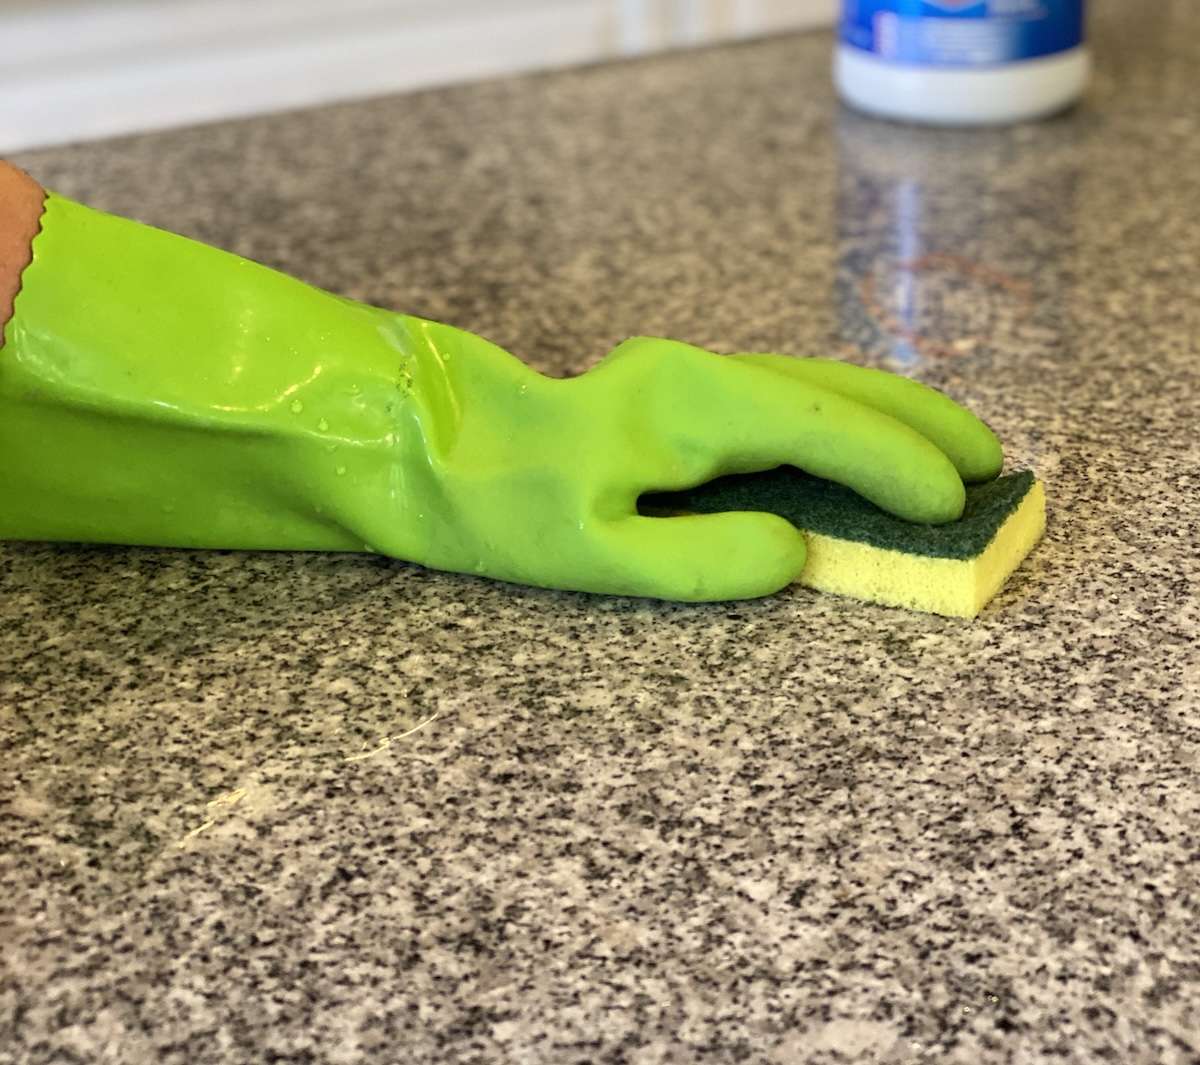
Let’s get those granite countertops sparkling like new.
First things first, grab some scouring pads and a trusty degreaser, like TSP cleaner or rubbing alcohol. Scrub away any dirt, grease, or grime until your counters are shining bright.
Now, it’s time to say goodbye to that old caulk—outdated caulking is so last season.
Use a utility knife or caulk remover to get rid of any old caulk—let’s leave that in the past, where it belongs.
Once you’re done, hit your counters with lacquer thinner and a little rubbing alcohol to degrease those surfaces—it’s like giving them a little spa day!
Make sure everything’s dry—wet countertops are no friend to fresh paint! Got any pesky gouges or seams? Fill them with wood filler and sand them smooth for that flawless finish.
You’re on your way to a stunning transformation!
Want a stunning kitchen without the DIY mess? Let the Design on a Dime experts handle your kitchen remodel—schedule a consultation today!
2. Apply a Primer and Basecoat
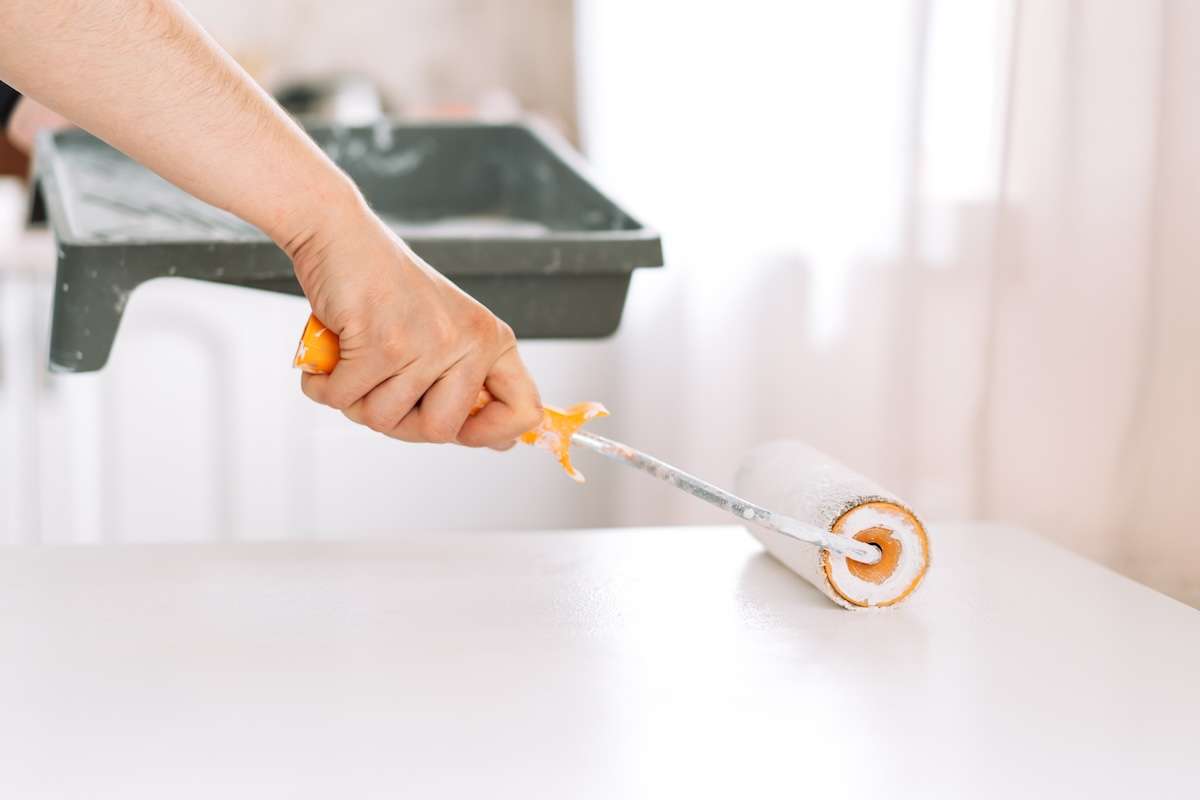
Ready to roll up those sleeves and give those granite countertops a makeover with the perfect primer and basecoat combo?
First, grab yourself a bonding primer like Slick Stick—it’ll make sure that primer sticks like glue to that smooth granite surface.
Here’s a pro tip:
Use foam brushes for those edges and rollers for the flat areas, applying thin, even layers.
Let each coat dry for a solid 4 hours, and be patient—let it sit overnight before moving on to the basecoat.
Opt for Slick Stick primer for granite, using foam brushes and rollers, then allow 4 hours to dry before the basecoat.
Now, shake that basecoat paint like you’re having a little fiesta! Apply it in smooth, horizontal strokes, working in 6-foot sections to keep the color nice and even. Remember, two thin coats are always better than one thick one.
Sand lightly between coats to get that silky smooth finish—you’ll have your countertops looking like a masterpiece in no time!
Granite’s tough, so it’s the perfect candidate for painting—it will hold up beautifully while keeping all its strength intact. If you’re new to all this, a granite countertop painting kit has everything you need for a successful, stress-free project.
You’re almost there, sugar!
Painting your countertops is just the beginning—why not refresh your entire kitchen? Check out our kitchen remodel services for a complete upgrade!
3. Master Veining and Texture Techniques

Now, you might think painting granite countertops is just as simple as slapping on some paint, but hold your horses. Creating all those beautiful veins and textures is a bit of an art—but don’t you worry, you’ve got this!
To get that realistic marble look, gently drag a brush with gray mineral paint, wiggling it just right to mimic those natural veins. A little sprinkle of water will help the paint bleed and soften, giving it that smooth, flowing effect. While we’re at it, try layering different shades of gray to add depth and make these veins really pop.
Work in sections to prioritize the major veins first, so they look like they belong right there on your countertop.
Now, let’s talk texture!
For a speckled granite look, grab a textured sponge and apply two paint colors over your base coat. If you’re feeling fancy and want to take it up a notch, some kits even include crushed stone particles to give your countertops that extra “wow” factor.
Just remember, patience is key—take your time and enjoy the process. You’ll be amazed at how this technique brings your countertops to life!
See how a professional remodel can completely transform a kitchen—check out the Rock Daisy Kitchen Transformation!
4. Finish Off with Sealer and Topcoat
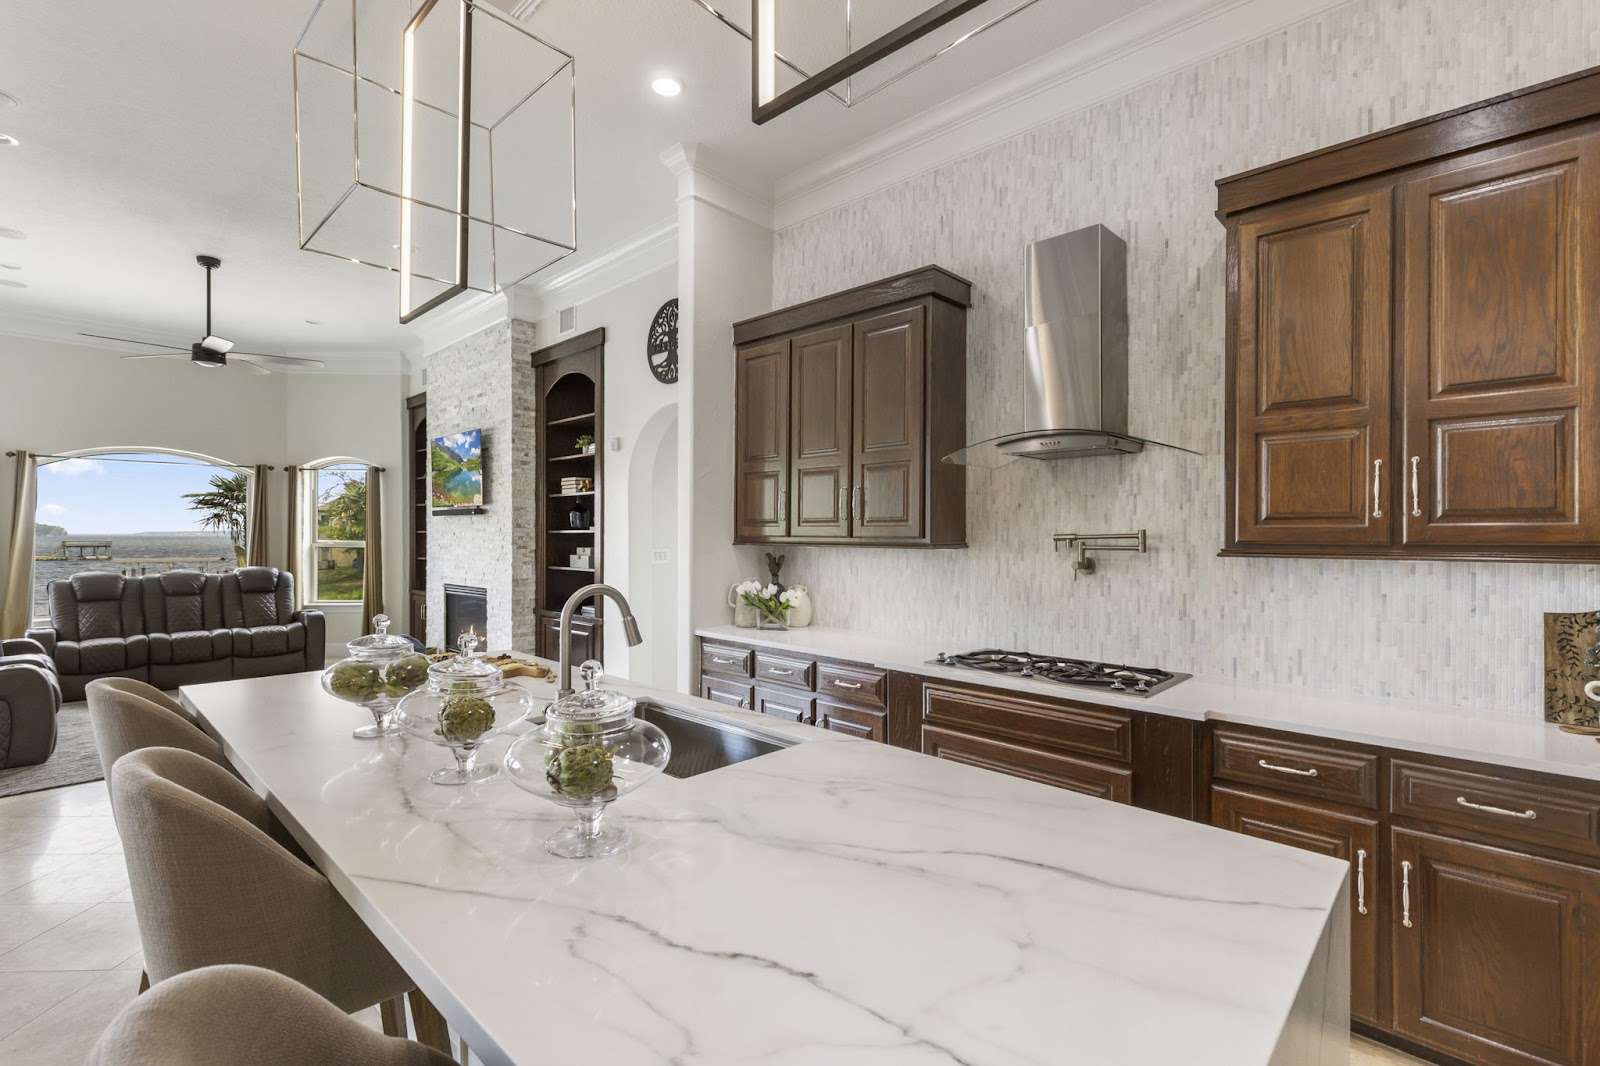
Think of this as the grand finale—like the cherry on top of your countertop makeover that makes everything come together. Sealing and topcoating your freshly painted granite is what’s gonna lock in all that hard work and make it last.
For this, you’ll want to use a high-density foam roller for that silky-smooth polyurethane or epoxy sealer application. Again, don’t rush it; let it dry fully for 2–4 hours before thinking about the next step.
If you’re going for that fabulous, leathered finish, apply a second coat with a brush, then blend it out. Remember, patience is key here—wait 24–48 hours between coats for maximum durability.
Speaking of durability, applying a matte polyurethane sealant can minimize chipping and ensure a longer-lasting finish on your countertops. Dixie Belle’s Silk All-in-One Mineral Paint is great for a foolproof finish; it sticks so well to slick surfaces like granite.
| Step | Tool | Time Required |
| Apply Sealer | Foam roller | 2–4 hours dry time |
| Second Coat | Brush and roller | 24–48 hours wait |
| Topcoat Section | Roller | Quick changes |
| Edge Protection | Extra epoxy | Immediate application |
| Final Cure | Patience | 24–48 hours |
Once done, let those countertops cure for 24 hours before using. And voilà, you’ve got yourself some stunning, durable countertops. Go on and admire your handiwork, because you earned it!
Practical Tips: What to Expect and How to Save
Well now, look at you—you’ve sealed and top-coated those granite countertops like a pro! That’s no small feat, sugar!
Let’s chat about the costs and clever tips to keep your budget in check.
Painting granite countertops is easily one of the smartest, most cost-effective DIY projects you can tackle, with kits available for around $200. For example, brands like Giani are wallet-friendly and range from $50 to $200—perfect if you want the marble look without the actual marble price tag.
Plus, countertop resurfacing kits are eco-friendly, too, keeping waste out of the landfill while you give your kitchen a facelift.
But if DIY isn’t your thing, that’s fine, too. Calling in a pro will set you back anywhere from $89 to $144 per 129 square feet. Keep in mind—contractor overhead can add another 13% to 22% to your total costs.
Now, a little real talk:
Painted granite looks gorgeous, but it’s not a fan of direct heat. Keep those trivets handy unless you want to see your hard work go up in smoke—literally!
And don’t forget, sealing every 1–3 years will save you from pesky stains and chips, so don’t skimp on that step. A little maintenance goes a long way in keeping those countertops looking fresh and fabulous.
Not sure if a DIY project is right for you? Get expert advice on kitchen remodeling—schedule a consultation today!
Frequently Asked Questions
Can I paint over dark granite, or does it need to be light-colored?
Yes, you can paint over dark granite! Just make sure to use a high-quality bonding primer to ensure full coverage before applying your base coat.
How long does painted granite last?
With proper prep, sealing, and care, painted granite can last several years. Regular sealing every 1–3 years helps maintain durability.
Will painting my granite countertops decrease my home value?
It depends. If done well, painted countertops can refresh your space—but some buyers might prefer natural stone. If resale value is a concern, consider a reversible option like a countertop cover.
Can I use regular wall paint on my granite countertops?
Nope! Wall paint won’t adhere properly and won’t stand up to daily use. Always use a specialty countertop paint or an epoxy-based option.
Is it safe to prep and paint granite indoors?
Yes, you can prep and paint indoors, but ensure the space is well-ventilated—especially when using primers, paints, and sealers. Open windows and use fans to minimize fumes.
Will painted countertops feel different than real stone?
Yes. While painting can mimic the look of granite, the texture will be smoother unless you add a textured finish or sealing technique for depth.
Time to Give Your Countertops a New Look
So, are you ready to give those granite countertops a brand-new look?
A little patience, the right materials, and a steady hand can turn your space into something truly stunning—without the hefty price tag of a full remodel. Whether you are tackling this DIY project solo or considering expert help, the right approach makes all the difference.
If you’d rather leave it to the pros, why not chat with a design expert? Our team at Design on a Dime is here to help bring your vision to life. Schedule a consultation now and let’s make those dream countertops a reality!