
5 Creative Wall Paint Design Ideas with Masking Tape
Masking tape helps us create clean, sharp edges while painting and prevents the paint from spreading onto adjacent surfaces. It is designed to adhere well to surfaces and is easy to remove, without leaving any residue or damaging the surface.
However, masking tape is more than just a tool for protecting surfaces. It can bring our creative ideas to life by allowing us to create different and unique wall paint designs, from simple patterns to real works of art.
Let’s explore how this tool can help us add a personal touch to our interior design.
Clean Lines and Bold Shapes
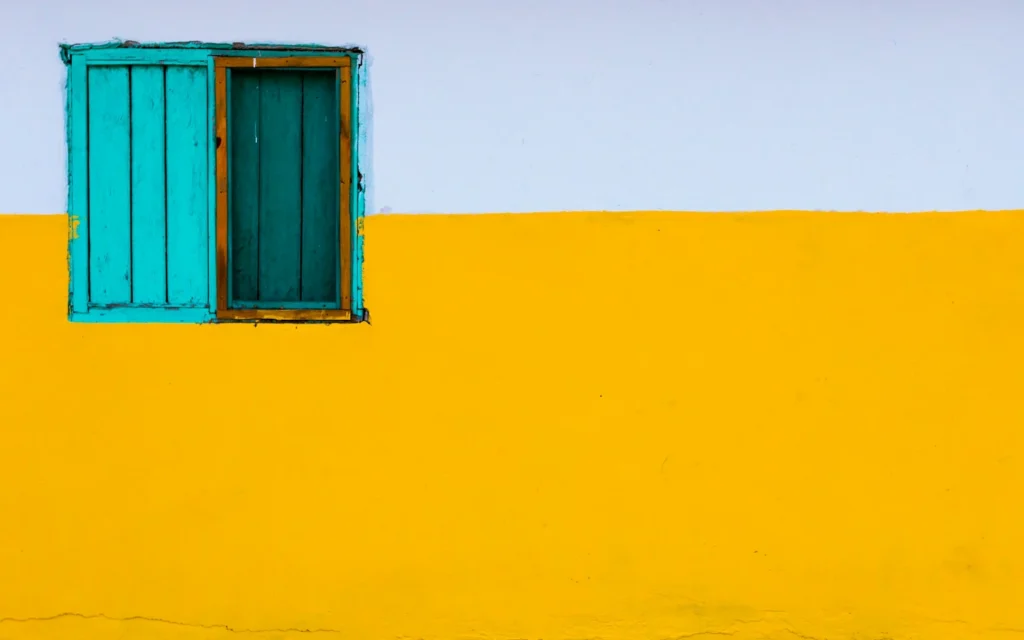
If you want to change the wall design in your room, masking tape is a fantastic way to introduce a dynamic and modern feel. There are various paint design ideas with tape – but we will begin with clean lines and bold shapes for your DIY wall painting project.
To make it precise and neat, you will need several tools:
- Masking tape
- Desired paint colors
- Paint brushes or rollers
- Measuring tape or ruler
- Pencil
- Drop cloths or plastic sheeting.
For additional precision, you can also get painter’s tape.
Start by cleaning the wall surface, ensuring the paint adheres properly. Then, let your creativity flow as you choose from various geometric patterns such as triangles, diamonds, or hexagons.
These patterns can add a modern and unique touch to your accent wall design, for instance.
Sketch your desired geometric pattern on paper and then place it on the wall. Use a pencil and measuring tape to mark the outlines of your shapes on the wall.
Carefully place the masking tape along the pencil lines, pressing it down firmly. For triangles, tape the three sides of each triangle; for the diamonds, tape the four sides, ensuring the angles are sharp. And for hexagons, you will need six sides, each of the same length.
Now that you’ve made preparations, it’s time to paint the shapes.
Paint within the taped areas, using your chosen color. Depending on the paint and the color, you might need to add multiple coats; let each coat dry completely before applying the next.
Carefully remove the tape once it’s dry to the touch. To avoid lifting the paint, put the tape at a 45-degree angle. If the color was seeping under the tape, you can correct the edges with a small brush.
Admire your two-tone wall and painting skills.
Oh, and if you’re looking for some assistance, check out our painting service, and let’s talk colors!
Stripes and Chevrons

You can create patterns that elongate, widen your space, and add depth and dimension. Stripes and chevrons are great wall painting ideas that can give your room an amazing makeover.
Horizontal stripes, paired with a blue accent wall, for instance, are a simple wall design hack that can make your room look wider and more spacious.
Start by marking the width of each stripe on the wall using a measuring tape and pencil. Use a level to ensure that the lines are straight, and then, place masking tape along the pencil lines, pressing the tape edges firmly.
Now, you are ready to apply paint between the taped areas.
As usual, ensure the paint is completely dry before removing the tape. Carefully peel off the tape at a 45-degree angle for crisp and straight lines. Horizontal stripes are an amazing design for bedroom wall paint.
Some other tape wall paint design ideas can create the illusion of a room’s increased height. For example, vertical stripes can make your ceiling appear higher and more spacious.
To get these patterns on your walls, start by measuring the width of each stripe and marking it with a pencil. Use a level to ensure that the lines are straight. Next, apply tape along the pencil lines, pressing the edges down firmly. Begin painting between the taped areas, but, as usual, wait for everything to dry before removing the tape.
You can also use diagonal stripes to get a dynamic and modern touch to your room. Determine the angle and width of the stripes and mark the lines using a pencil and a ruler. Tape along the marked lines, secure the tape and paint within the taped sections. Once the paint is fully dry, your diagonal stripes are ready, and you can then carefully remove the tape.
And to add a stylish and sophisticated look to your walls, try chevron patterns. Using a measuring tape and pencil, mark the starting points for the chevron pattern.
Draw zigzag lines using a ruler, and ensure equal spacing and angles. Place masking tape along the zigzag lines and paint between the taped areas. You might need multiple coatings for full coverage. Wait until the paint is completely dry, and carefully remove the masking tape.
Sounds exciting? We’re all ears. Check out our interior design service, and let’s talk about your next project.
Bold and Vibrant Statements
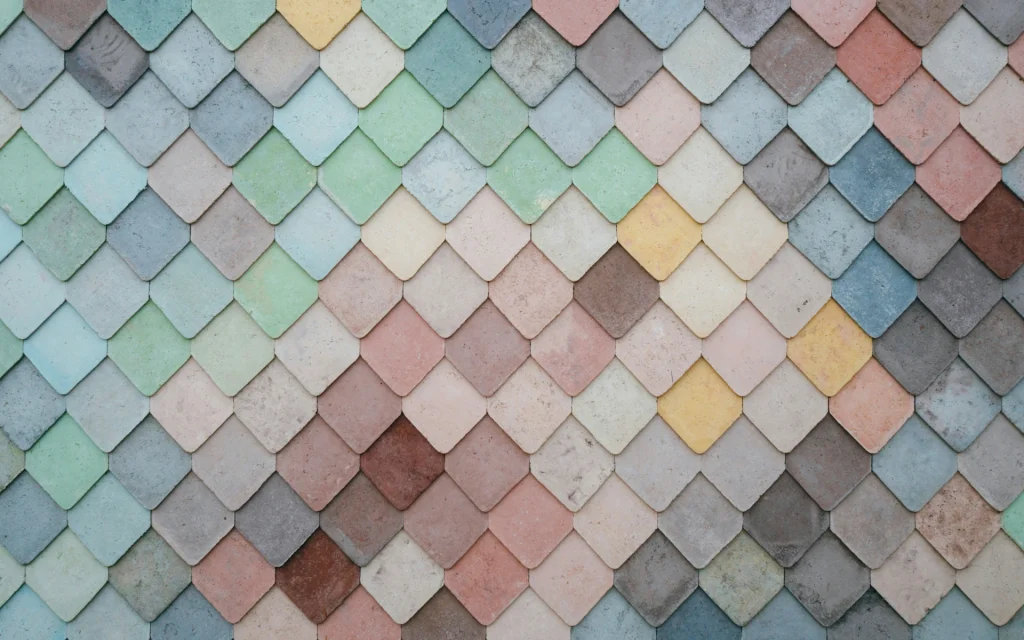
Use your colors carefully to create a striking visual impact with color blocking using masking tape.
Complementary colors offer a vibrant and dynamic contrast, ideal for energetic spaces like living rooms. Contrasting colors can give you a bold look, making them a good choice for kitchens and entryways. Analogous colors create a harmonious and cohesive appearance and are perfect for calm spaces like bedrooms and offices.
Before you decide what colors you will use for your masking tape painting, make a strategy: plan your layout by deciding on the number and sizes of the sections and marking them lightly on your walls with a pencil and ruler. For a balanced look, consider symmetrical designs.
Test your colors with small swatches to see how they look in different lighting. Remember to clean your walls before painting or add a primer if necessary.
Accent Walls
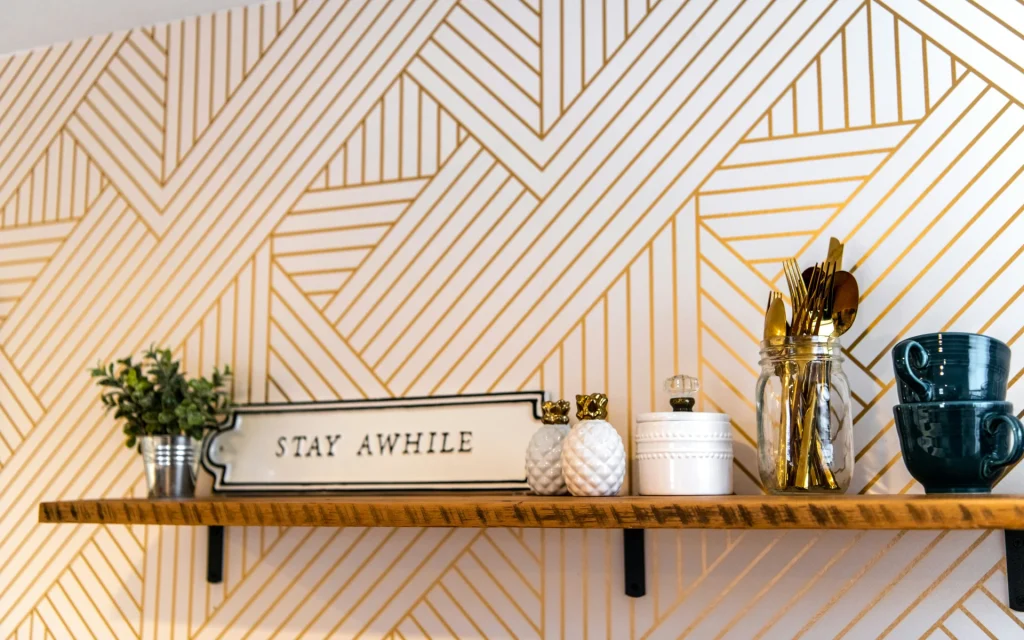
Accent walls are the best option for those who want to add a touch of artistry to their rooms; they add visual interest and depth to any room without overwhelming the entire space.
The possibilities are endless: you can experiment with various patterns, like geometric, stripes, and chevrons. You can also make abstract designs by experimenting with random shapes, lines, and colors. Accent walls are also a great choice for garage paint ideas.
Turn yourself into an experienced interior designer by creating landscapes, cityscapes, portraits, and other intricate patterns. You can also make murals by outlining larger shapes or patterns.
Using tape to create different colors and patterns on one accent wall can bring a stunning focal point to any room. Experiment with different tape designs and turn your DIY project into a true work of art.
If accents are your thing, reach out to us now!
Ombre and Gradient Effects
Create elegant tape wall designs with ombre and gradient effects by choosing a color palette that smoothly transitions from dark to light or between complementary shades.
Prepare the wall, mark the gradient zones with a pencil and ruler, and apply masking tape along these lines to define each color section and control blending. Start with the darkest color in the most prominent section, allowing it to dry before applying the transition color.
Blend the transition color into the dark one using a dry brush or sponge.
Continue by applying and blending lighter colors from brightest to lightest, feathering each color into the previous one. Choose colors with similar undertones for a natural gradient and test your blending on a sample board.
Final Thoughts on Wall Paint Design Ideas
Masking tape is one of the easiest ways to transform your space and add artistry to your walls. With so little effort, tools, and so many techniques and ideas, you can create a captivating environment with many eye-catching details and geometric shapes.
If you need more design ideas for your perfect home, join us on Design on a Dime.
We can give you many creative solutions and budget-friendly tips to transform your space into a stylish haven!