
Baseboards 101: Everything You Need to Know to Upgrade Your Walls
Baseboards might not be the first thing you notice when you walk into a room—but trust me, they’re working overtime to keep your walls looking sharp and your space feeling complete.
Whether you are refreshing a fixer-upper or adding a bit of polish to a new build, baseboards are that quiet design detail that makes a loud impact. They frame your walls like a picture, clean up the floor seams, and give your home a more finished feel without a whole lot of fuss.
So, if you’ve ever wondered what baseboards really do, which ones to pick, and whether it’s worth tackling them yourself, you’re in the right place. Here are the must-knows for making your space feel just right from the ground up!
Choosing the Right Baseboard Material for Your Home

Alright, let’s talk baseboard types and materials, shall we?
Whether you’re designing from scratch or freshening things up, picking the right baseboard material is key to balancing beauty, budget, and everyday durability.
You’ve got plenty of options to choose from, sugar—and each one brings its own charm and practicality to the party.
Here’s what you need to know before you head to the hardware store:
- Solid Hardwood: Elegant and long-lasting, woods like oak or maple offer rich grain and timeless appeal, especially when stained. It’s best suited for traditional spaces and high-traffic areas. Just keep in mind that real wood needs a little TLC to avoid warping over time.
- Finger-Jointed Pine: A cost-effective, paint-friendly option made from joined wood pieces. It’s not quite as tough as hardwood, but it offers dependable charm on a budget; it’s a solid middle-ground option.
- MDF (Medium-Density Fiberboard): Pre-primed, smooth, and super affordable, MDF is ideal for painted finishes. It might lack the natural grain drama, but it offers a smooth, consistent look. Just be gentle—it can dent easily and doesn’t love moisture.
- PVC and Vinyl: Great for moisture-prone zones like bathrooms and basements. These synthetic materials are termite-resistant and durable, though they don’t have that warm, wood-like look.
- Rubber and Composites: Flexible, tough, and perfect for high-traffic or commercial spaces. They are low-maintenance and offer modern performance—but they’re not the best option for traditional aesthetics.
Trying to choose between natural wood and engineered options? It’s like choosing between peach cobbler and banana pudding—it all depends on your taste and what you’re working with.
Here’s what I can tell you, though:
Natural wood has that rich, authentic look with visible grain patterns—it’s perfect for stained finishes that bring warmth and depth. Engineered options like MDF are smoother, more affordable, and ideal for paint.
One’s about warmth and personality, the other’s about practicality and consistency—it all depends on your style and where you’re installing them.
Not sure which baseboard material will fit your style and lifestyle? Design on a Dime can help you pick the perfect match that balances beauty and durability.
Style & Profile: Picking the Perfect Look for Your Trim
Let’s go ahead and give your baseboards the attention they deserve, sugar. These little beauties might run low along your walls, but they sure do a lot of heavy lifting when it comes to style.
Whether you want a classic look or lean into something sleek and modern, the right baseboard profile can pull your whole room together like the final stitch in a custom quilt.
Popular Baseboard Profiles (and What They Say About Your Style)

From simple to statement-making, baseboards come in a range of profiles that each bring their own flavor to a room:
- Rounded or Stepped – A timeless favorite. These profiles have soft, smooth edges and a gentle taper that plays nicely with just about any decor style. White-painted MDF in a stepped profile can work great in modern or transitional homes.
- Flat/Square – Clean, minimal, and modern. These should be your go-to if you are keeping things simple or going full-on contemporary. For instance, dark and moody tones make a bold statement in industrial-style rooms.
- Bullnose – Slightly curved at the top, these offer a softer look that’s still pretty modern, but without feeling too stark.
- Ornate or Sculpted – Bring on the drama! Think intricate curves, layers, and profiles with Victorian or Colonial flair. Go with natural wood with an ornate profile to add warmth and charm to vintage or traditional interiors.
- Flush Baseboards – These sit flush against the wall (hence the name) and give a more seamless, built-in look. Sleek and oh-so chic—and easy to clean, too!
- Custom-Milled – Want something that just screams unique? Custom profiles from specialty shops will allow you to get creative and tailor your trim to your taste.
- Grooved or Stepped Grooves – These add visual interest and depth and are great for transitional or modern homes.
Baseboards may be functional—but honey, they don’t have to be boring.
Think of baseboards as the shoes to your room’s outfit. Sure, they’re down low—but when they look good, the whole ensemble comes together. Our Sanchez Project in Kingwood, TX, is a perfect example of how these subtle but thoughtful design choices can elevate the overall feel of the room.
Quick Tip: Match your profile to your home’s architectural style. Craftsman homes? Try stepped. A little bit of farmhouse charm? Rounded edges might be just right. Going bold? Sculpted’s your gal.
Height and Proportion Tips

Now let’s talk size—because in the world of baseboards, it does matter.
The right height can make your walls look taller, your room more refined, and your whole space feel more balanced.
- Standard Baseboard Heights: The most common sizes are 3¼, 4¼, and 5¼ inches, which work well for 8 to 9-foot ceilings.
- For Tall Ceilings (9 or more feet): Go big with baseboards in the 7 to 9-inch range to anchor the space and add a little drama.
- For Cozy Rooms or Modern Looks: Keep things light with 2 to 4-inch profiles that offer a cleaner, more understated finish.
- For a Unified Look: Try matching the height of the baseboards with the door and window trim—it’ll make your room feel thoughtfully styled and more cohesive.
Quick Tip: Taller baseboards add presence and elegance, especially in formal dining rooms or entryways. In casual or modern spaces, shorter profiles feel fresh and clean.
Want baseboards that complement your home’s personality? Design on a Dime can help you choose trim solutions tailored to your unique style and space. Let’s bring your walls to life with custom design.
Budget Considerations for Baseboard Projects
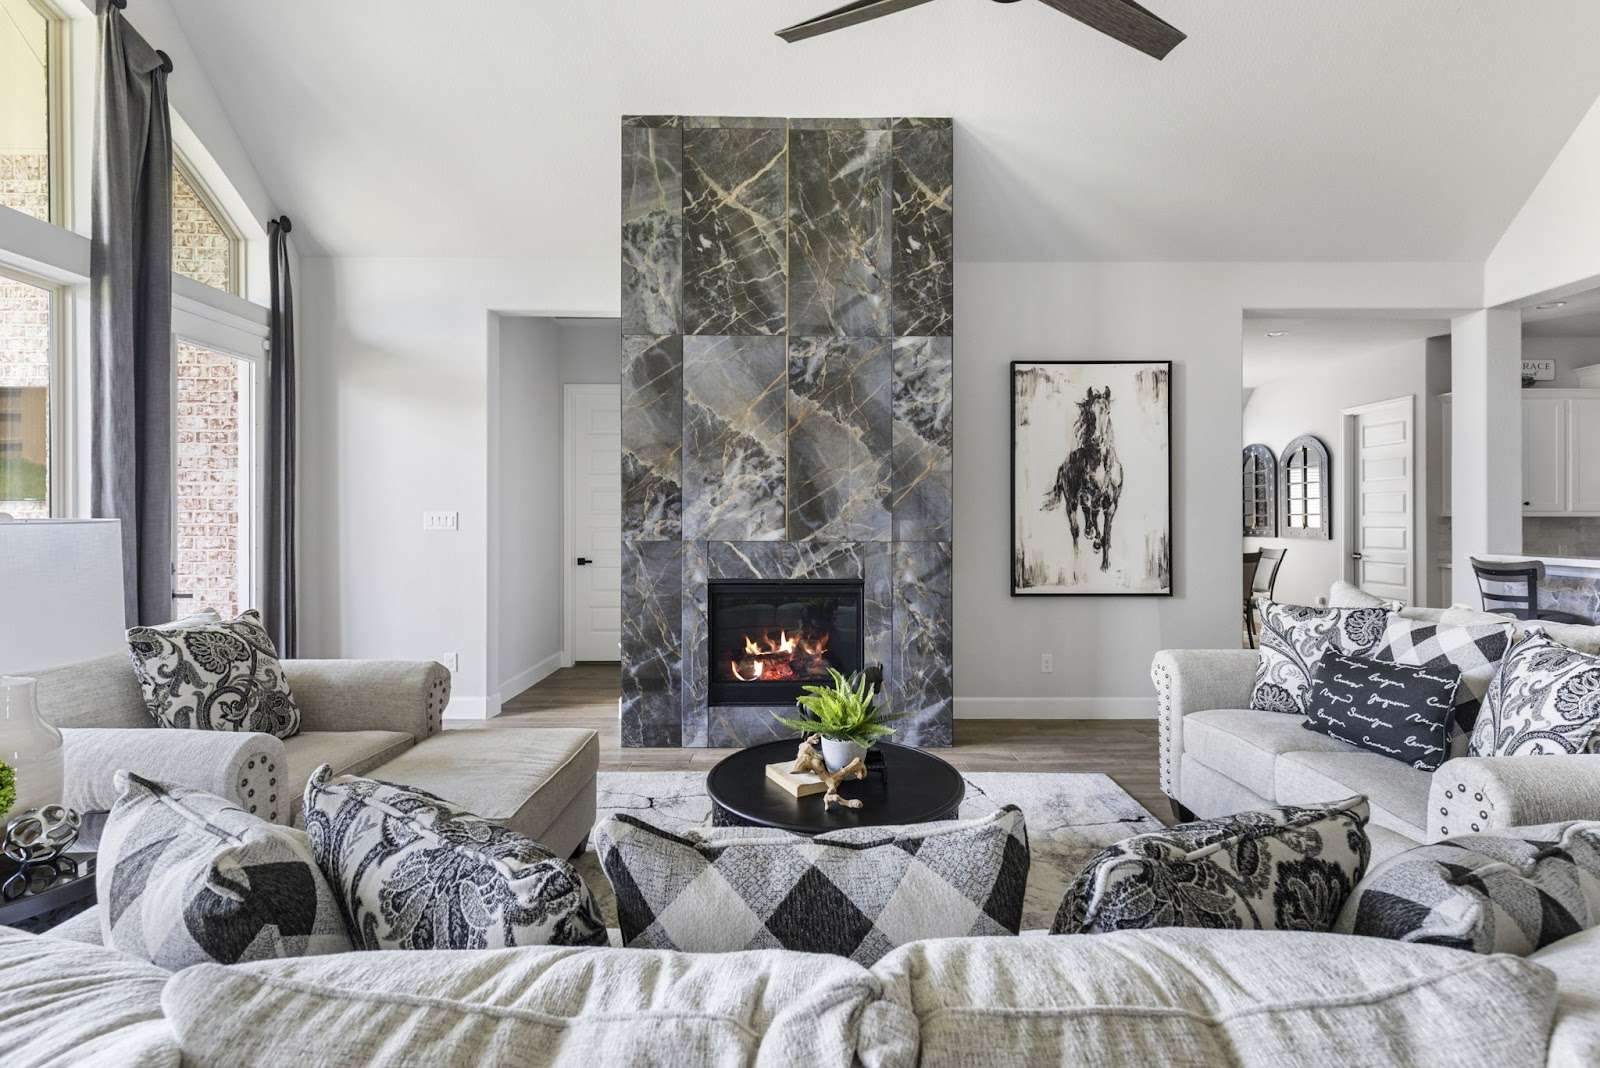
Let’s talk money, honey.
The good news is, when it comes to updating your baseboards, you don’t have to spend a fortune to get that polished, designer look. Whether you’re doing one room or the whole house, it’s all about balancing cost, style, and smart choices that’ll pay off in the long run.
What to Expect: Baseboard Installation Costs
So, how much is this going to run you?
The average cost to install baseboards falls between $8.68 and $13.28 per linear foot, depending on the material, profile, and labor in your area.
But don’t worry—we’re about to break it all down so you can budget like a pro.
Here’s a quick peek at material costs:
| Material | Cost Per Linear Foot |
| PVC | $0.90–$1.40 |
| MDF | $1–$1.40 |
| Pine | $1.40–$1.85 |
| Maple/Oak | $2.50–$5 |
Keep in mind, fancier profiles and custom work can push that number higher, but for most homes, you’ve got plenty of affordable and stylish options to work with.
Melody’s Tip: For a smart balance of looks and durability, you can mix it up! Use PVC in the wet zones, MDF where you want to paint a custom color, and splurge on real wood where you want natural warmth and elegance.
The Value of Baseboards: Beauty That Pays You Back

Alright, sugar, let’s talk investment. Baseboards aren’t just trim—they’re home upgrades that pay you back when it’s time to sell.
Case in point:
Over 97% of real estate professionals agree that millwork, such as baseboards and crown molding, can boost the perceived value of the home.
The secret? It’s simple, really—fresh baseboards instantly modernize a room, making everything feel a bit more polished and intentional.
- Go for thicker baseboards—think 1:12 with the ceiling—to add grandeur without overwhelming the space.
- Add shoe molding for a clean, polished, “I know what I’m doing” finish.
- Pair baseboards with crown molding for that full-on designer moment.
And it’s not just about looks, by the way—trim work helps seal gaps around doors and windows, improving insulation and reducing energy waste. Beauty and brains? Yes, ma’am!
It’s these strategic touches that make your place feel like a million bucks.
Ready to invest in your home’s future? Connect with Design on a Dime and get stylish, high-quality interior design solutions that’ll elevate both your space and its resale potential.
How to Install Baseboards Like a Pro (Even If You’re Not One)

Ready to roll up your sleeves and install those baseboards?
Okay, then—time to get to work!
Key Tips for a Smooth Baseboard Install
Installing baseboards isn’t just about cutting and nailing—it’s about precision, planning, and a few smart tricks to save time and avoid those “oops” moments. But don’t worry, I’m right here with you. We’re gonna make sure your walls look sharp, clean, and custom-fitted.
Here’s how to get started:
- Measure with Wiggle Room: Measure each wall segment carefully, and always round up. Add a few extra inches for good measure—it’s better to trim than come up short.
- Find the Highest Floor Point: Use a 4-foot level to locate the highest point of your floor. Mark it, and use that as your baseline to keep your baseboards straight and level all around the room.
- Scribe for the Perfect Fit: If your walls aren’t perfectly straight (and let’s be honest, most aren’t), trace or “scribe” the baseboard to match the wall’s subtle curves. It’s like custom tailoring for your room!
- Paint Before You Install: Painting baseboards before you nail them to the wall can save you loads of time and hassle. No taping required, and cleanup is a breeze.
- Cut at a 45-Degree Angle: When two baseboards meet at an outside corner, a mitered joint is the way to go. Use a miter saw to slice each board at 45 degrees; they’ll come together like two puzzle pieces made for each other.
- Do a Dry Fit: Think of it like a dress rehearsal. Lay out your baseboards and test all the joints and angles before nailing anything down. That way, you’ll spot any gaps or misalignments early.
Time to Lock It In
Once you’ve dry-fit everything and you’re happy with how it looks, it’s time to put those boards in place for good.
Here’s how to get it done without a hitch:
- Nail into Studs: Use a stud finder to nail those boards into place every 16-24 inches. That way, your baseboards will stay secure and never sag.
- Brad Nail Basics: Use 18-gauge brad nails, spacing them every 12–18 inches along the board. It’s the perfect balance of grip and subtlety—strong enough to hold, but won’t split the wood.
- Angle for Grip: Drive nails at a slight angle and alternate directions as you go. It adds extra hold and helps prevent shifting over time.
DIY or Hire It Out? Here’s the Honest Truth

There’s something you should know before going the DIY route:
Baseboard installation can be tempting as a weekend warrior project. And hey, if you’ve got the tools, the time, and a steady hand, go for it.
But for most folks, especially if your walls are a little wavy or those corners get tricky, hiring a professional might just save you time, stress, and a few four-letter words.
Bottom line?
DIY is doable, but if you want it done right—and done fast—calling in a pro is your best bet for baseboards that look like a million bucks (without costing it).
And if you’re local to Texas? You know who to call—Design on a Dime has your back.
Maintenance & Repair Tips to Keep Your Baseboards Beautiful

Now that you’ve got those baseboards installed and looking like a million bucks, let’s make sure they stay that way!
A little routine care goes a long way, honey. With just a bit of love and elbow grease, your baseboards will stay sharp, clean, and strong for the long haul.
Regular Cleaning and Upkeep
Just like anything else in your home, baseboards need a regular check-in and a little TLC to keep them looking fab and functioning like a dream.
Dust, dirt, and scuff marks love to settle there—but don’t you worry, we’ve got this!
- Dust Weekly, Wipe Monthly: Run a microfiber cloth or vacuum with a brush attachment along the baseboards every week to keep buildup at bay. Once a month, follow it up with a damp cloth and a gentle cleaner for a deeper clean.
- Tackle Tough Grime: Got gunk that won’t budge? A little warm water, mild dish soap, and a soft sponge usually does the trick. For any stubborn spots, a steam cleaner or Magic Eraser can work wonders—just test on a small area first.
Quick Repairs for Everyday Wear and Tear
Scuffs, gaps, or nail holes? No big deal, sugar! You can fix most baseboard issues without having to call in the pros.
Here’s your go-to repair cheat sheet:
- Dutchman Patching: For any damaged wood sections, this method uses a small insert of wood to replace the broken part. It’s a clean, durable fix—great for dents or deep gouges.
- Compound Filling: Use wood filler or spackle to patch smaller holes and surface cracks. Once it’s dry, sand it smooth and give it a fresh coat of paint for a seamless finish.
Keep an Eye on Moisture and Movement
Moisture is the sneaky culprit that can sometimes warp wood, swell MDF, or loosen your boards over time, especially in bathrooms and kitchens.
Here’s how to stay ahead of it:
- Check for Separation or Warping: If you see that the baseboards are pulling away from the wall or looking a little uneven, it might be due to temperature or humidity changes. Re-nailing, caulking, or a touch-up with adhesive can often set things straight.
- Paint Touch-Ups: If you spot chipped or faded paint, don’t wait for it to get worse. Keep a small jar of matching trim paint on hand for quick refreshes—it’ll keep things looking polished.
Treat the baseboards to a bit of maintenance now and then, and they’ll keep your home looking fresh and fabulous for years to come.
Speaking of keeping your home fabulous, Design on a Dime can help you choose stylish baseboards and trims that fit your space perfectly—and design a look that’s both beautiful and easy to maintain.
Frequently Asked Questions
How do I choose baseboard colors that match my wall paint?
Consider your wall color’s tone and desired contrast. You should stick to a similar tone for a seamless look or use white for contrast and timeless style. And for a bold touch, you can go darker than the walls.
Are there eco-friendly baseboard materials available?
Yes—you’ve got recycled wood composites, HDPE, formaldehyde-free MDF, and engineered composites. They’re durable, stylish, and better for the environment.
Can baseboards help with soundproofing a room?
Unfortunately, no—on their own, baseboards can’t help with soundproofing. But when paired with acoustic caulk to seal gaps, they can reduce minor noise transfer at the floor level.
What’s the safest way to remove old baseboards?
The safest way to remove old baseboards without damaging the walls is to first score the caulk line with a utility knife. Then, you can pry gently with a putty knife or pry bar, using a wooden block to protect the wall.
Are baseboards a must-have in every room?
Technically, no—but they do a lot more than just look pretty. Baseboards will protect your walls, cover any gaps, and add a polished finish. Skipping them can make a space feel unfinished.
Give Your Walls the Finish They Deserve
Baseboards might seem like a small detail, but they’re the kind of home upgrade that quietly lifts the whole room.
When done right, they bring that polished, custom touch that makes your space feel truly cared for.
And if there’s one thing you should take away from all this, it’s that they’re more than decorative trim. They are a smart investment in your home’s style and durability.
If you’re ready to take your walls from good to gorgeous—but want to skip the hassle—Design on a Dime is here to help.
Whether you’re looking for expert advice or a full home transformation, we’ll make your dreams come true.
Reach out today and let’s give your home the finishing touch it deserves!