
How to Tile a Shower Like a Pro (Even If You’ve Never Done It Before)
How to tile a shower—whew, just reading that might make your palms a little sweaty. But don’t let it scare you off, hun. With the right prep, a good eye for detail, and a little can-do spirit, you can absolutely pull this off.
Whether you’re tired of staring at that dingy grout or dreaming of a spa-like retreat, we’re here to walk you through every step with warmth, clarity, and a dash of confidence.
Because your dream shower? It’s not as far away as it feels.
So, grab that notepad and keep reading—you’re closer to pro-level results than you think.
Choose Shower Tiles That Look Good—and Hold Up
Let’s be honest—choosing tile for your shower is about more than matching your bath mat or picking what looks good under that bathroom light. It’s about finding the right material—one that can stand up to daily use, splashes, steamy showers, and all the cleaning that comes after.
Pick the Right Material, Not Just a Pretty Tile
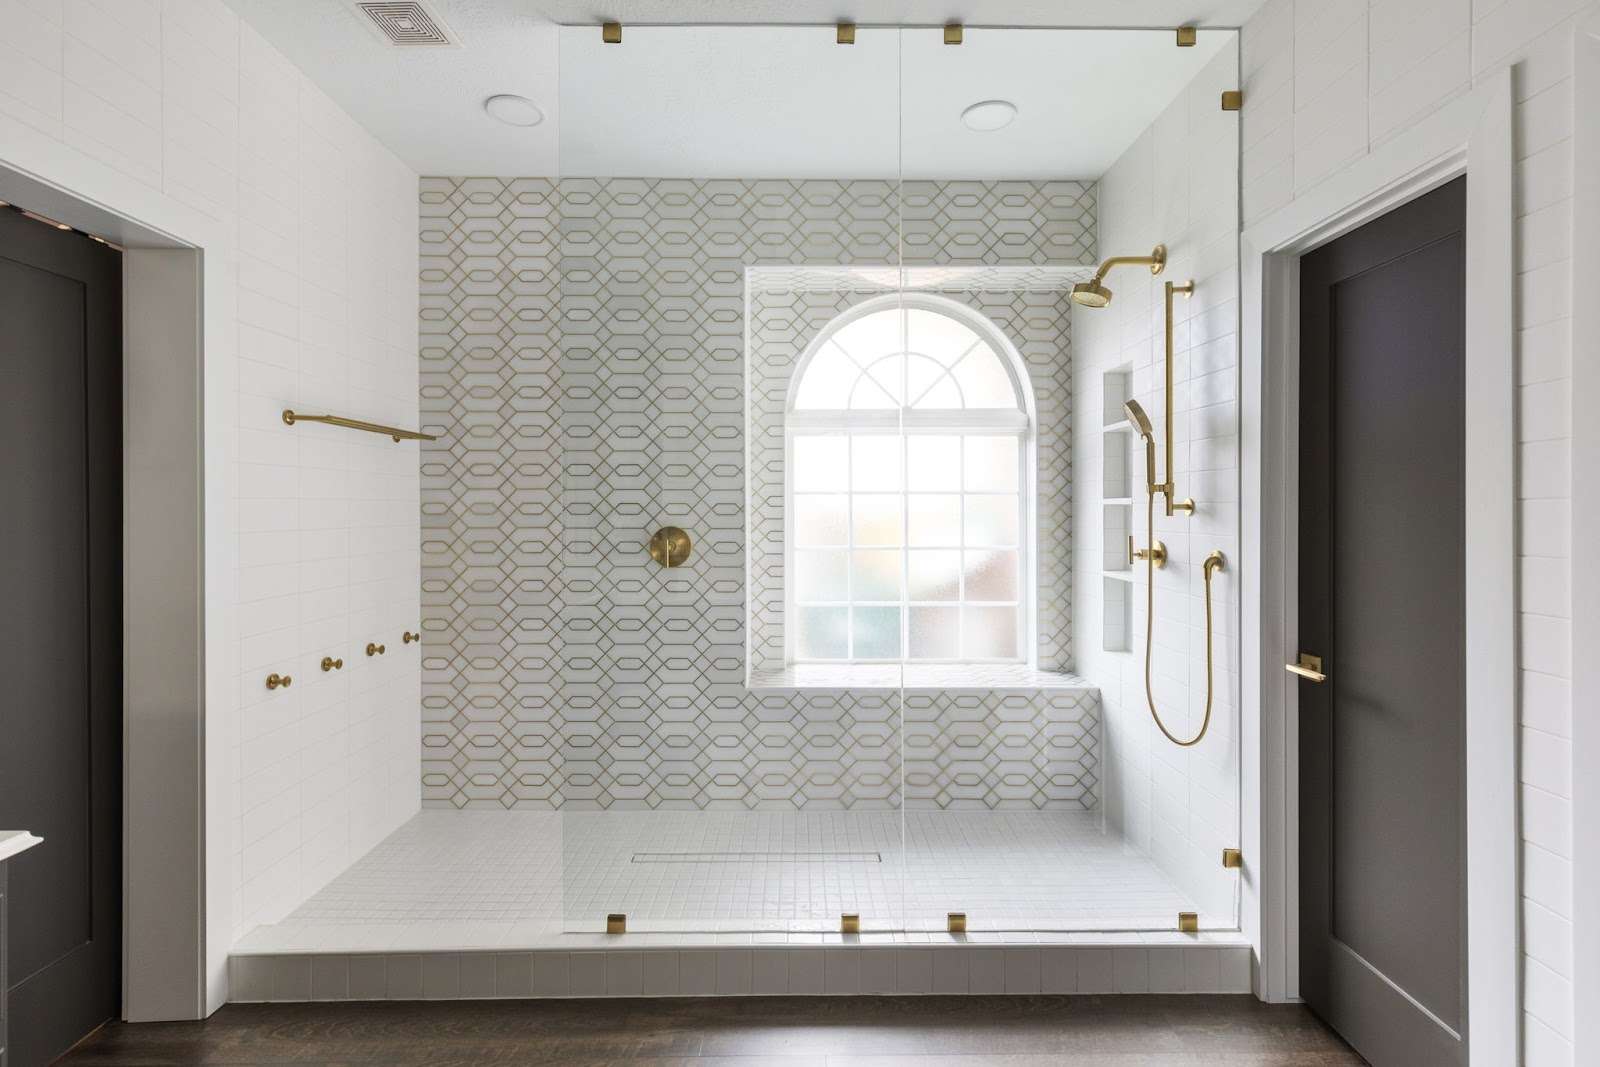
Here’s what you need to know about the most popular shower tile options:
- Porcelain & Ceramic: The Everyday Heroes
These two are the go-to for a reason. Porcelain, especially, is practically made for wet spaces—it barely absorbs water, resists stains, and holds up beautifully over time. Ceramic is a bit softer but still strong, affordable, and comes in every look under the sun.
- Natural Stone: Gorgeous but High-Maintenance
Love that spa-like feel? Marble, slate, and travertine bring all the drama—but they’re not low-fuss. Natural stone requires sealing (and, not to mention, re-sealing), special cleaners, and a little extra care to stay looking fresh. But if you’re up for the upkeep, the payoff is stunning.
- Glass Tile: Small but Mighty
Glass mosaics can make your shower shimmer—especially when used as an accent. But they’re tricky to install, so they’re not exactly a Sunday DIY project. Plus, they might show every smudge, so they’re better kept off the floor.
- Large Format Tiles: Sleek and Easy to Clean
If you want fewer grout lines and a cleaner, modern look, consider going big. Large-format tiles on your shower walls can make your space feel more open and cut down on scrubbing time. That’s a win-win if we ever saw one.
And don’t be afraid to get creative. Mixing textures or finishes can add depth and personality—like pairing a matte wall tile with a glossy accent or combining stone with ceramic for a layered look.
Let’s Talk Shower Floors (and Staying Upright)
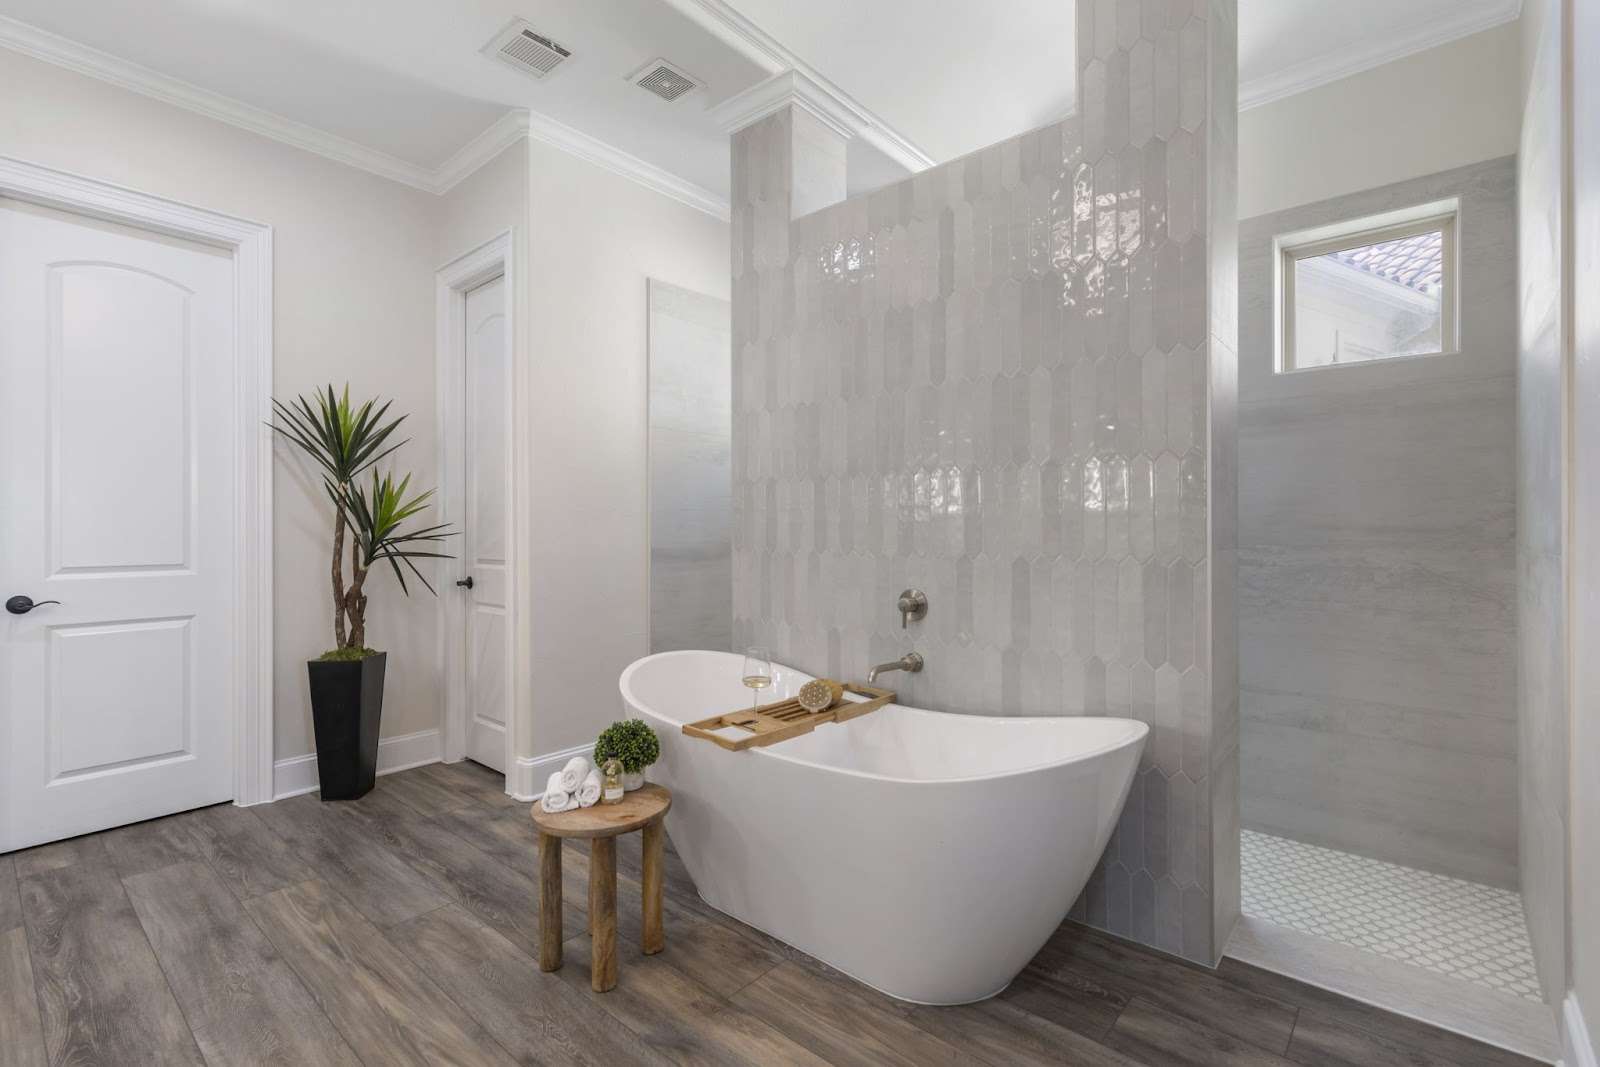
The only thing you should be slipping into is your robe, not your shower floor. The truth is, honey, choosing the right tile isn’t just about looks—it’s about keeping you safe, too.
For the best grip, look for these features:
- Textured finishes: They add just enough roughness to help you keep your footing.
- Mosaic or pebble tiles: All those grout lines? That’s built-in traction.
- DCOF rating of 0.42 or higher: That is the standard for wet areas—and it’s your best friend when safety’s the goal.
- Labels like ANSI A137.1 or R10+: These safety standards aren’t just letters and numbers; they’re your peace of mind.
Now, while you’re swooning over a gorgeous tile display, remember that size matters, too. Big isn’t always better—especially when it comes to shower floors.
Oversized tiles (4×4 inches or bigger) might look sleek, but they’re harder to slope, which means puddles and potential slips. So, don’t fall for a pretty face without checking its grip.
And don’t worry—no one’s asking you to sacrifice style for safety here.
Slip-resistant tiles now come in everything from matte marble looks to warm wood grains. So yes, you can have your spa vibes and stay vertical, too.
Need help narrowing down your options? That’s where our Dream Team comes in. We’ll help you choose materials that make sense for your style, your lifestyle, and your long-term peace of mind.
Prepping Your Shower for Tile That Lasts
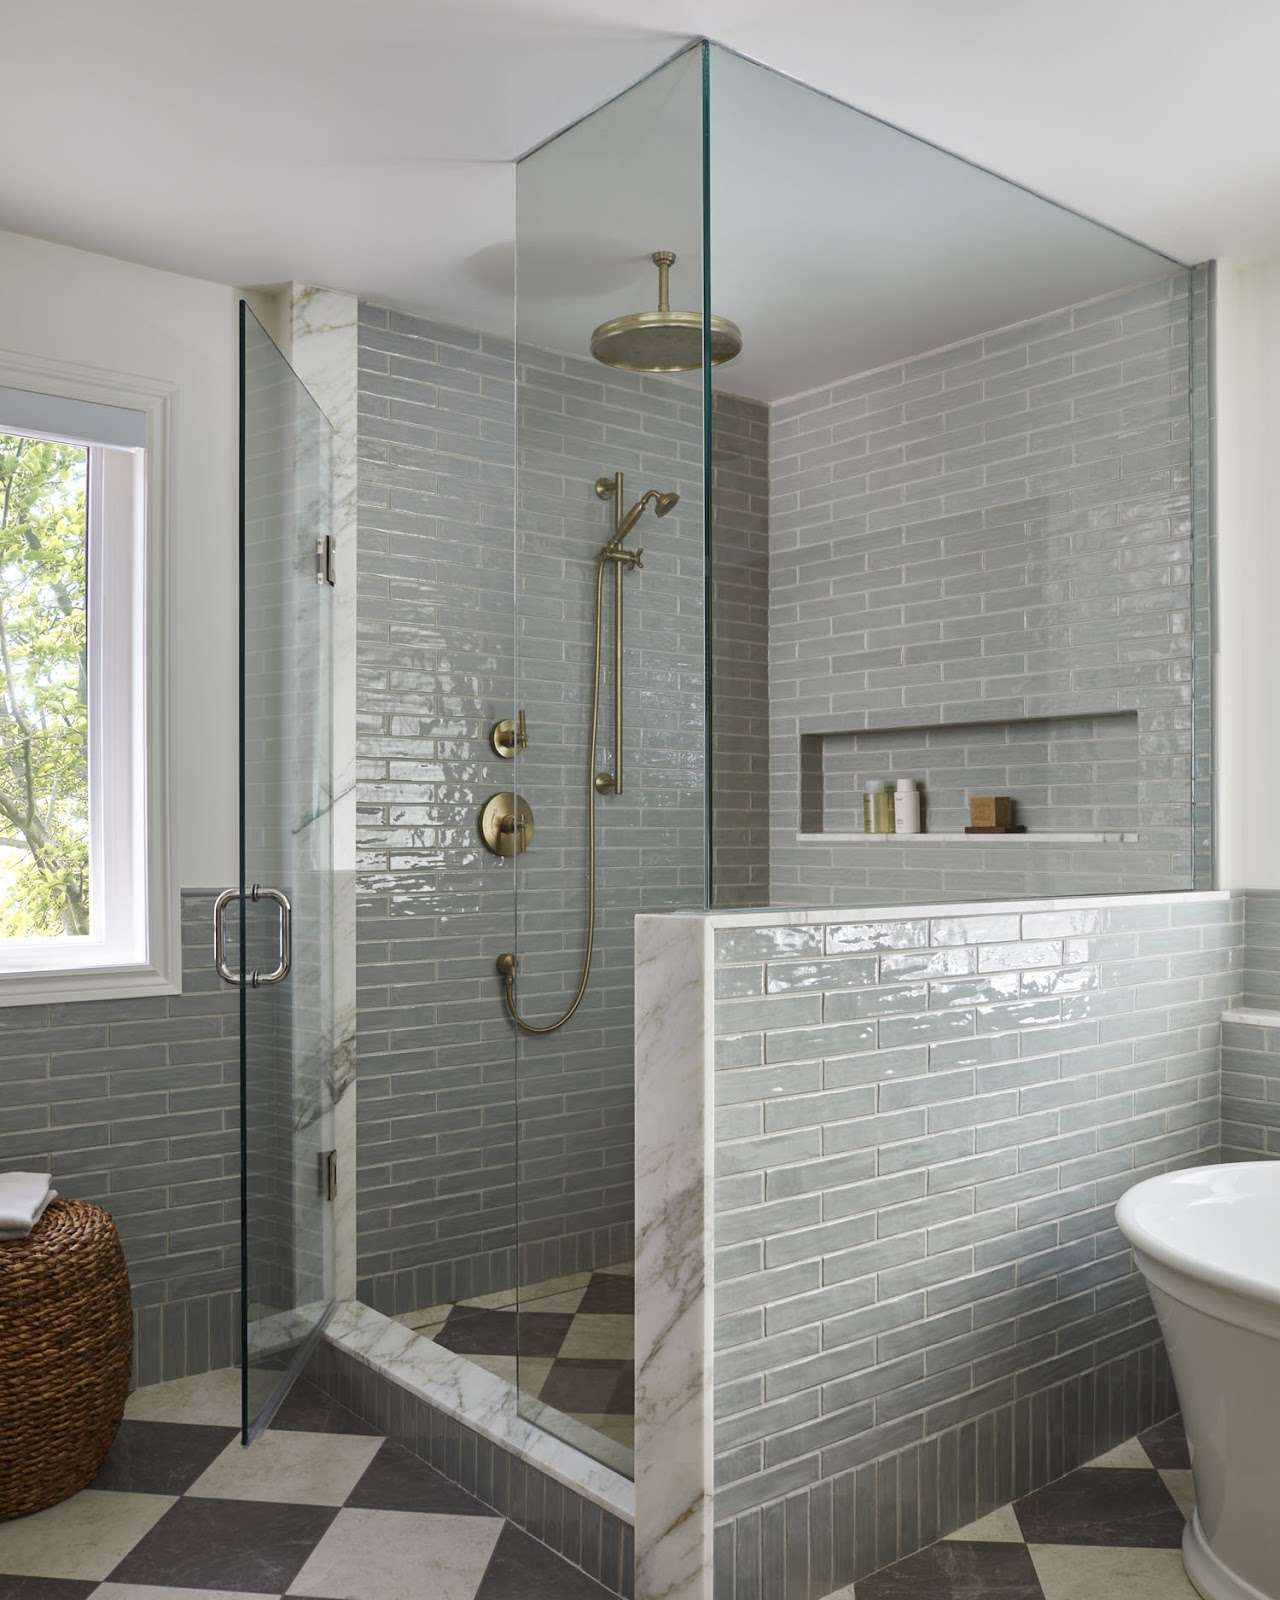
Let’s get one thing straight—you can’t just stick tile on the wall and hope for the best. Before you break out the thinset, you’ve got to make sure your shower’s got a strong, clean, and dry foundation.
Because honey, even the prettiest tile won’t save you from leaks, mildew, or tiles that pop off mid-shower if you skip the prep.
Prep the Surface
Think of this as a pre-game inspection. If your walls aren’t smooth, solid, and ready to hold their own, your tile job is already on shaky ground.
Here’s how to get things right:
- Feel for flaws: Run your hand over the walls—any bumps, holes, or soft spots? Fix them. Fill and smooth where needed, then wipe it all clean like you mean it.
- Level up: Grab a level and a chalk line. You want your tile rows straight and strong—not crooked like a bad picture frame.
- Check for mold or water damage: If anything looks sketchy, don’t cover it—fix it. Use mesh tape, thinset, or patch as needed to reinforce weak areas.
A clean, sturdy wall is not a “nice to have”—it’s crucial if you want those tiles to stay put for years to come.
Waterproof Like You Mean It
Here’s the thing, hun—tile and grout are water-resistant, not waterproof. If you don’t protect what’s behind those tiles, moisture will find its way in—and once it’s there, it loves to hang around (and invite mold to the party).
So, what do we do?
- Start with the right backer: Ditch the drywall; go for cement board or foam board made to handle wet areas.
- Pick your waterproofing method: You can go with a liquid membrane (think of it like painting on a raincoat—multiple coats, no rushing) or a sheet membrane, like Schluter Kerdi (great coverage, as long as you make sure your seams are sealed tighter than your favorite Tupperware lid).
- Don’t cheap out on overlaps or forget those corners: Apply waterproof banding or corner seals and overlap like your bathroom depends on it—because it does.
Take your time here. Good waterproofing is the difference between a spa-like shower and a moldy mess behind the scenes.
Need a hand making sure it’s done right? At Design on a Dime, we don’t cut corners—we seal them.
How to Plan Your Layout Before You Stick a Single Square

If you thought planning your tile layout was the boring part—think again. That is where the magic starts, before the mortar ever hits those walls. A well-planned layout looks better, saves you time, reduces waste, and helps you avoid awkward tile slivers in all the wrong places.
Measure Twice (and Then Check Again)
Start by getting to know your shower—really know it:
- Measure the width, height, and depth of each wall, including corners, niches, and any odd little cutouts.
- Don’t forget your fixtures—showerheads, valves, and shelves all impact how the tiles land. No one wants a gorgeous pattern thrown off by a random pipe poking through it.
- Double-check your starting lines using a level and chalk line. This keeps your first row straight and sets the tone for everything above it.
Lay Out Your Pattern
Once you’ve got your numbers, it’s time to play with patterns. Don’t be afraid to lay a few tiles on the floor first or sketch things out on graph paper (or a tablet, if that’s more your style).
Ask yourself:
- Will the grout lines line up with the edges of your niche or bench?
- Are the corners going to meet cleanly, or will you end up with skinny, awkward slivers?
- Do your eyes land on something intentional when you step into the shower?
Even something as simple as shifting your starting point by half a tile could make the whole wall look more balanced.
Let’s Lay Some Tile: Walls First, Then Floor
You’ve prepped, planned, and picked your tile—now, it’s time to get those beauties on the wall. Tiling isn’t just about sticking things down, though; it’s about doing it right so your shower stays lovely, leak-free, and low-maintenance for years to come.
Start with the Walls
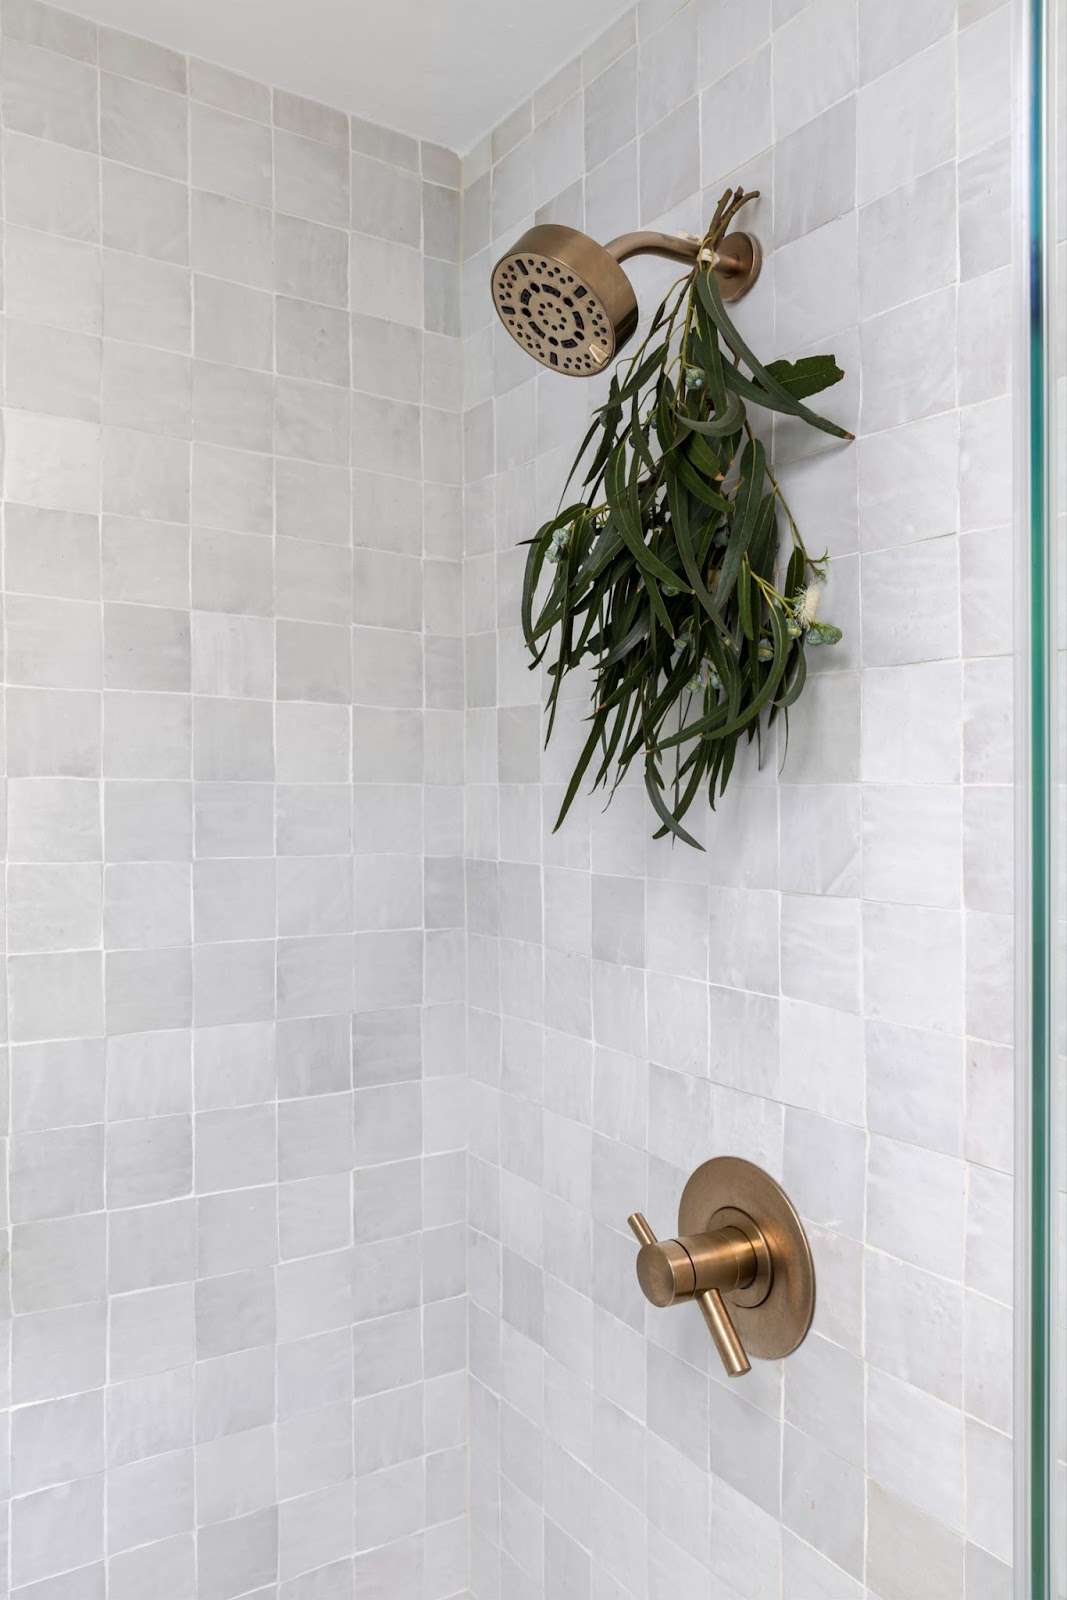
Before you get carried away, make sure your surface is clean, dry, and as flat as a pancake. Bumps, dust, or moisture? That’s a no-go.
Here’s how to get a pro-level finish:
- Mark your layout by drawing a vertical plumb line and a horizontal line (above your tub or shower pan) using a level. These will be your anchor points, keeping your tile rows straight and your layout symmetrical.
- Mix your thinset just right—we’re talking smooth, creamy, with no lumps. Spread it evenly with a notched trowel held at a 45° angle for proper coverage.
- Press the tiles in place, giving each one a gentle wiggle to lock it in. Make sure to use spacers to keep grout lines neat and uniform.
- Cut tiles carefully around plumbing fixtures, edges, and corners. A good wet saw will be your best friend here—clean cuts make a clean look.
Oh, and one more thing:
Always start on the second row and work your way up. Come back to the bottom row later to account for any unevenness along the base.
Move to the Floor
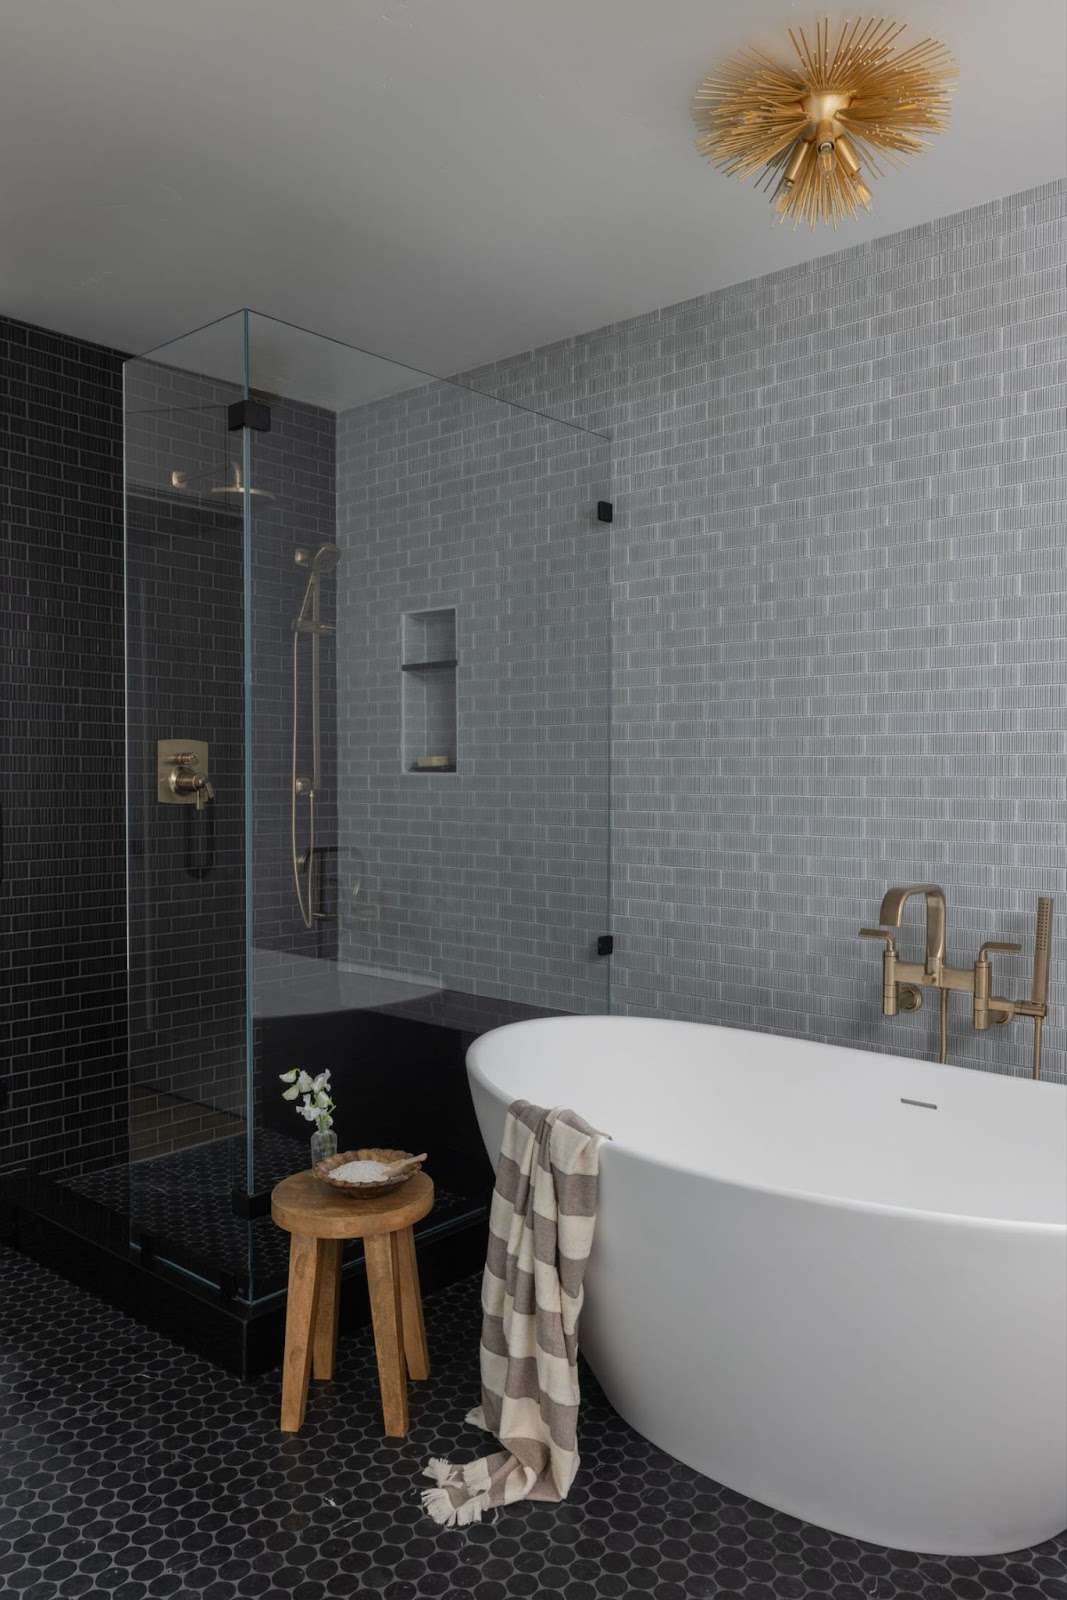
Once the walls are set and dry, it’s time to give the floor its moment—and this is where your shower really starts feeling like a spa.
Here’s the lowdown:
- Inspect your floor slope and make sure it angles slightly toward your drain to keep water flowing where it’s supposed to go. If it’s off, smooth things out with a self-leveling compound.
- Install cement board as your tile base. Not only is it moisture-resistant, but it gives you a strong foundation that won’t flex or crack over time, too.
- Dry-fit your floor tiles before applying adhesive. Lay them all down starting at the far corner and working toward the drain, keeping your lines straight and spacing consistent.
- Use mosaic sheets or smaller tiles to help contour to the floor’s slope—and always leave a little expansion gap (1/8″ or so) along the perimeter.
Once you’ve double-checked the fit, go ahead and start setting them in thinset, one sheet at a time. Slow and steady wins this race, hun.
And there you have it—the bones of a beautiful, functional, and waterproof shower done right.
Need a hand getting it just so? The Dream Team at Design on a Dime can take your vision and turn it into something even better—without the mess or the guesswork.
Grouting and Sealing Your Shower Like a Pro
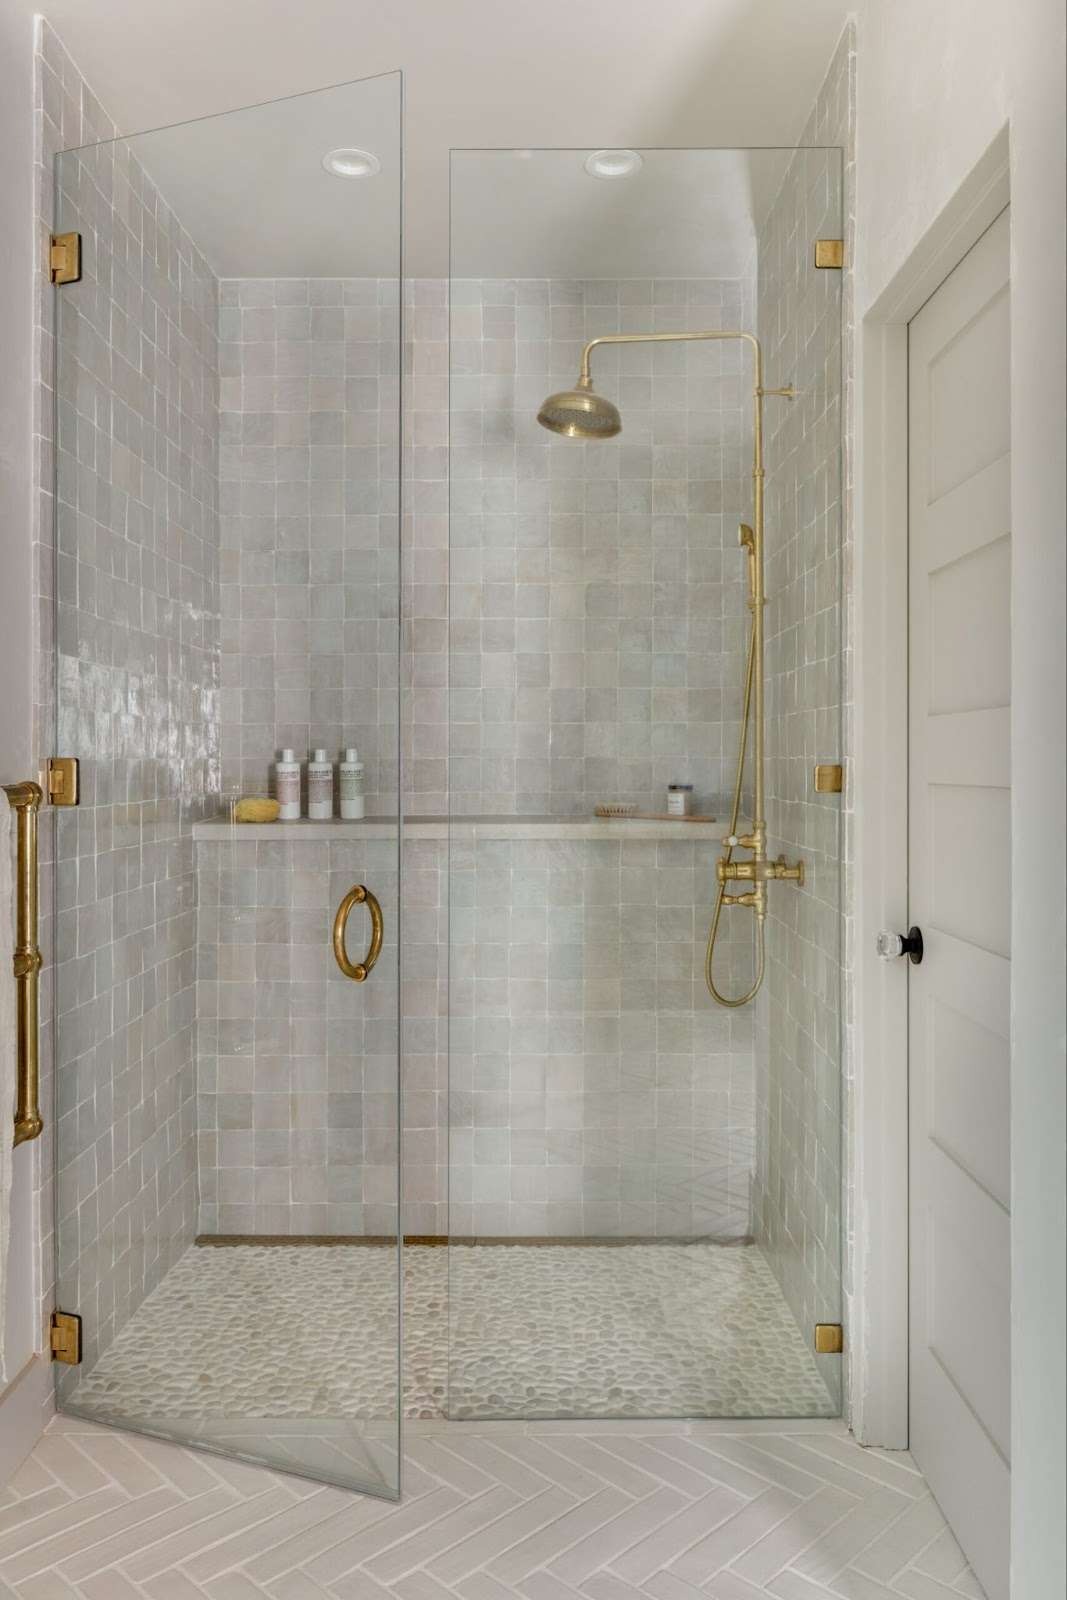
Let’s not sugarcoat it—grouting isn’t the most glamorous part of tiling. It’s messy, it’s fussy, and it’ll humble you real quick, sugar. But if you want a shower that looks polished and holds up over time, that’s the step that locks it all in.
Before you break out the bucket, let’s talk types:
- Sanded grout is best for wider joints (⅛ of an inch or more). It’s strong, less likely to shrink, and ideal for floors.
- Unsanded grout works better for tighter joints (less than ⅛ of an inch), like vertical wall tiles and delicate materials like glass.
Oh, and while we’re here—grout color matters, too. A matching shade gives a seamless, spa-like look. A contrasting one, on the other hand, makes your pattern pop.
Time to Grout: Take It Slow, Work in Sections
- Work in small batches—grout dries faster than you’d think, and you don’t want to race the clock.
- Use a rubber float at a 45° angle to press grout into the joints, moving diagonally across the tiles to fill every seam.
- Wipe off the excess with a damp sponge; grout haze is no joke once it sets.
We recommend starting from the bottom and working your way up. That way, you won’t accidentally drip on freshly finished areas.
Don’t Skip the Sealer
If you’ve used a cement-based grout, sealing is non-negotiable. It keeps moisture, stains, and mildew from sneaking in.
- Apply the sealer with a sponge, roller, or applicator bottle—just aim for the grout lines, not the whole tile.
- Let it cure fully before exposing your shower to water. It usually takes 48–72 hours, depending on the product.
Some tiles—like natural stone—might need sealing, too, so always check your materials. A little extra time here saves a lot of trouble later.
How to Keep That Tile Looking Fresh
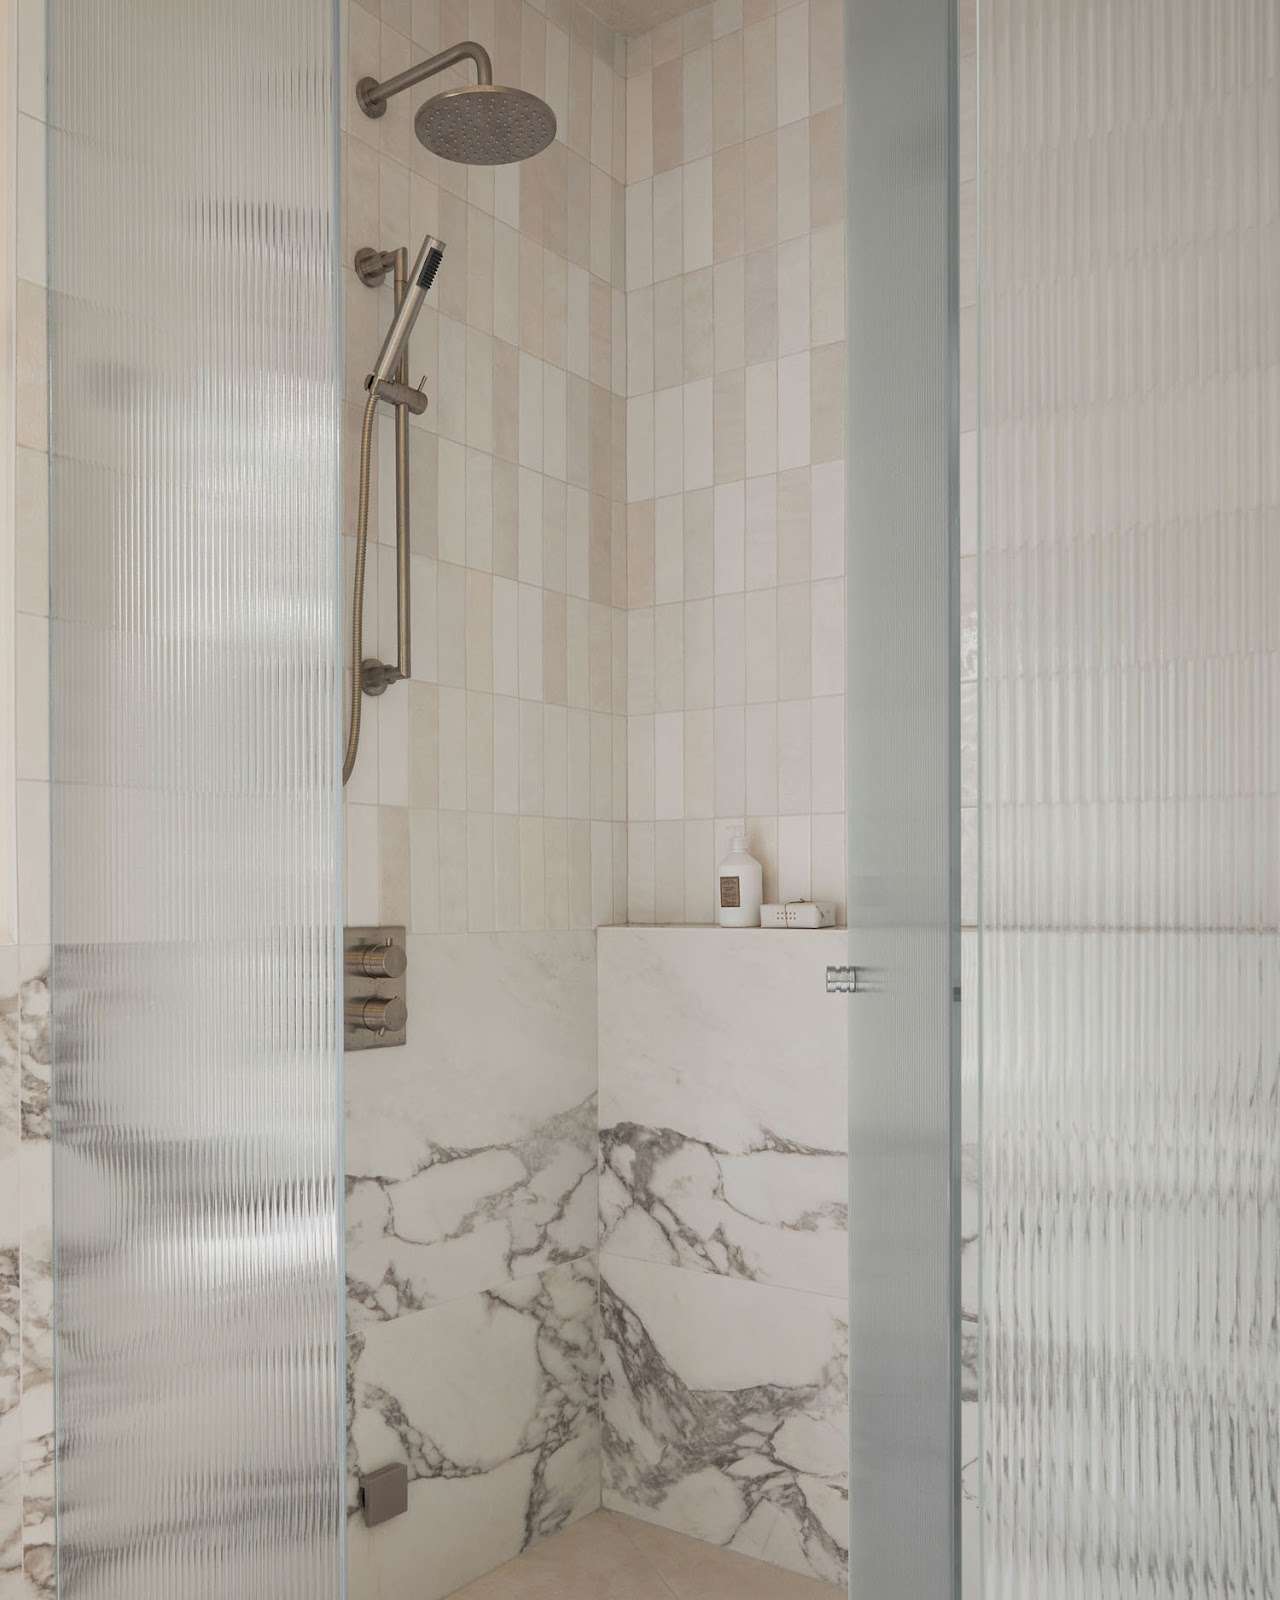
After all that hard work laying tile and smoothing grout, let’s make sure your new shower stays as fresh as a spring morning in Hill Country.
A gorgeous tiled shower is a joy, honey—but only if you treat it right.
It’s all about the little habits:
- Wipe down your walls with a squeegee after each shower—yes, seriously—to keep hard water spots and soap scum from settling in.
- Good ventilation is just as important; be sure that the fan is working, or crack a window to keep mildew in check.
- Once a week, give things a gentle scrub with a tile-safe cleaner—nothing too harsh or acidic, of course, especially if you’ve used natural stone.
- Keep an eye on grout lines, and reseal them about once a year to lock out moisture and stains.
- Watch for loose tiles or leaks, and fix them early before they turn into a bigger mess.
And if your shower starts feeling outdated or just isn’t working like it used to, there’s no shame in calling in the pros.
At Design on a Dime, we’re all about helping your bathroom look good and last. Whether you need a quick refresh or a full makeover, we’re here with expert eyes and ready hands.
When to Skip the DIY and Hire a Pro
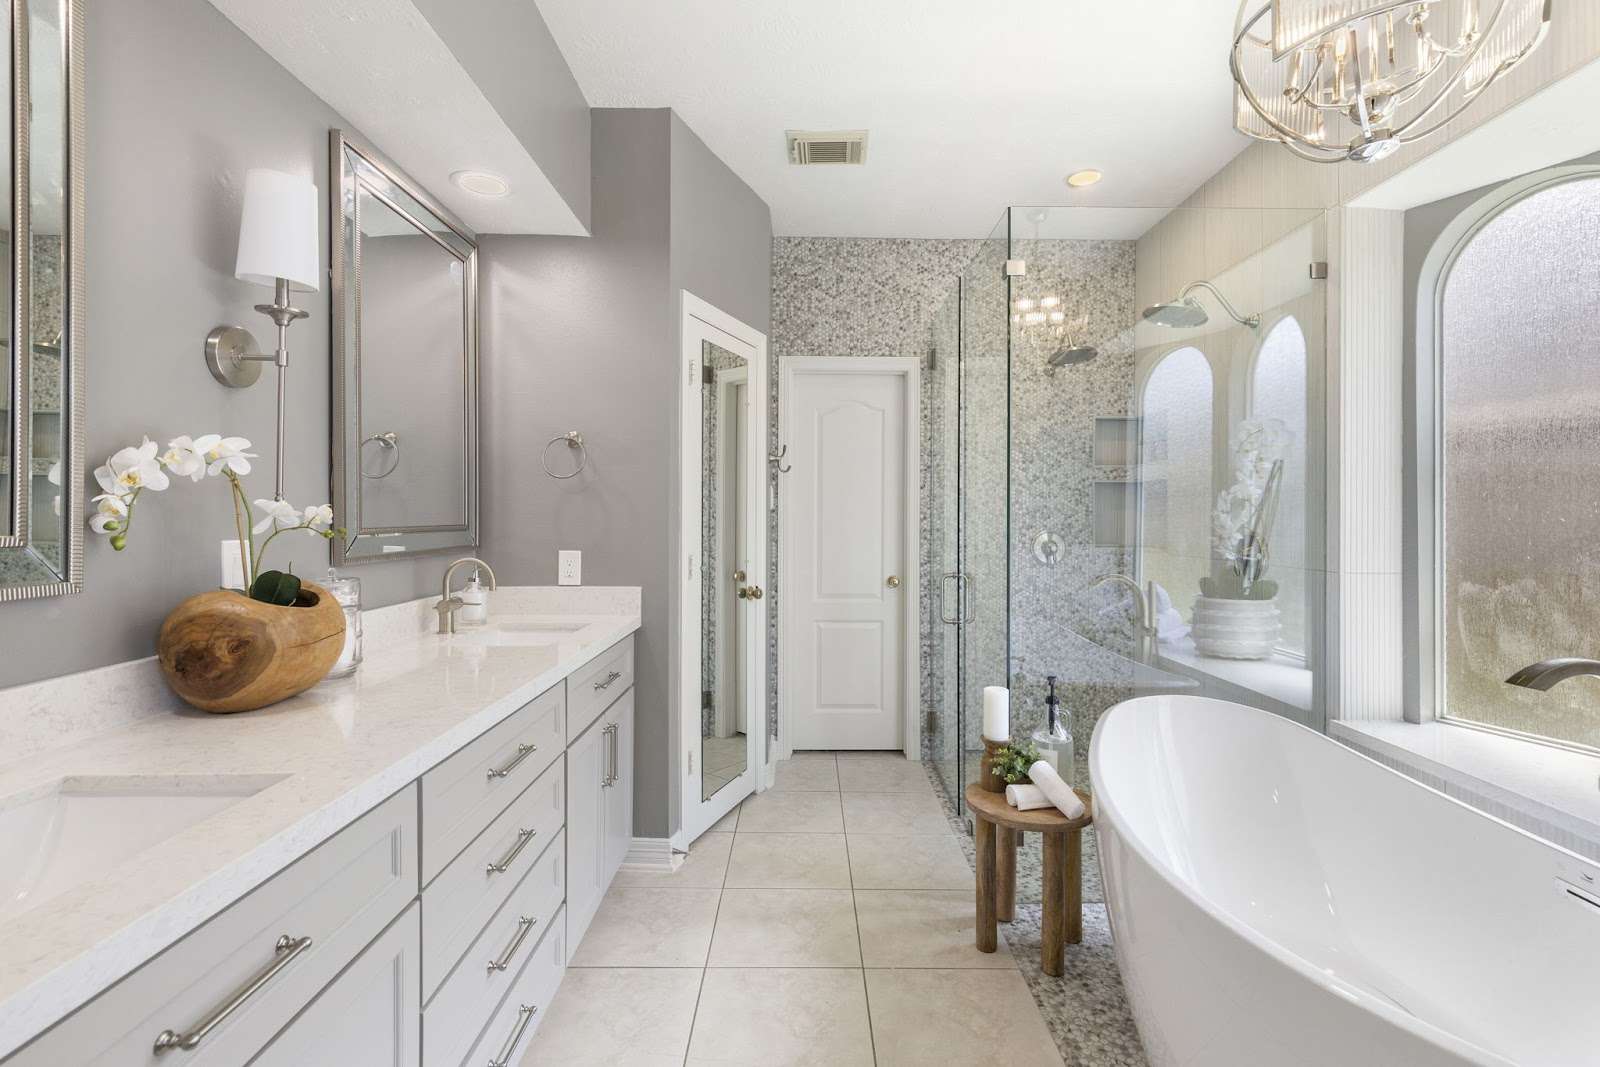
Now, listen, sugar—tiling a shower sounds simple enough, especially with the help of a step-by-step guide like this. But between the waterproofing, slope angles, and making sure your grout lines don’t look like the backroad map, there’s a lot that can go sideways.
We’ve seen more than a few DIY jobs come our way needing a full redo.
And honey, that gets expensive fast.
Sometimes, calling in the professionals is not just easier—it’s smarter. Here’s why working with a team like Design on a Dime Interiors can save you time, money, and a whole lot of headache:
- We Know the Details That Matter
From ensuring your walls are plumb to getting that shower floor pitched just right, we don’t guess; we know. That means fewer surprises and a longer-lasting finish.
- We Work Efficiently Without Rushing the Job
What might take you a few weekends (plus some trial and error) takes our crew a few days—with clean results and no corners cut.
- We Bring the Design Magic, Too
Tiling isn’t just technical—it’s visual. Our team helps you choose tile styles, patterns, and layouts that’ll take your bathroom from basic to breathtaking.
- You Get a Seamless Experience
No juggling contractors or second-guessing what comes next. We handle everything from demo to final seal, and we keep you looped in the whole way.
We recently wrapped up a gorgeous bathroom transformation in Magnolia, TX, where we took an outdated space and turned it into a vibrant and inviting retreat—complete with the freshly tiled shower that’s now the star of the show. For more inspiration, check out our Ben Project here.
If you’re ready to skip all the stress and get a shower that works and wows, go ahead and reach out to our team. We’d be honored to help you bring it to life.
Frequently Asked Questions
How much should I budget for a custom tiled shower?
Tile showers vary widely in cost, but a quality remodel usually starts around $3,000–$5,000 and can climb depending on tile material, layout complexity, and labor.
Can I install shower tile over existing tile?
In some cases, yes—but only if the existing tile is flat, clean, and securely attached. A professional should assess whether it’s worth doing or if a full tear-out is a smarter option.
Do I need a waterproof membrane behind my tile?
Yes, you’ll need a waterproof membrane—tile and grout alone aren’t waterproof. A proper membrane (like a shower pan liner or waterproof backer board) is essential to protect your home from leaks.
How long does it take to tile a standard shower?
A standard shower tiling project will typically take around 2 to 4 days from prep to grout, depending on the size, tile complexity, and dry times between steps.
Ready To Make Your Dream Shower a Reality?
Tiling your own shower is no small feat, honey—and you should be proud of every step you take toward a more beautiful and functional bathroom. But when it’s time to turn that vision into a flawless, lasting space, why not let the pros step in and handle the heavy lifting?
At Design on a Dime Interiors, we bring expert craftsmanship, personalized design, and stress-free project management straight to your doorstep.
Whether you’re ready for a full bathroom remodel or simply need a little guidance to get this project off the ground, we’re here to help you shine.
Don’t wait—reach out to our team today and let’s create a shower space you’ll love for years to come.