
Bathroom Lighting Ideas for Texas Homes That Avoid Harsh Shadows and Dim Corners
Bathroom lighting that’s working against you shows up the same way every morning. You lean toward the mirror, tilt your head, and hunt for an angle where the shadow isn’t falling across your face. The fixture itself looks fine. The room looks finished. But the light isn’t doing what you need it to do, honey.
Most Texas builder bathrooms shipped with one overhead can and a single vanity bar above the mirror. That combination falls apart the second real life walks in. Too dim in the morning. Surgical at 10 p.m. when you’re trying to wind down. T
he fixture isn’t the problem, darling. The plan behind it is. Stick around, ’cause this is one of the easiest fixes most homeowners overlook.
Why Your Bathroom Lighting Feels Wrong (Even When the Fixture Looks Pretty)
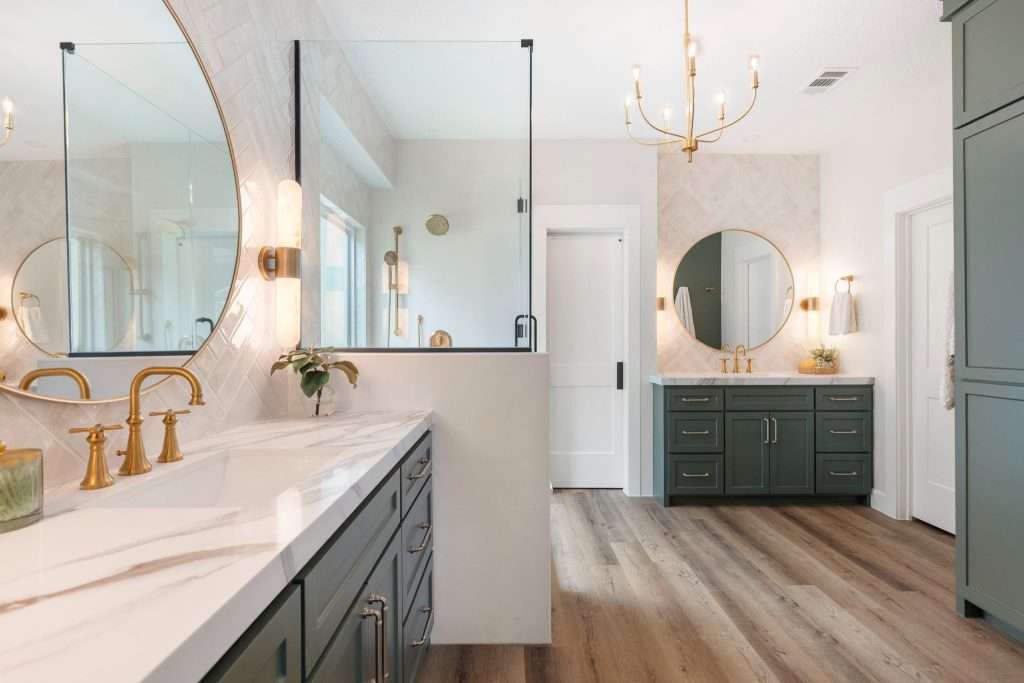
The problem is rarely the fixture itself. Most bathrooms are lit with only one or two layers when they need three. A standard builder bathroom in the Greater Houston area arrives with a single recessed can over the center of the room. Add a vanity bar mounted above the mirror, and that’s it. Two fixtures, both pointing down, both fighting each other to do every job at once.
What That Light Actually Does to Your Face
Light coming straight down from above casts shadows under your brow bones, your nose, your chin, and your jawline. That’s the raccoon-eye effect, darling. It’s why your makeup never looks the same in your bathroom as it does in your car. The bar light above the mirror makes it worse. It adds a second top-down source pointing right at your scalp instead of at your face. Lighting frustration is one of those everyday bathroom stress points that has nothing to do with style. It has everything to do with planning.
Why It Feels Wrong After Dark
Builder lighting was designed for one mode: full on. You walk in at 6:30 a.m., flip the switch, get hit with crisp white light, and start your day. That works fine at 6:30 a.m. The same setting hits you at 10 p.m. when your nervous system wants to wind down. It hits again at 3 a.m. when you just need to splash water on your face. One light level, all the time. No flexibility for how you actually use the room.
You can swap that vanity bar for a $400 fixture and still have all the same problems. The fix isn’t a prettier light. The fix is a layered plan.
The Three Light Layers Every Texas Bathroom Needs
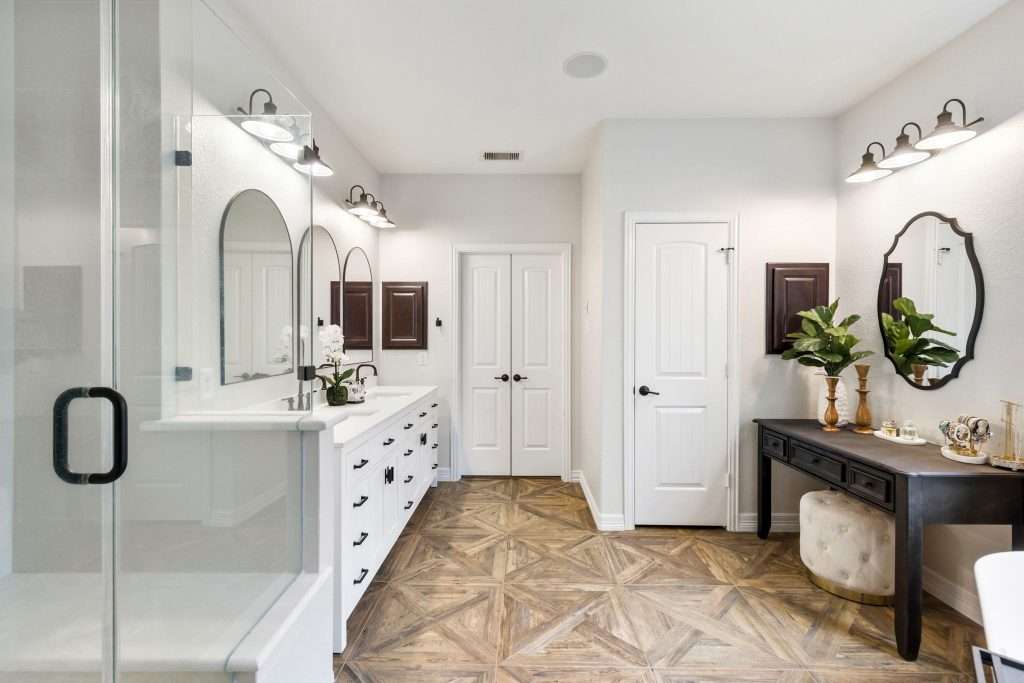
A complete bathroom lighting plan has three layers working together. Ambient is the overhead light that fills the room. Task is the focused light at the vanity that flatters faces. Accent is the low, warm light for night use and atmosphere. Skip any one of them and the room never quite works. The American Lighting Association uses this same three-layer framework as the foundation of every well-designed space. Bathrooms might be where it matters most. The room asks more of its lighting than almost any other room.
Here’s what each layer is actually doing.
- Ambient: the room’s baseline. This is the general fill light. It lets you walk in, find the towel, and not bump into anything. In most Texas bathrooms, it comes from one or two recessed cans in the ceiling. The fix usually isn’t adding more cans. It’s putting the ones you already have on a dimmer so you can pull them down at night. Ambient light should set the floor of brightness in the room, not the ceiling.
- Task: the work light around the vanity. This is the layer that decides whether you can actually see your face. Task lighting at the bathroom mirror is the most demanding job in the whole house. You need light that renders skin tones accurately, hits from the right direction, and avoids casting shadows on your face. The short answer is sconces flanking the mirror, not a bar light above it. We’ll get into specifics in the next section.
- Accent: the night-and-mood layer. Accent light is the low, warm glow that lets the room function at 10 p.m. or 3 a.m. Most bathrooms skip this layer entirely. Toe-kick LEDs under the vanity work. So does a small dim sconce on a separate switch. So does a smart bulb in a corner fixture at five percent brightness. The difference between a bathroom that feels finished and one that just feels lit comes down to whether this layer exists.
Most homeowners don’t realize that lighting changes are often what stretches a remodel budget mid-project. Adding electrical for a third layer means cutting drywall and routing new circuits. Knowing what you’re working with matters. Our Texas bathroom remodel cost calculator gives you a starting point in about 60 seconds. Pricing breaks down by scope, so you can see how layered lighting fits the broader budget. Once you understand what each layer adds, every other decision in the room gets easier.
If your bathroom is running on a single overhead and a bar light, our bathroom remodel team in Conroe can walk you through a layered plan before any electrical work starts.
Vanity Lighting That Stops the Shadow Problem
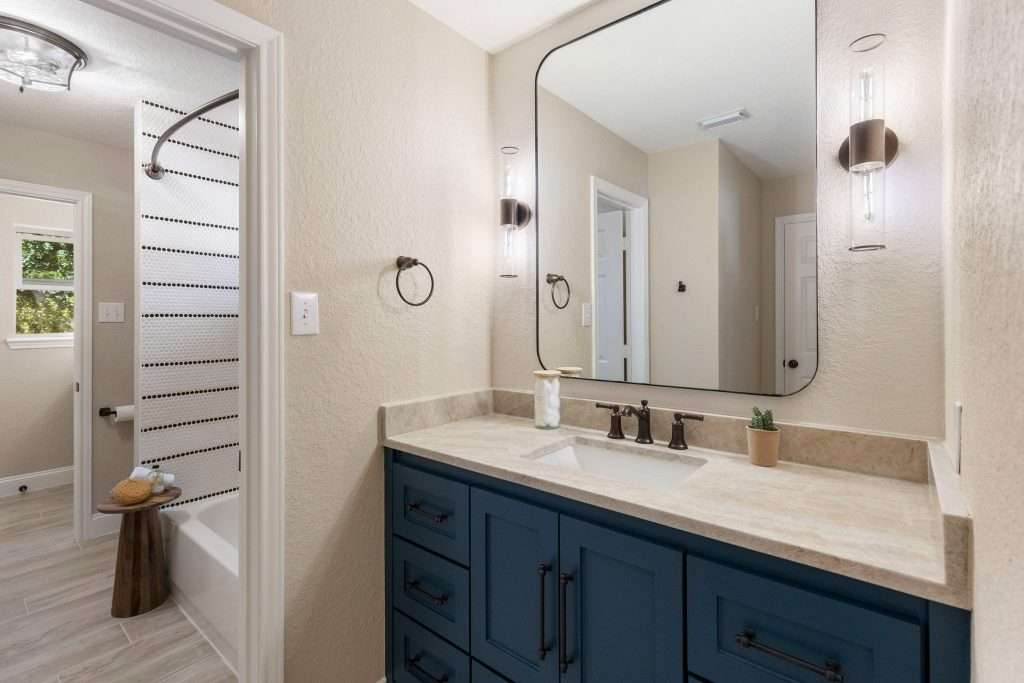
The single most effective fix for unflattering bathroom lighting is moving the task light from above the mirror to either side of it. Sconces mounted at eye level on both sides illuminate your face from the front, not from above. That eliminates the shadows that make skin look tired and makeup look uneven. Designers have known this for decades. Builders just don’t install for it. It requires planning the electrical before the drywall goes up.
Here are the specs that matter, sugar.
- Height. Mount sconces at roughly 60 to 66 inches from the finished floor to the center of the fixture. That lands them at eye level for most adults. Kichler’s lighting guide puts the centerline of a traditional vanity bar at 72 to 80 inches from the floor. That’s when an overhead is the only option. Side sconces work better and sit lower. Rule of thumb: the bulb should land at eye level when you’re standing in front of the mirror.
- Spacing. Place the sconces 36 to 40 inches apart, center to center. Flank the mirror evenly. That spacing puts light on both sides of your face at once. It’s what kills the side-cast shadow. The Lightsonline bath light sizing guide breaks the spacing down further by mirror size. For most Texas builder vanities, the 36-inch spacing works without modification.
- Color temperature. Pick bulbs in the 2700K to 3000K range. That gives you warm, flattering light that doesn’t make your skin look gray. The crisp 4000K and higher temperatures read clinical. They’re wrong for any room where a human face is the subject. I’ve seen homeowners install gorgeous fixtures with the wrong bulbs and wonder why the room still feels off. The fixture isn’t doing it. The bulb is.
- Color rendering. Look for bulbs labeled CRI 90 or higher. CRI stands for color rendering index. It measures how accurately a light source shows the true color of what it’s illuminating. Lower-CRI bulbs distort color and turn grooming into guesswork.
- Dimming. Every task light in the bathroom should be on a dimmer. Full brightness for grooming. Lower for ambient evening use. Lowest for nighttime transitions.
If your vanity wall isn’t already wired for side sconces, that decision gets easier when planned alongside everything else. A bathroom remodel in The Woodlands starts with the lighting plan, not the tile. Electrical decisions affect every other choice that follows.
For a deeper look at how this plays out, our piece on choosing the right bathroom vanity covers how vanity selection and lighting design work together. It matters most in primary bathrooms where two people share the space.
Wet Zone Lighting: Showers, Tubs, and What Code Actually Requires
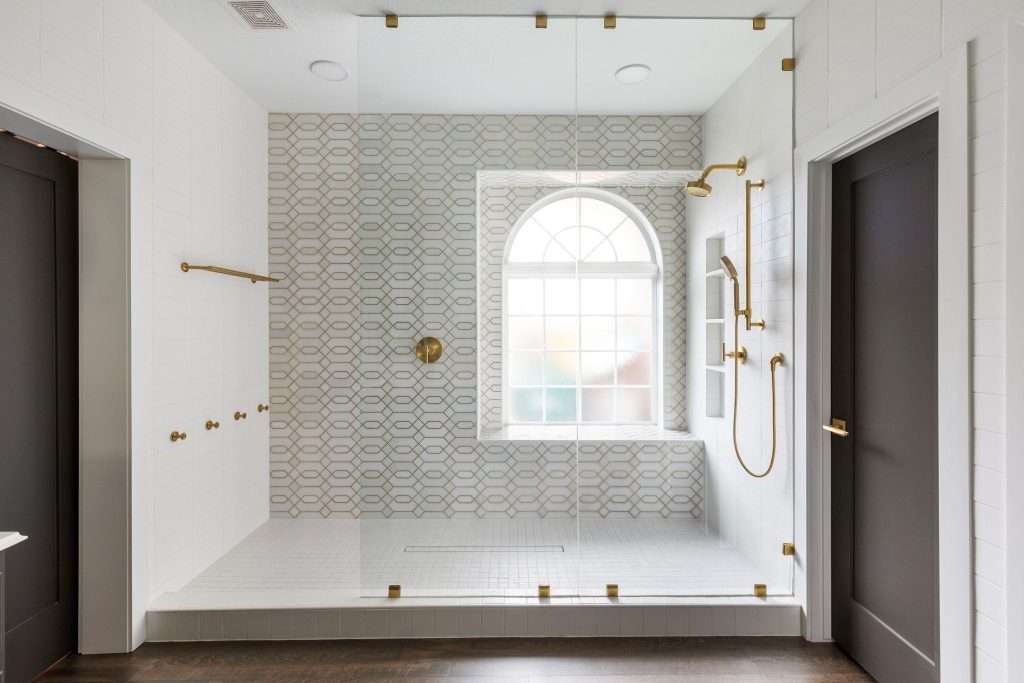
Any light fixture located over a bathtub or shower needs a damp or wet location rating. The National Electrical Code defines a specific zone where this applies. The zone is 3 feet horizontally and 8 feet vertically measured from the top of the tub rim or shower threshold. Any fixture inside that zone must carry at least a damp rating. Fixtures actually subject to shower spray must be wet-rated under NEC 410.10(D). Your inspector will check it.
Here’s what that means in practice.
- Damp-rated fixtures. These handle humidity and occasional moisture, but no direct water contact. They work for the general bathroom environment beautifully. Use them for most overhead recessed cans, sconces near the shower (not in it), and vanity lighting in a separated wet/dry layout.
- Wet-rated fixtures. These are sealed against direct water spray. Use them for any recessed can inside the shower enclosure. They’re also required for any pendant over a freestanding tub open to the ceiling above, and for any fixture that could see water during normal use.
The most common mistake we see in Conroe bathrooms is a beautiful chandelier hung over a freestanding tub without anyone checking the rating. The fixture looks gorgeous on the showroom floor. It looks gorgeous in the bathroom too. Then an inspector flags it, or moisture damage shows up two years later. Always check the rating label before you fall in love with a fixture, darling. The National Kitchen and Bath Association recommends additional task lighting in every functional area of the bathroom, including showers and tubs. So this isn’t about reducing fixtures. It’s about choosing the right ones for each zone.
Layout planning matters too. Side-lit vanity sconces stay outside the wet zone in most builds. That’s one more reason they’re easier to install than a vanity bar centered over a mirror near the wet wall. We’ve worked on more than one bathroom remodel in Spring where the lighting plan got reshuffled at the last minute. The original layout had a fixture sitting just inside the prohibited zone.
For homeowners thinking through a full bathroom redo, our piece on why bathroom remodels fail without a functional plan covers where lighting fits in the larger sequence. A lot of decisions need to happen before the first tile goes up.
The 3 a.m. Layer Most Texas Bathrooms Skip
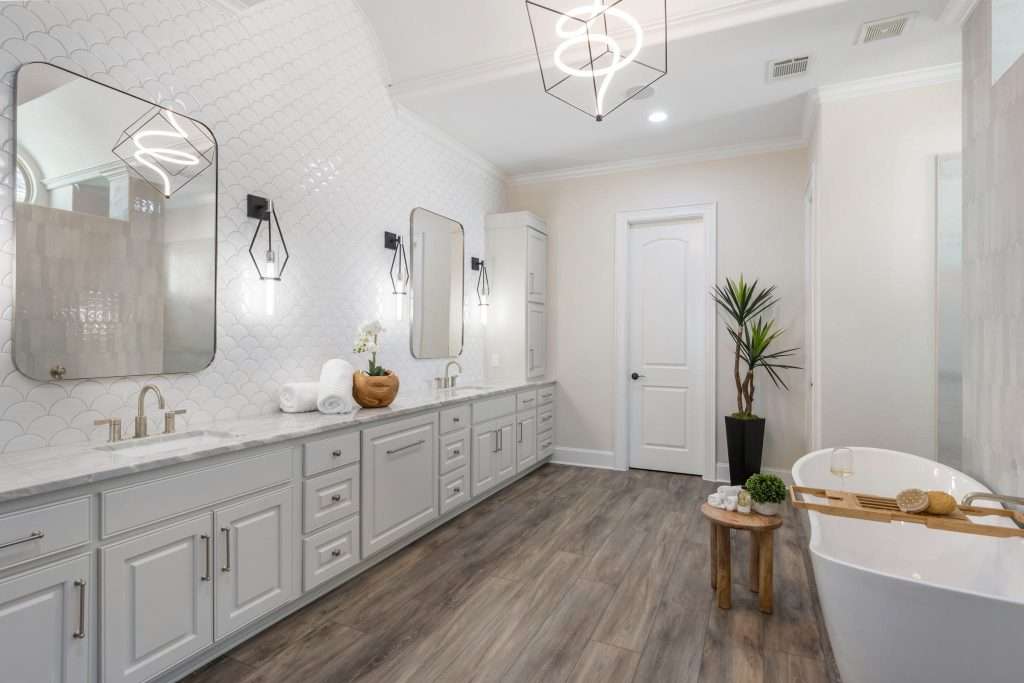
The single biggest comfort upgrade in a bathroom remodel is the layer of light that activates for night use. Most builder bathrooms don’t have one. Toe-kick LED strips under the vanity work. So does a low-wattage sconce on its own switch. So does a smart bulb dimmed to five percent in a corner fixture. The goal is letting the room function at 10 p.m. or 3 a.m. without a slap of full overhead light.
Why This Layer Matters More Than You’d Think
That overhead recessed can helps you put on mascara at 7 a.m. It’s the wrong tool at midnight when you’re brushing your teeth. It’s actively bad at 3 a.m. Cool white light at that hour tells your brain it’s morning. Your body’s circadian rhythm reads light temperature as a clock signal, baby. The room should know the difference between dawn and 2 a.m. even when you don’t.
Options That Actually Work in Texas Builder Bathrooms
A few approaches we use regularly:
- Toe-kick LED strips. A continuous strip of warm white LED tape under the front edge of the vanity cabinet. Wire it on its own switch or a motion sensor. It gives you enough light to navigate without waking anyone up. We use these in nearly every bathroom remodel. They’re inexpensive, easy to wire during renovation, and they change how the room feels at night.
- A second sconce circuit on a separate dimmer. If your vanity sconces are already wired, run them on a dedicated dimmer. Drop them to 10 or 15 percent for evening use. That alone solves half of the night-bathroom problem without adding new fixtures.
- Smart bulbs in existing fixtures. For homeowners who don’t want to open walls, a smart bulb in the overhead can or vanity bar lets you create a “midnight” scene. Set it to warm dim light. It’s not as elegant as proper toe-kick lighting. It works as a retrofit and costs almost nothing.
- A small plug-in night light with a warm bulb. The lowest-effort version. Place it near the doorway or below the vanity. Plug it in. Let it run on a dusk-to-dawn sensor.
The bathroom that handles all four moods well feels finished in a way no single fixture upgrade can match. Those four moods: morning grooming, evening winding down, late-night returns, and middle-of-the-night navigation. Our team designs bathrooms alongside the remodel itself for families across Katy and Cypress. The lighting plan is one of the first conversations we have. Changing it after drywall is up costs three times what it costs to plan right the first time.
Want to see how layered lighting plays out in a finished space? Our Ben project bathroom remodel shows the result when ambient, task, and accent all work together. For more on warm dim light shaping a room, our post on mood lighting covers how those soft layers shift the feel of any space. Smaller bathrooms benefit just as much as large ones. The quiet luxury of a well-designed powder bath is built largely on lighting choices.
Frequently Asked Questions
For grooming and makeup, choose bulbs in the 2700K to 3000K range. That’s a warm white that flatters skin tones and reads accurately. Pair every fixture with a high color rendering index. The U.S. Department of Energy recommends a CRI of 80 or higher for interior lighting, with CRI 90+ for excellent color fidelity at the vanity. Avoid 4000K and higher temperatures in any bathroom where someone will look at their own face in the mirror. Cool white light makes skin look gray and washes out detail.
Bathroom vanity sconces should be mounted between 60 and 66 inches from the finished floor to the center of the fixture. That puts the bulb at roughly eye level for most adults. Space them 36 to 40 inches apart, center to center. Flank the mirror evenly. Mounting them higher than 66 inches reintroduces the overhead shadow problem. Side-mounted sconces exist to solve that problem.
Yes. Each layer of bathroom lighting (ambient, task, and accent) should have its own switch. Ideally its own dimmer too. Separate controls let the room shift between morning grooming mode, evening winding-down mode, and middle-of-the-night mode. Morning is everything on, full brightness. Evening is ambient and task at 30 percent with accent on. Late night is accent only, dimmed low. Without separate switches, the room defaults to one setting. That setting won’t fit every moment.
Most builder bathrooms across the Greater Houston market were wired with only ambient and task lighting. The task light often sits above the mirror rather than flanking it. That layout creates raccoon-eye shadows during grooming. It produces harsh light at night. It leaves the room with zero atmosphere for evening use. A lighting upgrade during a remodel is one of the highest-impact changes per dollar spent. It affects how the room feels every single time you walk in.
When Your Bathroom Finally Lights Itself the Way You Live
A great bathroom isn’t the one with the most expensive fixtures. It’s the one where the light shifts with your day. The mirror flatters instead of fights you. 3 a.m. doesn’t feel like a hospital corridor. That kind of room takes a plan, not a bigger budget. The three layers, the right heights, the right ratings, the right switches: all of it adds up to a bathroom that feels finished from the moment you walk in. Every time you walk in.
If you’re rethinking a bathroom in Montgomery County or anywhere across Greater Houston, we’d love to walk through how layered lighting fits into your space and your budget. Start a conversation with us, darling, and let’s build a room that works the way real life actually unfolds.