
Painting Kitchen Cabinets in Texas Homes: What Actually Lasts and What Doesn’t
Painting kitchen cabinets in your Texas home sounds like the deal of the century. A $58 gallon of paint, a free YouTube tutorial, a quiet Saturday afternoon, and suddenly your dated oak looks like a magazine spread. The result almost always looks great too. For about six months. Then the doors near the dishwasher start to peel. The drawer fronts develop nicks where keys land. The white you fell in love with turns slightly yellow above the stove. The Pinterest version skipped some details, sugar. The kind of details that decide whether your paint job lasts six months or six years. Here’s the honest version, with no sales pitch, and a clear answer on when painting is genuinely the smart call.
Why Most Painted Cabinets Don’t Hold Up in Texas Kitchens
Kitchens are the worst paint environment in any house. Heat from the stove. Steam from the sink. Grease in the air. Daily handling on every surface. Add Texas humidity and the cure conditions get tougher. Without proper prep and the right product, the paint fails predictably.
Where the Paint Fails First
The places paint fails first are the places you use most. Drawer fronts near the silverware. Door edges around handles. Anything near the stove. Each of those takes daily wear that wall paint never sees. Cabinet paint has to act more like furniture finish than like wall paint. Most homeowners start with the wrong product and end with the wrong result.
What Texas Humidity Adds to the Mix
Humidity slows cure time. A finish that needs 16 hours between coats in a dry climate might need 24 in the Greater Houston market. Sherwin-Williams notes on its Emerald Urethane Trim Enamel data sheet that drying and recoat times are temperature, humidity, and film-thickness dependent. Skip that recoat window and the paint looks fine for a week. Then it starts showing soft spots that scratch with a fingernail. The room temperature also matters. Cabinets painted in a garage in July behave differently than the same paint applied in an air-conditioned space.
The Substrate Underneath
The other half of the failure is what’s under the paint. Texas builder cabinets often mix solid wood face frames with thermofoil or laminate-wrapped MDF doors. Paint adheres beautifully to one of those and terribly to the others. Most homeowners can’t tell the difference until the finish starts lifting at the edges. By then the cure has already failed.
When Painting Your Cabinets Actually Makes Sense
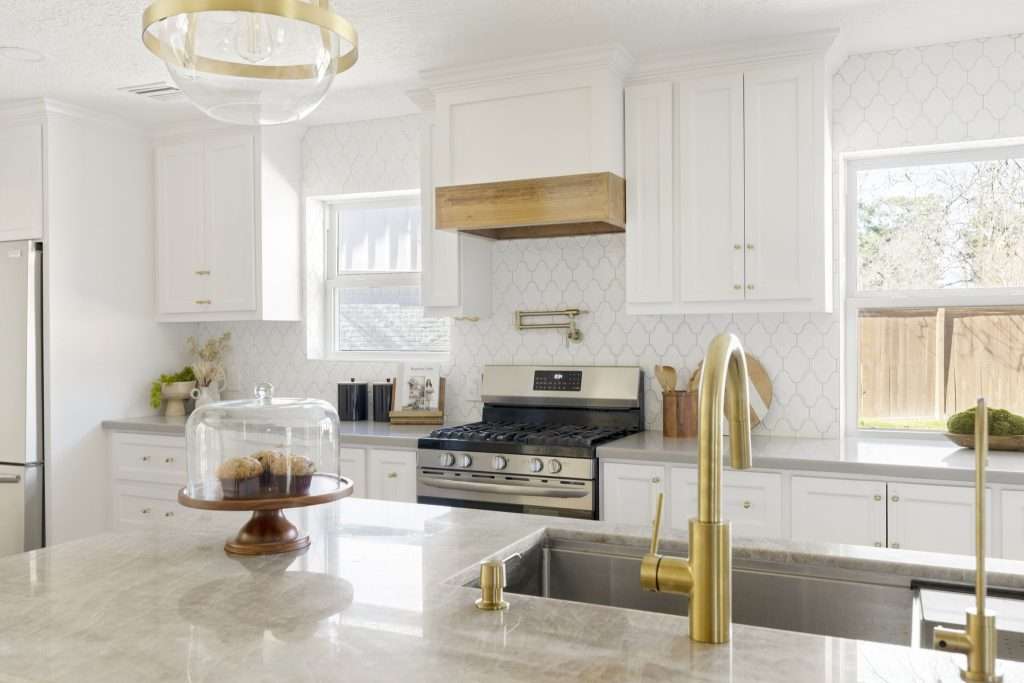
Painting kitchen cabinets is the right call in three specific situations. The boxes need to be solid wood, structurally sound, and in good shape. The current color or finish needs to be the problem, not the layout or condition. And the budget needs to be one where full replacement isn’t on the table this year. Match all three, and a quality paint job is one of the highest-impact updates per dollar spent.
Here’s when it works.
- Solid wood cabinet boxes and doors in good structural condition. If your cabinets are real wood (oak, maple, cherry, alder), the substrate cooperates with paint. The boxes also need to be level, square, and free of water damage to qualify as a good candidate. Wood takes primer and finish coats predictably. Hinges, drawer slides, and hardware can be replaced separately if they’re tired. The cabinets you have already are often better quality than the entry-level new ones you’d buy to replace them.
- An outdated color or finish on otherwise quality cabinetry. Maple cabinets from 2005 in honey oak stain. White cabinets with the yellowing varnish overcoat. Cherry cabinets that read too red for current preferences. If the cabinets themselves work and only the color is dating the kitchen, paint is the right tool. According to the National Association of Home Builders’ research on buyer preferences, white kitchen cabinets are the most preferred cabinet color among recent and prospective home buyers. That makes a neutral repaint a strong ROI move. For help picking the actual color, our piece on kitchen paint colors walks through the tones that hold up well in Texas light.
- A pre-sale ROI play when replacement isn’t in the budget. Selling your home in the next 6 to 12 months and trying to maximize what buyers see? Painting quality cabinets can return more per dollar than almost any other update. The math favors paint heavily when full replacement would cost five figures and the goal is curb appeal, not a personal forever kitchen.
Before you commit to painting, run the numbers on what other parts of the project might cost. Our Texas kitchen remodel cost calculator gives you a fast read on where painted cabinets fit into a broader budget. Pricing breaks down by scope, so you can see whether paint alone gets you where you want to go or whether a fuller remodel makes more sense.
Our custom cabinets team in Conroe walks homeowners through the paint-versus-replace decision as part of any kitchen project. The answer depends entirely on what you’re starting with.
When You Shouldn’t Paint (and What to Do Instead)
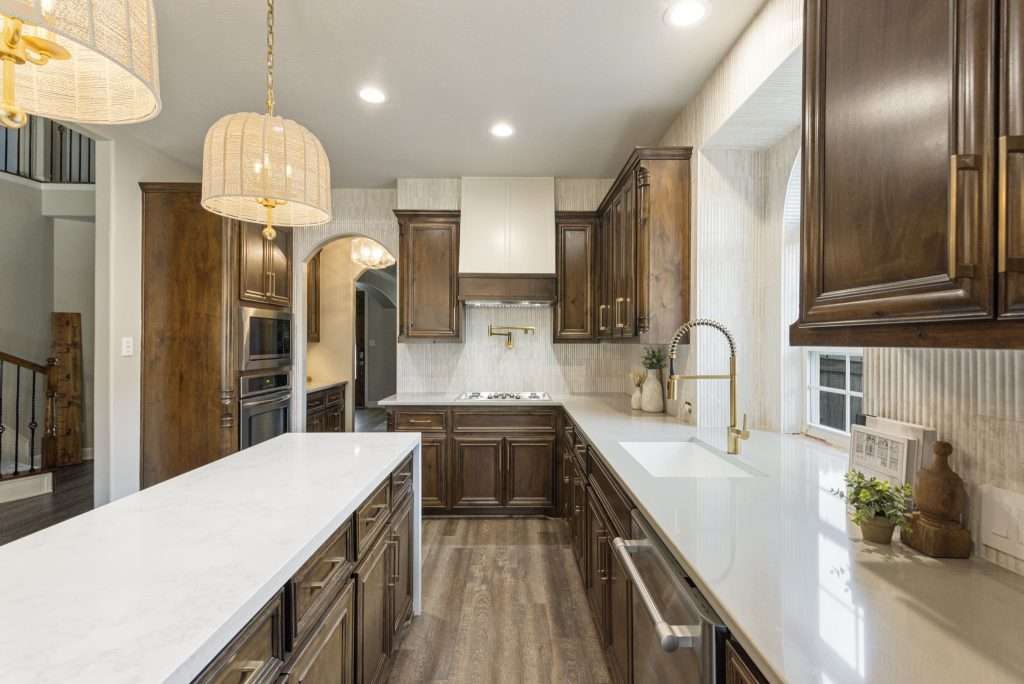
Painting cabinets is a bad call in two specific situations. The first is when the cabinet doors or boxes are made from materials that won’t bond properly to paint. The second is when the underlying problem isn’t color, but structure or layout. Painting doesn’t fix either, and the money is better spent elsewhere.
The two cases where painting fails before it starts:
- Thermofoil, laminate, or particleboard cabinet doors. Thermofoil is a thin vinyl film heat-pressed onto an MDF substrate. It looks like painted wood but behaves nothing like it. Paint doesn’t bond to the vinyl surface without special bonding primer, and even with proper prep the film itself often delaminates from the MDF underneath. Laminate cabinets have the same problem. The finish you’re painting over wasn’t designed to hold another finish. You can sometimes make it work for a short while, but it’s not a permanent fix.
- Cabinets with structural problems painting can’t address. Sagging shelves. Doors that don’t close flush. Water-damaged bases under the sink. A layout that hasn’t worked for ten years. If the bones of the kitchen are the issue, paint is lipstick on a problem that needs surgery. According to Angi’s 2026 cost data on cabinet refacing and replacement, the average cabinet lifespan runs 20 to 50 years. Cabinets past 20 years with visible damage are stronger candidates for replacement than refresh. Our piece on what to know before updating your kitchen cabinets covers the structural assessment before any paint or refresh decision.
What to do instead when paint isn’t the right answer:
- Cabinet refacing. New doors and drawer fronts attached to your existing boxes, with veneer wrapping the exposed frame faces. Costs roughly 30 to 50 percent less than replacement. Works only if your boxes are solid.
- Cabinet door replacement only. If just a few doors are damaged or you want a fresh style, doors can be replaced individually while you keep everything else. Cheaper than full refacing and dramatically faster.
- Selective replacement plus layout changes. When the layout doesn’t work and the cabinets are aging, the smart play is often to bite the bullet and replace. You get to fix the work triangle, add the storage you’ve been missing, and start from scratch on the finish that will last decades.
The honest reframe: most kitchens that “need a paint job” actually need either a 5-hour refresh (hardware, paint, lighting) or a full remodel. Falling in the murky middle usually means painting is the wrong tool. Our custom cabinets team in The Woodlands helps homeowners figure out which side of that line their kitchen lands on, before anyone opens a paint can.
For broader context on when a kitchen overhaul makes more sense than a refresh, our piece on when a kitchen remodel makes sense is worth your time. It covers the decision framework in detail.
The Prep Work That Decides Whether It Lasts 6 Months or 6 Years
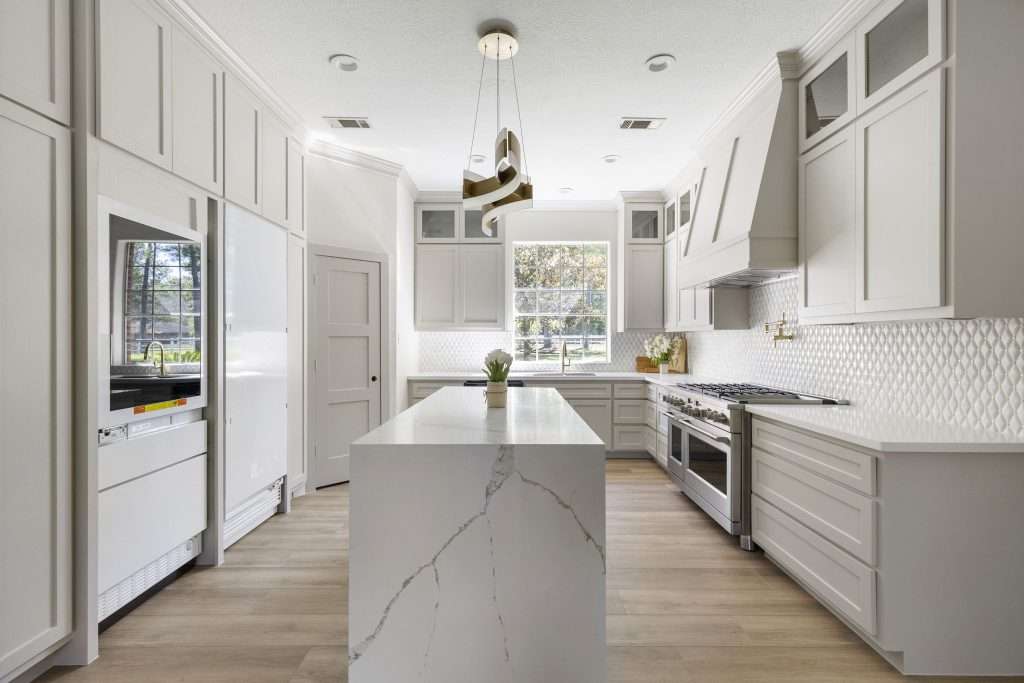
The single biggest predictor of how long painted cabinets hold up is the prep work. Not the paint brand. Not the technique. The prep. A professional spending eight hours on prep for every two hours of painting isn’t being slow, baby. They’re protecting the only thing that makes the finish stick. Skip any of these steps and the result fails on a predictable timeline.
The non-negotiable prep sequence:
- Degreasing. Kitchen cabinet surfaces hold years of accumulated cooking oils, even on the doors that look clean. Wipe every surface with a degreaser like TSP or a dedicated cabinet cleaner. Then wipe again with clean water. Then let it dry completely. Skipping this step means the primer doesn’t bond, and nothing else matters after that.
- Deglossing or sanding. The factory finish on cabinets is designed to repel water and stains, which means it repels paint too. Sand every surface with 220-grit sandpaper to create a mechanical bond for the primer. A liquid deglosser can substitute for light sanding on some finishes, but sanding is the safer bet. Wipe down with a tack cloth after sanding. Dust is the enemy of a smooth finish.
- Primer selection matched to the substrate. Wood gets a different primer than MDF gets a different primer than laminate. Benjamin Moore’s Advance technical data sheet recommends a waterborne alkyd primer for wood and MDF, but a high-hiding all-purpose primer for laminate (Formica). Use the wrong primer and the topcoat fails regardless of how perfect the painting technique is.
- Dry time, dust control, and a clean workspace. Cabinets need to cure in a clean, dust-free environment with stable temperature and humidity. Most cabinet paints require 14 to 28 days for full cure to develop hardness. That doesn’t mean you can’t use the kitchen for a month. It does mean the cabinets stay vulnerable to dings and damage until full hardness develops. A garage in August in Houston is the wrong place to cure cabinet paint.
The prep work isn’t glamorous. It also isn’t optional. Our custom cabinets work in Spring treats prep as the actual job, with the spray finish being the visible payoff at the end.
Our post on the finishes trio that makes kitchens look updated is worth a read for that broader context. It walks through how cabinet color, countertop, and hardware work together.
What Separates DIY Cabinet Painting From a Professional Spray Finish
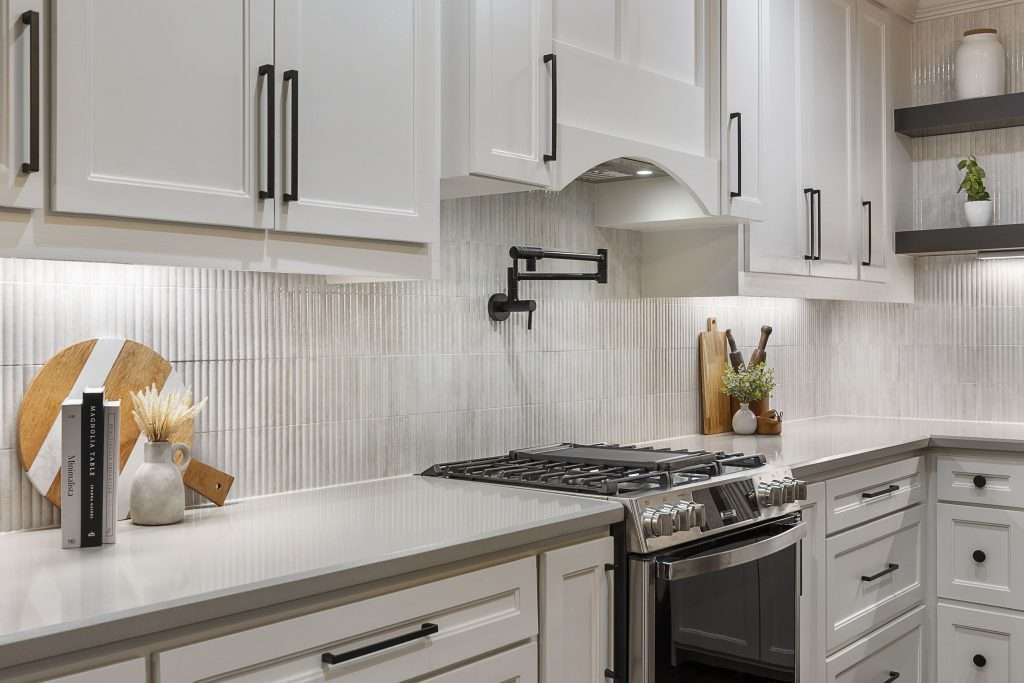
The visible difference between DIY brushed cabinets and a professional spray finish comes down to four things: equipment, paint chemistry, environment, and technique. Each one matters. Together they explain why a quality professional job lasts five times longer than a careful DIY job using the same paint can.
What the pros bring that homeowners typically can’t:
- HVLP sprayer with the right tip and pressure. High-volume low-pressure sprayers atomize the paint into a fine mist that lands as a smooth, level film. Brush or roller marks are eliminated entirely. Most DIY sprayers can deliver acceptable results, but the dialing-in of tip size, paint thinning, and overlap pattern takes practice. The first 10 cabinets a sprayer paints look different from the next 100.
- Conversion varnish or commercial cabinet coatings. Many professional cabinet shops use conversion varnish, a catalyzed two-part finish. It cures to a hardness much closer to factory finishes than what’s available off the shelf at a hardware store. Standard cabinet paints like Benjamin Moore Advance are excellent for DIY-grade results. The commercial finishes used by professional shops are a different category of durability entirely.
- A controlled spray environment. Pros typically remove doors and drawer fronts and spray them flat in a dust-controlled space with stable temperature and humidity. Boxes get sprayed in place with the rest of the kitchen masked off. Dust is the enemy of a smooth finish, and a controlled environment is what separates a glassy factory result from one with embedded particles.
- Cure time and ventilation discipline. Professional shops won’t return cabinets to service until the finish has cured properly. They also manage the air quality during application. The U.S. Environmental Protection Agency notes that indoor VOC concentrations can be up to ten times higher than outdoor levels. Freshly painted spaces spike well above that during application and cure. A pro plans ventilation accordingly. A homeowner painting on a Saturday usually doesn’t.
The honest summary: a DIY paint job can absolutely look good. The gap shows up over time. A good DIY job lasts 2 to 4 years before touch-ups become necessary. A quality professional job lasts 10 to 15. The difference shows up most in the cabinets you actually use, not in the upper cabinets nobody touches.
For homeowners weighing the math, our custom cabinets team in Magnolia handles cabinet refinishing as part of broader kitchen work. Often it’s one piece of a project that addresses several updates at once. The Magnolia kitchen transformation project shows what a full-scope kitchen update looks like when cabinet refinishing is part of the plan rather than the whole plan.
For more on the cost side of these decisions, take a look at our piece on the cost of renovating a kitchen in Texas. It walks through how the cabinet decision affects the broader remodel budget.
Frequently Asked Questions
Use a paint formulated specifically for cabinets and trim, not wall paint. Waterborne alkyd paints (like Benjamin Moore Advance) and urethane acrylic cabinet coatings (like INSL-X Cabinet Coat) are the most accessible high-quality options for DIY work. They cure to a harder, more washable finish than standard latex wall paint. Choose a satin or semi-gloss sheen, because flat and matte paints don’t hold up to cleaning. Pair the paint with the right primer for your cabinet substrate (wood, MDF, or laminate) and the right sheen for how you use the kitchen.
Yes. Sanding (or chemical deglossing) is the step that creates a mechanical bond between the existing finish and the new primer. Without that bond, the primer sits on top of the factory finish and pulls off the first time something catches the edge. A 220-grit scuff sand on every surface, followed by tack-cloth dust removal, is the minimum. The “no-sand” primers on the market can work in narrow cases, but they’re not a reliable shortcut for the average kitchen.
A quality DIY paint job using cabinet-specific paint with proper prep lasts 2 to 4 years before touch-ups become necessary. The most-used doors and drawers need the most attention. A professional spray finish with commercial coatings lasts 10 to 15 years under normal kitchen use. Both numbers assume the underlying cabinet boxes are solid. Painting cabinets that are already failing structurally doesn’t extend their life. It just delays the inevitable.
Most of what you’re paying for in professional cabinet painting is the prep work and the controlled environment, not the paint itself. A pro can spend 60 to 80 percent of the project time on degreasing, sanding, priming, dust control, and cure management. The visible spray finish is the smallest part of the timeline. You’re also paying for commercial-grade coatings that don’t sell at consumer outlets and equipment most homeowners don’t own. Across the Greater Houston market, a professional kitchen cabinet repaint typically runs several times the cost of the DIY materials alone. The finish lasts five times longer, though.
When “It’s Just Paint” Stops Being True
A great kitchen update isn’t about cutting corners on the parts that show. It’s about being honest with yourself about which kind of project you actually have. Paint is the right answer when the bones are solid and only the color is dating the room. Paint is the wrong answer when the layout doesn’t work, the cabinets are aging out, or the substrate won’t accept a new finish. The cabinets in your kitchen will tell you which one you have, if you look closely before the paint can opens.
If you’re weighing a cabinet refresh, refacing, or full replacement across Montgomery County or anywhere in Greater Houston, we’d love to talk through your options. Every kitchen and every budget is different. Start a conversation with us, darling, and let’s get you a kitchen that holds up to the life you actually live in it.