
Why Remodeling One Room Often Reveals Problems in Another: What You Need to Know
Have you ever wondered why remodeling one room often reveals problems in another?
It comes down to one simple truth:
Your house is one connected system. The minute you open a wall or pull up flooring, the story behind your home starts unfolding.
What looked like a quick, simple kitchen refresh can suddenly point to plumbing issues in the next room or electrical quirks down the hall. It’s not bad luck, hun. It’s how houses work.
So, if you’ve ever wondered how and why a small update can grow legs, keep on reading. I’m gonna walk you through what’s really happening behind those walls and how to approach it with confidence instead of panic.
What Really Happens When You Remodel “Just” One Room
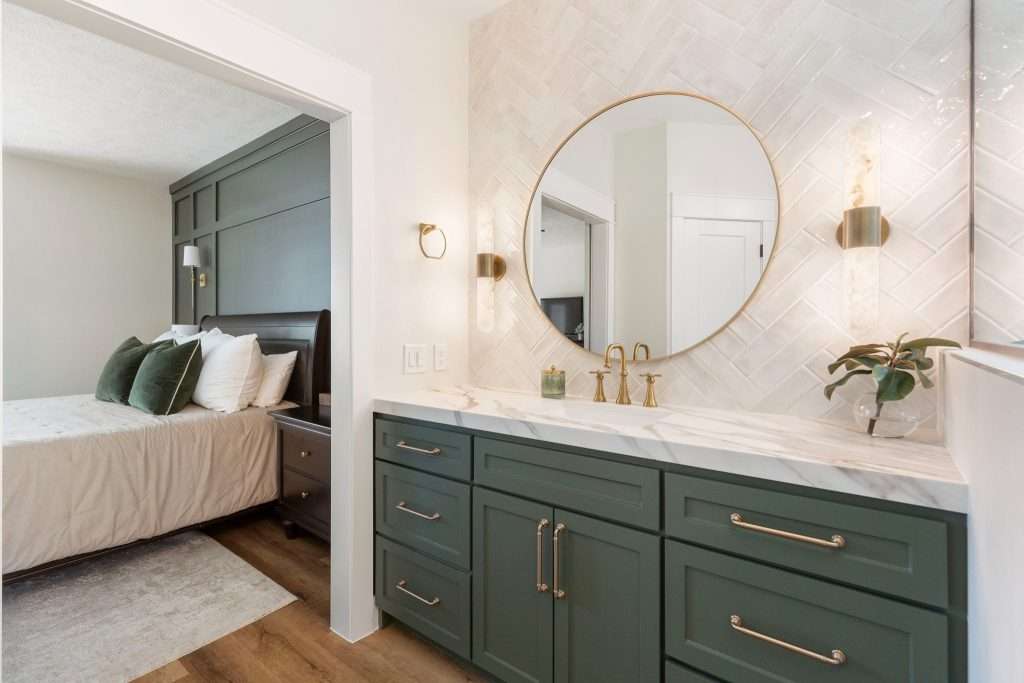
You may walk into a remodel thinking, it’s just the kitchen. Just the bathroom. Just the guest room. But the moment those walls open up, your home starts telling the full story.
Behind the drywall sits a network of plumbing lines, electrical wiring, framing, insulation, and ductwork that doesn’t stop neatly at the edge of one room. Everything connects. And when you disturb one part, the rest of your house usually responds.
That’s not bad news. It’s just how houses work, sugar.
Opening Walls Exposes Hidden Systems
The biggest shift happens during demolition. Once those cabinets come out and tile gets pulled, what was once invisible becomes… well, very visible.
You might discover aging wiring that doesn’t meet today’s safety standards, plumbing lines shared with the bathroom down the hall, subfloor damage from a slow leak you never realized was there, and framing that has settled over time.
You get the idea.
None of this means your home is falling apart, okay? It’s just that remodeling reveals what everyday living has quietly covered up.
It really helps to remember that your home is a system, not a collection of isolated boxes.
Rooms share load-bearing walls, electrical circuits, water supply and drain lines, HVAC runs; you name it.
So, when you upgrade a kitchen sink, you may affect water pressure in a nearby bathroom. When you add recessed lights, you might push that old electrical panel to its limit. When you level one floor, you can even discover that the hallway is slightly sloped.
It’s all connected.
Modern Upgrades Put Pressure on Older Systems
Today’s remodels typically include heavier appliances, brighter lighting, added outlets, larger showers, and better ventilation. Can you tell where I’m going with this?
All of that requires stronger support behind the scenes.
In many homes, especially those built a few decades ago, the original systems weren’t designed for how we live today.
The new induction range may require electrical capacity that the current panel doesn’t have. The spa-style shower might reveal undersized drain lines. New insulation in one space could highlight the “energy gaps” in another.
That’s why a seemingly simple one-room remodel can get out of hand.
Not ‘cause something went wrong, sweetheart, but ‘cause improvement in one area usually exposes limits elsewhere.
When budgets stretch, and timelines wobble, it’s usually because decisions were made room by room, not system by system. Design on a Dime builds structured plans that align scope and spending from the start, keeping your project steady and predictable.
What Demolition Reveals About Your Home’s Structure
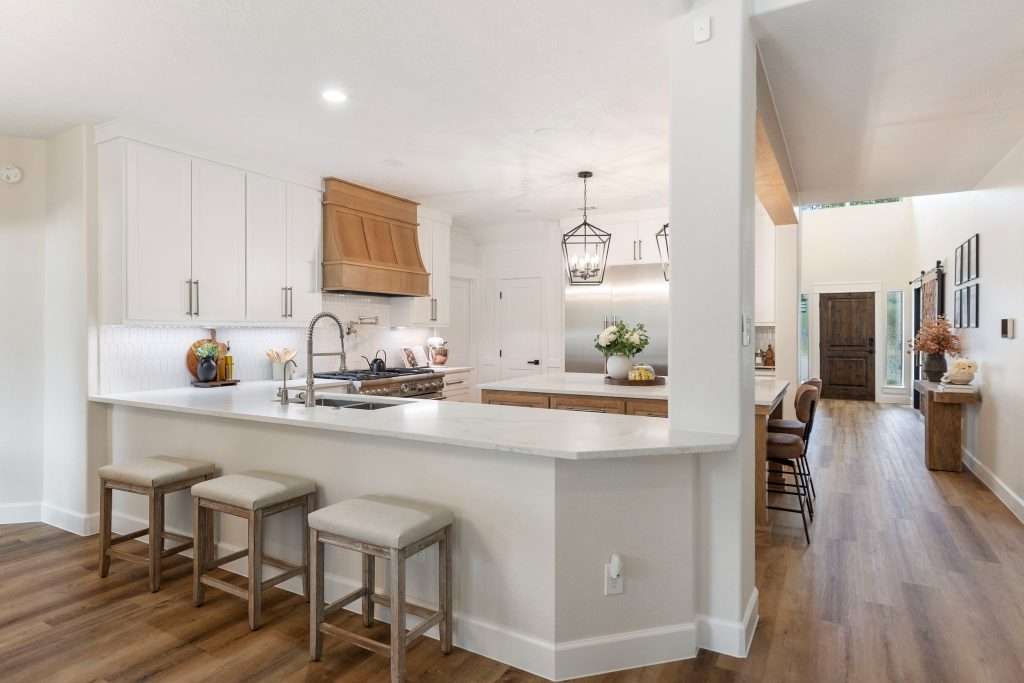
Demolition day has a way of telling the truth.
Once the drywall comes down and the flooring is pulled back, you’re no longer guessing about what might be behind the surface. You’re looking straight at the bones of your house, sugar.
And sometimes, those bones have stories to tell.
Most of the time, what you find is just normal aging. But other times, it explains why that floor always felt a little soft or that doorway never quite closed right.
Framing Weaknesses That Stayed Hidden for Years
Framing is the skeleton of your home, hun. And when it’s strong and properly supported, everything above it performs the way it should.
But over time, homes tend to settle. Lumber dries out. Past renovations might’ve altered supports without fully reinforcing them. And in some cases, a previous repair solved the cosmetic issue without addressing the structural cause.
You might see improperly altered load-bearing walls, water damage that compromised studs, and termite damage, among other things.
And the worst part?
These issues rarely announce themselves from the finished side of the wall. Remodeling simply gives you access to see them.
Settling and Sagging That Affects More Than One Room
One of the most common surprises is sagging or uneven framing.
Maybe the kitchen floor dips slightly toward the center. Maybe those cabinets were shimmed years ago to compensate for a slope. Either way, once the finishes are removed, the underlying cause becomes easier to identify.
Here’s where that connection I talked about comes in:
Load-bearing elements don’t serve just one room. A beam in the kitchen may also support the dining room ceiling. A shifted foundation corner may show up as cracks down the hallway.
You see, honey, since structural loads travel through the entire frame, adjusting or reinforcing a single area often means evaluating adjacent spaces, as well.
That’s not overkill. That’s responsible planning.
Subfloor Deterioration You Couldn’t See From Above
Subfloor damage is another common discovery.
A slow plumbing leak, minor appliance overflow, or years of humidity can weaken plywood and create soft spots. Tile and hardwood can hide that damage surprisingly well… until they’re removed, that is.
Once exposed, you might find:
- Darkened or delaminated plywood
- Spongy areas near sinks or tubs
- Fasteners that have loosened due to movement
- Uneven transitions between rooms
Replacing a damaged section in one room can reveal that the issue extends beneath the adjoining space. That’s how a one-room flooring project turns into a greater (and more expensive) effort. But ignore it, and you’ll risk structural failure… with even bigger repair bills.
Shared Load Paths Between Rooms
There’s one more thing folks commonly overlook, and that’s shared load paths.
When you crack open one room for a remodel, you wake up problems hiding in the next one over, like you just poked a sleeping dragon in your floor joists.
You see, the weight from your roof, upper floors, and walls doesn’t stop neatly at the edge of a remodeled space. It transfers through beams, joists, and posts across multiple rooms.
And what happens when you remove a wall, widen an opening, or add heavier finishes? You change how that weight is distributed.
That doesn’t automatically create a problem, sure, but it does require careful evaluation.
You need to account for these shared structural relationships from the beginning. That way, strengthening one area doesn’t unintentionally stress another.
When demolition reveals something unexpected, it’s not a disaster. It’s information, baby. And information, handled early, gives you the chance to fix the foundation properly so every beautiful finish that follows has something solid to stand on.
Why Plumbing Surprises Rarely Stay in One Room
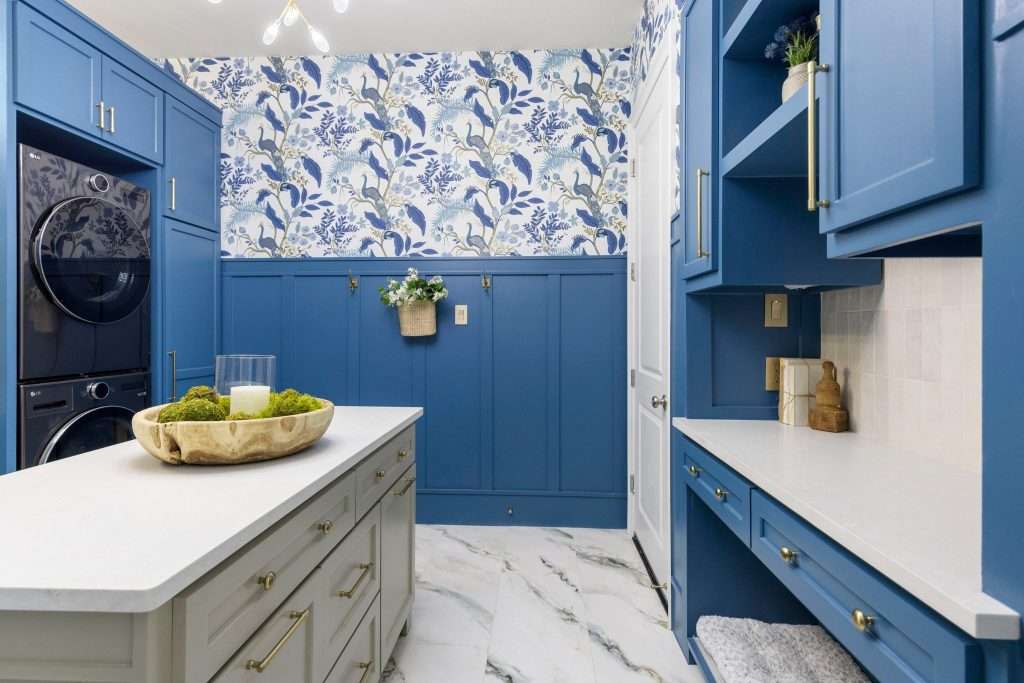
If there’s one thing that reminds you that your house is one connected system, it’s plumbing.
I know it seems like your bathroom, kitchen, and laundry room all mind their own business. But, hun, your plumbing actually behaves more like a family group chat where everyone’s connected.
You begin with a simple kitchen refresh, then the wall opens, and suddenly, that bathroom down the hall is part of the conversation.
That’s because water lines and drain lines don’t belong to just one room. One main water line feeds every faucet, and one drain stack carries away all the drama. So, trust me, issues travel fast.
It can feel like the house is turning against you. In reality, the remodel simply created an opportunity to see what was already there. Remember, baby, these discoveries protect you from future damage. Instead of covering up aging pipes with new finishes, you get the chance to strengthen the system behind them.
Shared Supply Lines Mean Shared Problems
If you think upgrading your kitchen plumbing is just about that cute new faucet, fasten your seatbelt, baby, ‘cause your bathroom is about to crash the party.
Most homes run hot and cold water through shared supply lines before splitting off to individual fixtures. So, when you increase demand in one space, you sometimes expose weaknesses in another.
You might notice lower water pressure at nearby sinks, temperature fluctuations in the shower, slower fill times in older fixtures, or even minor leaks at joints that were already stressed.
Upgrading a kitchen faucet can increase the flow rate. Installing a larger sink or relocating plumbing can shift pressure. Suddenly, pipes that were “good enough” start showing their age.
So, when you touch the kitchen, the bathroom happily joins the chaos.
Hidden Leaks That Travel Beyond the Room
Small leaks are patient, sugar.
A slow drip inside a wall cavity can dampen insulation, stain subfloors, and soften framing for years before anyone notices. By the time you remove cabinetry or tile, the damage might extend beyond that one room you planned to remodel.
Here are some common signs you should watch out for:
- Darkened or spongy subfloor near sinks
- Stains on the ceiling below
- Musty smells behind cabinets
- Loose or swollen baseboards in adjacent areas
One thing you need to know about water is that it doesn’t respect room boundaries. It just follows the path of least resistance.
Fixing the source in one room usually requires checking the surrounding spaces to make sure moisture hasn’t traveled.
When Electrical Upgrades in One Room Affect the Whole House
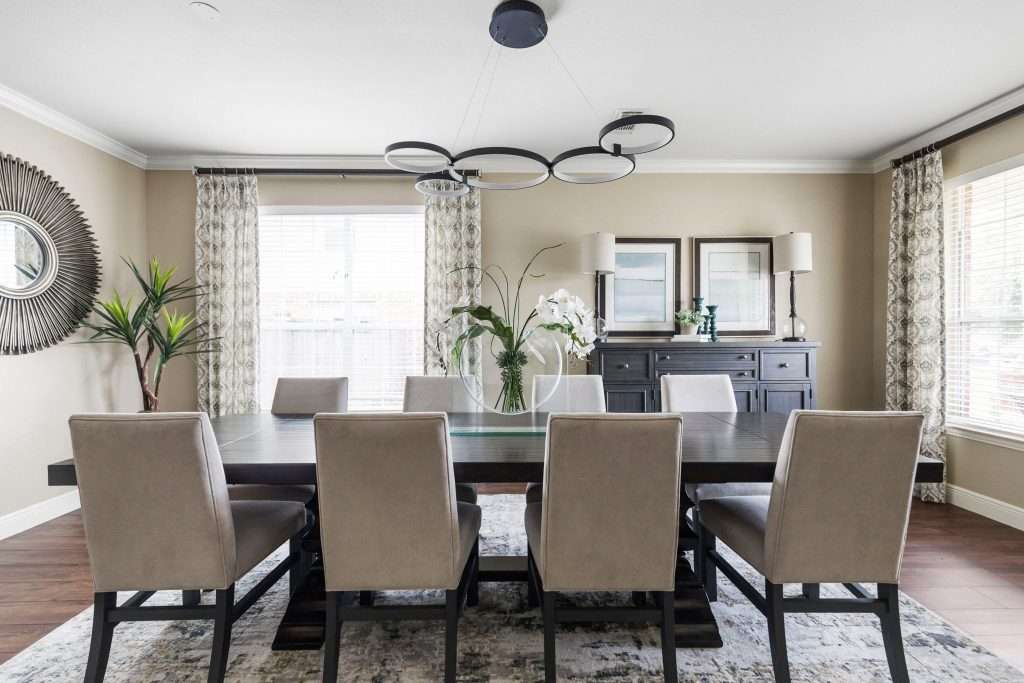
Electrical work has a way of expanding the moment you touch it.
You may just plan to add recessed lighting in the kitchen or upgrade outlets in the bathroom. That sounds simple enough, right? But the second a licensed electrician starts tracing circuits, the bigger picture comes into view.
Electricity doesn’t stop at the doorway. It runs through the shared circuits, panels, and safety systems that serve your entire home.
Outdated Wiring Hiding Behind the Walls
When you begin opening walls in an older home, you’re not just finding dust bunnies. You’re often meeting wiring that’s one bad day away from a fire hazard.
I mean, that wiring might’ve been perfectly acceptable decades ago, hun, but trust me, it struggles to meet modern demands. And every time you run the microwave, hair dryer, and vacuum, your system’s basically whispering, “I can’t keep up, honey.”
If you see cracked insulation, cloth-wrapped wires, or ungrounded outlets, that’s not “vintage.”
That’s a wake-up call.
Outdated wiring is one of the biggest hidden fire risks lurking behind your walls, and this remodel is your opportunity to see and correct these issues before they turn into disasters.
Panel Capacity and Modern Power Demands
Let’s be real:
Today’s homes draw far more power than they did 30 or 40 years ago.
So, even if your home looks all charming on the outside, your electrical system might be trying to power a 2026 lifestyle with 1960s muscles, and that math just doesn’t work, hun.
Think about it.
Large refrigerators, double ovens, air fryers, hair tools, home offices, charging stations, smart devices, all running at once.
Older electrical panels weren’t designed for that lifestyle. When you add new lights, upgraded appliances, or dedicated circuits in one room, everything that’s piggybacking on those tired circuits starts complaining.
At that point, you have two options:
You can scale back the upgrade, or you can strengthen the electrical backbone of the house so it supports what you truly want.
That’s up to you. But either way, you need to make sure that the panel can handle the increased load.
AFCI and GFCI Requirements That Trigger Broader Updates
Open any wall mid-remodel, and every shortcut and safety hazard comes tumbling out. Once an inspector sees them, you’re obligated to bring them up to today’s standards, and before you know it, a “simple” room refresh turns into an investigation for past owners’ shortcuts.
I know it’s a hassle, but building codes exist and evolve for a reason, hun.
And the current code typically requires updated protection. Think GFCI outlets near water sources, AFCI protection for living spaces, and proper grounding and bonding.
Here’s where the ripple effect kicks in:
If you modify a circuit in one room, inspectors might require that the entire affected circuit meet the current standards. And that could mean updating additional outlets, breakers, and wiring beyond the initial scope.
Remember, honey:
Strengthening the electrical system behind your walls ensures that when you flip that new light switch, the only spark in the room is the one you planned. It’s protection for your family and your investment.
The Insulation and Flooring Surprises Lurking Under the Surface
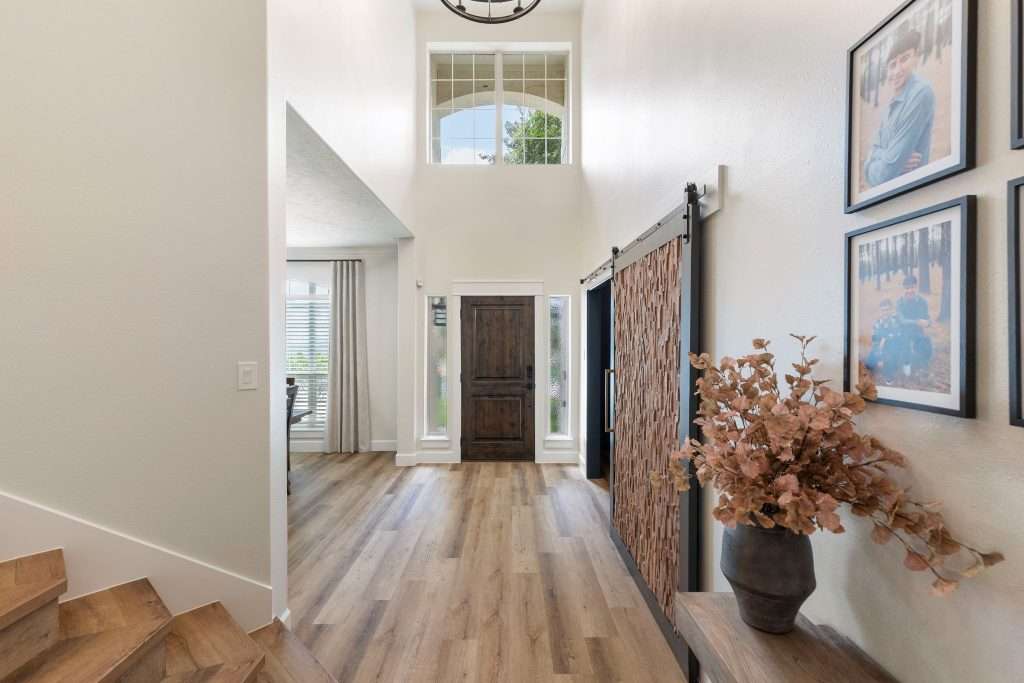
Flooring day can be so exciting, darling. Samples are chosen, the room is cleared, and everything is ready for that fresh, clean reveal.
Then the old floor comes up, and sometimes, what you see underneath changes the whole plan.
Moisture, insulation gaps, and subfloor issues can stay hidden for years. This remodel just gave you the first real look at the situation.
Insulation Gaps You Never Knew Were There
Hidden insulation gaps are the sneaky little energy thieves you usually don’t catch until you begin tearing things open for a remodel. You could find missing batts in exterior walls, compressed insulation that lost its effectiveness, gaps around plumbing penetrations, and poorly sealed rim joists.
Those small gaps can explain why one room always felt colder in winter or harder to cool in summer.
All I’m sayin’ is, renovation time is prime time to fix the issues for good. After all, poor insulation accounts for up to 30% of your home’s energy loss.
Flooring Transitions That Expose Level Problems
I know those little transition strips between rooms may seem minor, sugar, but in reality, they can reveal a lot.
You see, when one floor sits noticeably higher than the next, it usually points to uneven subfloor thickness, added layers from past remodels, settling or framing shifts, or improper leveling during earlier installations.
Trust me, tile meeting hardwood can highlight even seemingly small variations. New flooring installed flush in one room might make the neighboring floor look all sloped.
And I’m guessing you want connections, not tripping zones between rooms, right?
So, don’t treat these transitions as just cosmetic details. They’re what keep that gorgeous new room from looking like it belongs in a different ZIP code.
When A “Simple” Remodel Starts Growing Legs

You walk into this thinking, “We’re just freshening up a single room.” Then a wall opens up and, suddenly, your house starts telling stories.
Electrical that’s not up to code. Plumbing that’s seen better… decades. Insulation that looks like it gave up somewhere around 1998.
One small update pulls on a thread, and before long, you’re staring at a bigger picture that needs a better plan.
And here’s the truth, said with love:
That’s not always bad news.
No, really, our Arbor Project is the perfect example of that.
When you zoom out and plan strategically, instead of reacting room by room, you protect your investment and your sanity.
But first, let’s talk about how these “tiny” remodels start snowballing in the first place.
Budget Creep And Timeline Delays
It usually begins innocently.
“We’re just redoing the guest bath.”
Next thing you know, you’re upgrading fixtures. Then, that old vanity starts looking tired. The hallway lights suddenly feel embarrassing. And that flooring outside the bathroom? Oh, no. Now you see it.
That’s how budget creep quietly walks in.
You’re not alone, darlin’. A staggering 78% of renovation projects go over budget. Yes, you read that right.
That’s not because people are reckless, though. It’s because once one space looks beautiful, the contrast exposes everything around it.
New tile makes the old trim look worn out. A new shower makes dated countertops feel kind of sad. Fresh paint highlights the aging floors.
You say, “While we’re at it…” and that sentence costs money.
Now, layer in timeline delays and… well, you can probably tell where this is going.
Every surprise adds new steps. Every new step adds time. Every delay shifts your schedule again. Before long, that one-room refresh has turned into a living-in-a-construction-zone marathon.
Scope Expansion And Decision Fatigue
There’s a second snowball nobody talks about enough.
It’s not just your budget. It’s your brain.
At first, you’re excited. You’re picking tile, lights, paint colors, and it all feels creative and fun. But then, the decisions multiply.
Do we match the floors in the hallway? Should we upgrade the baseboards everywhere? If we’re rewiring this wall, should we add outlets?
Scope expansion is logical. You’re already in there, so it feels efficient to fix the adjacent issues, but every added decision costs mental energy. And just a few short weeks later, even choosing a faucet finish can feel overwhelming.
That’s your cue to check in, ‘cause when you’re tired, you’re more likely to rush decisions just to be done, approve upgrades you didn’t fully evaluate, and second-guess everything later.
When To Pause And Reassess Instead Of Powering Through
Let me say this clearly:
Pausing isn’t quitting. It’s protecting your home and your wallet.
You should seriously consider reassessing when:
- You uncover water damage or mold.
- Termites, foundation cracks, or major wiring problems appear.
- Costs climb more than 15% above your original budget.
- Permits, inspections, or material delays stretch your timeline and your stress levels.
If you’re feeling more frazzled than excited, that’s your sign.
Take a breath. Review the full scope. Think about whether it makes sense to complete adjacent work now instead of patching and reopening later.
Sometimes, the best move is zooming out and creating a whole-home plan, even if you phase that work over time.
And honey, when you step back, gather the right team, and make decisions with clarity instead of urgency, that snowball can turn into momentum instead of mayhem.
When a one-room project starts revealing bigger patterns in a home, that’s the moment when experience matters most. Design on a Dime handles every remodel with a whole-home perspective, so that smaller updates don’t spiral into expensive surprises.
The Design Ripple Effect That Makes The Rest Of Your House Look Tired

Nobody warns you about this part:
You finish one gorgeous room. It is fresh. It is polished. It feels like a magazine spread. Then you walk into the next space and think… oh no.
That’s the design ripple effect.
One updated room doesn’t quietly sit there looking pretty. It shines a spotlight on everything around it, and suddenly, the old floors feel heavier. The lighting feels off. The trim looks forgotten. What used to feel “fine” now feels dated.
You see, design doesn’t live in isolation. It flows.
On that note, you should be watching for these disconnects:
- Warm wood cabinets next to cool gray flooring
- Modern matte black fixtures beside shiny chrome in the next room
- Thick traditional baseboards meeting slim contemporary trim
- Trend-forward tile next to dated carpet
Individually, none of these are disasters. But together, they create the patchwork effect.
And patchwork rarely feels intentional, sugar.
So, let’s talk about what actually creates that “patchwork” feeling and how to prevent it.
Flooring Transitions That Tell On You
Flooring is one of the biggest visual connectors in a home.
When plank direction shifts randomly, heights are uneven, or transition strips look like an afterthought, the eye feels the interruption.
And yes, even subtle changes, like wide planks meeting narrow boards without a clear reason and glossy tile beside matte hardwood, can have the same effect.
Remember, transitions should feel deliberate.
Same-height surfaces call for cleaner T-molding. Level changes need proper reducers. Undertones should complement each other, even if the materials differ.
When floors flow, the whole house feels calmer. When they fight, everything feels disjointed.
Lighting Temperature Mismatch That Feels Chaotic
Lighting is sneaky, darlin’.
You can have beautiful finishes, but if one room glows icy white and the next glows all buttery yellow, your house feels… well, confused.
Now, lights account for around 15% of home electricity use and switching to LED bulbs that use up to 90% less energy and last dramatically longer does save money, sure. But consistency matters just as much as efficiency, hun.
So, think in layers across the house. I’m talkin’ ambient lighting for the overall glow, task lights where you work, and accent lighting for a bit of personality.
Then, match your color temperature. If your kitchen runs at 3000K, don’t let your hallway drift up to 5000K. Keep the warmth consistent so your spaces feel connected.
And please, hun, plan fixtures around sightlines, so that one glam chandelier doesn’t end up fighting three random flush mounts.
Finish Coordination That Prevents The Patchwork Effect
Here’s where strategy changes everything.
Once you renovate one room, it becomes a design reference point. The rest of your home should respond to it, not compete with it.
Of course, that doesn’t mean you must remodel everything at once. It means you build a roadmap.
Ask yourself:
- Are my metal finishes repeating intentionally throughout the house?
- Do my paint undertones connect room to room?
- Are my flooring transitions planned or reactive?
- Does my lighting temperature stay consistent?
- Do trim profiles and door styles align?
Surveys show that after completing one project, up to 86% of homeowners feel motivated to update more spaces. So, no, you’re not imagining that urge to keep going.
Design momentum is real. But momentum without coordination leads to patchwork.
And that, hun, is the difference between a room that looks updated and a home that feels designed.
A beautifully updated space should improve your home, not expose inconsistencies. Design on a Dime’s team creates cohesive design plans that connect finishes, lighting, and flow from space to space, so your home feels intentional instead of pieced together.
Planning One Room The Smart Way So The Whole House Stays Calm

A one-room remodel should feel exciting, sugar, not like you accidentally tipped over the first domino in a whole-house avalanche.
The secret isn’t shrinking your vision, though. It’s planning wider than a single room.
When you think ahead, inspect early, and phase intentionally, you stay in control. But when you skip that groundwork?
Surprises take over.
Here’s how to remodel one room without triggering chaos everywhere else:
- Start With Pre-Demo Eyes Wide Open
Before a single tile comes up, you want clarity on what is hiding behind those walls. Nearly half of renovating homeowners report unexpected problems once work begins. That number alone shows that pre-demo preparation isn’t optional. Home inspections average around $343, and often reveal three or four defects. That’s not bad news, though. That’s information.
- Scope The Drains And Check The Electrical Load
Bathrooms and kitchens deserve deeper investigation. Camera scoping drains before demo could reveal root intrusion, cracked sewer lines, sludge buildup, and improper slope, among other things. Fixing these after new flooring and cabinetry are installed is painful and expensive. Catching them early is a strategic move, hun. It should go without saying, but electrical load analysis matters, too. Overloaded circuits aren’t just inconvenient. They’re flat-out dangerous.
- Build A Phased Master Plan, Even If You Remodel In Stages
This is where most people get tripped up, darlin’. They plan one room at a time instead of mapping the whole house first. And no, a phased master plan doesn’t mean you should renovate everything at once. It simply means you design the full vision, then execute in smart steps.
Now, remodel regret usually comes from one of two things:
You discovered problems too late. Or you realized too late that the new room doesn’t connect to the rest of the house.
You can absolutely remodel one room at a time, just do it with a whole-house mindset. That, sweetheart, is how you upgrade one room without accidentally signing up to renovate the entire house in a panic.
The difference between a stressful remodel and a smooth one is preparation. With Design on a Dime, the inspections, planning, and phased strategy all happen before demolition begins. Our team helps you move forward with clarity instead of guesswork.
Frequently Asked Questions
How much contingency should I realistically set aside for a one-room remodel?
Most professionals recommend setting aside 15–25% of your projected budget, depending on the age and condition of your home. Keep in mind that older houses or homes with previous DIY work typically warrant a higher “cushion.”
Will remodeling just one room raise my home’s appraised value?
It can, but usually, a single-room remodel protects value more than it dramatically increases it. Appraisers look at your house as a whole, so cohesive updates and system improvements typically carry more weight than one standout space.
How do I decide which room to remodel first if multiple areas need work?
You should start with safety and water-related concerns. After that, focus on the rooms that actually impact daily function, like kitchens and primary bathrooms.
How long should I wait between remodel phases?
How long you should wait between remodel phases depends on budget, lifestyle, and material availability. Some homeowners phase their projects over several years, while others complete adjacent spaces within months to maintain design continuity.
Are permits always required for a one-room remodel?
Not always, but many projects involving plumbing, electrical, structural changes, or any load-bearing walls do require permits. Remember, skipping them can create problems during resale or refinancing.
Ready to Remodel the Smart Way?
So, sugar, when you crack open one room, don’t be shocked if your whole house starts spillin’ secrets like a dramatic soap opera. But here’s the beautiful part:
Discovering more than you expected isn’t a sign that your project failed. It’s merely a sign that your home needs a better plan. The difference between chaos and confidence is having the right strategy before you start swinging hammers.
That’s where Design on a Dime comes in. Every project begins with clarity, coordination, and a vision that looks beyond just one set of walls.
You dream it, and we’ll make it happen. Reach out to our team today!